 openelab.de
 openelab.com


The M5Stack ATOM S3 is a compact and versatile microcontroller unit, particularly useful for Internet of Things (IoT) projects. Combining it with an Ethernet module opens up a world of possibilities for network-connected applications. This article provides a comprehensive guide to building a simple web server on the M5Stack ATOM S3 using the Ethernet module, explaining the code in detail and exploring potential enhancements.
Hardware Requirements:
-
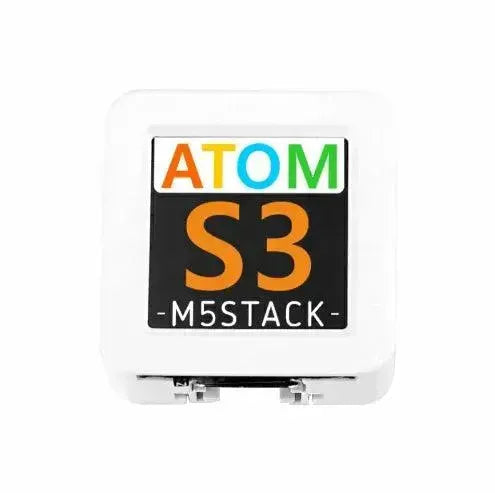
M5Stack ATOM S3
-
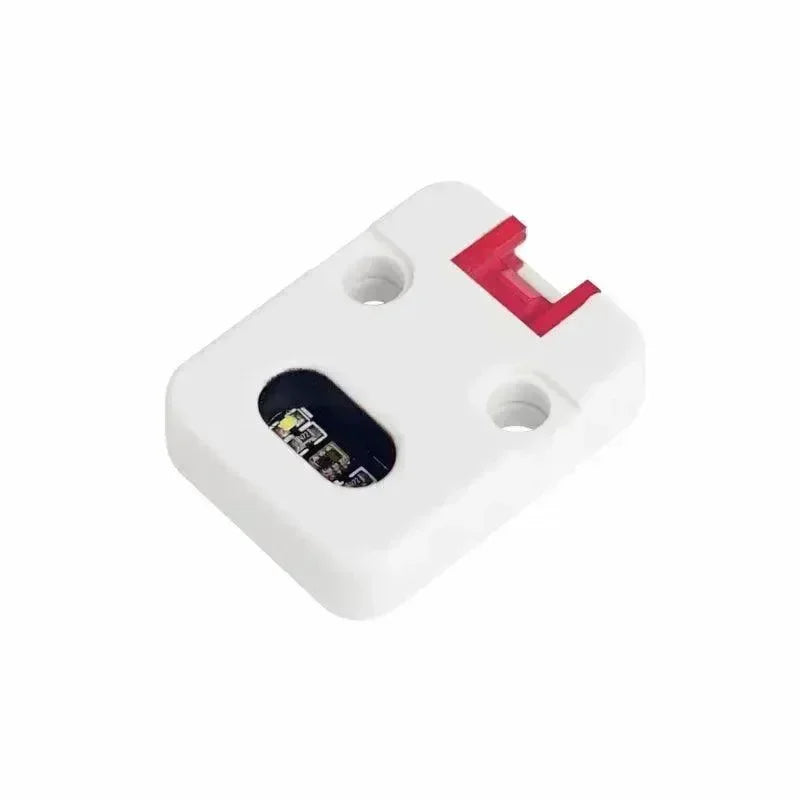
M5Stack Ethernet Module (or compatible)
-
USB Type-C cable for programming
-
Ethernet cable for network connection

Software Requirements:
-
Arduino IDE (with ESP32 board support)
-
M5Stack library for ATOM S3
#include "M5AtomS3.h"
#include <SPI.h>
#include <M5_Ethernet.h>

#define SCK   5
#define MISO 7
#define MOSI 8
#define CS    6

byte mac[] = {0xDE, 0xAD, 0xBE, 0xEF, 0xFE, 0x99}; // MAC address (often overridden by DHCP)
IPAddress ip(192, 168, 1, 177); // Static IP address (unused in this DHCP-enabled example)

EthernetServer server(80); // Create a server object on port 80 (HTTP)

void setup() {
    auto cfg = M5.config();
    AtomS3.begin(cfg);

    AtomS3.Display.setTextColor(GREEN);
    AtomS3.Display.setTextDatum(middle_center);
    AtomS3.Display.setFont(&fonts::Orbitron_Light_24);
    AtomS3.Display.setTextSize(1);

    SPI.begin(SCK, MISO, MOSI, -1); // Initialize SPI communication for Ethernet
    Ethernet.init(CS); // Initialize the Ethernet chip with the CS pin

    AtomS3.Display.drawString("Init...", AtomS3.Display.width() / 2, 60);

    while (Ethernet.begin(mac) != 1) { // Try to get an IP address via DHCP
        Serial.println("Error getting IP address via DHCP, trying again...");
        delay(1000);
    }

    // Check for Ethernet hardware present
    if (Ethernet.hardwareStatus() == EthernetNoHardware) {
        Serial.println("Ethernet shield was not found. Sorry, can't run without hardware. :(");
        while (true) {
            delay(1); // do nothing, no point running without Ethernet hardware
        }
    }
    if (Ethernet.linkStatus() == LinkOFF) {
        Serial.println("Ethernet cable is not connected.");
    }


    server.begin(); // Start the server
    Serial.print("server is at ");
    Serial.println(Ethernet.localIP()); // Print the assigned IP address
    AtomS3.Display.setTextSize(0.5);
    AtomS3.Display.clear();
    AtomS3.Display.drawString(Ethernet.localIP().toString().c_str(), AtomS3.Display.width() / 2, 60); // Display IP on the screen
}


void loop() {
    EthernetClient client = server.available(); // Check for a new client connection
    if (client) { // If a client is connected
        Serial.println("new client");
        boolean currentLineIsBlank = true;
        while (client.connected()) { // While the client is still connected
            if (client.available()) { // If the client has sent data
                char c = client.read(); // Read a character from the client
                Serial.write(c); // Print the character to the Serial Monitor

                if (c == '\n' && currentLineIsBlank) { // Check for the end of the HTTP request
                    // Send HTTP response
                    client.println("HTTP/1.1 200 OK");
                    client.println("Content-Type: text/html");
                    client.println("Connection: close");
                    client.println("Refresh: 5"); // Refresh the page every 5 seconds
                    client.println(); // Empty line to signal the end of the header
                    client.println("");
                    client.println("");
                    client.print("Hello M5Stack LAN Module!");
                    client.println("");
                    break; // Exit the inner while loop (request processed)
                }
                if (c == '\n') {
                    currentLineIsBlank = true;
                } else if (c != '\r') {
                    currentLineIsBlank = false;
                }
            }
        }
        delay(1);
        client.stop(); // Close the client connection
        Serial.println("client disconnected");
    }
}
✔ Copied!
Detailed Explanation:
- Includes: The code begins by including necessary libraries: M5AtomS3.h for the ATOM S3, SPI.h for SPI communication (used by the Ethernet module), and M5_Ethernet.h for Ethernet functionality.
- Defines: The #define statements define the SPI pins used by the Ethernet module. These are crucial for proper communication.
- MAC Address: byte mac[] = {0xDE, 0xAD, 0xBE, 0xEF, 0xFE, 0x99}; declares a MAC address. While included, this is often overridden by the DHCP server when the device connects to the network.
- IP Address: IPAddress ip(192, 168, 1, 177); defines a static IP address. However, in this example, DHCP is used, so this static IP is not actually assigned to the device. It's a placeholder.
- Ethernet Server: EthernetServer server(80); creates an instance of the EthernetServer class, which listens for incoming connections on port 80 (the standard HTTP port).
- set up() function:
- auto cfg = M5.config(); AtomS3.begin(cfg);: Initializes the M5 ATOM S3 hardware.
-
The following lines configure the display for outputting text: setting color, alignment, font, and size.
-
SPI.begin(SCK, MISO, MOSI, -1); initializes the SPI communication using the defined pins. The -1 indicates that no specific chip select pin is managed by the SPI library itself.
-
Ethernet.init(CS); initializes the Ethernet chip using the specified chip select (CS) pin.
-
AtomS3.Display.drawString("Init...", AtomS3.Display.width() / 2, 60); displays "Init..." on the ATOM S3 screen to indicate initialization is in progress.
-
The while (Ethernet.begin(mac) != 1) loop attempts to obtain an IP address via DHCP. It continues to retry every second until a valid IP is received. This is where the ATOM S3 gets its network address.
-
The code then checks if the Ethernet hardware is present and if a link (cable connection) is established. If not, the program halts. This is important for robust operation.
-
server.begin(); starts the Ethernet server, making it ready to accept incoming connections.
-
The assigned IP address (obtained via DHCP) is printed to the Serial Monitor and displayed on the ATOM S3's screen.

7. loop() function:
- EthernetClient client = server.available(); checks if any client has connected to the server. server.available() returns an EthernetClient object if a client is available, or null if not.
- The if (client) block executes if a client is connected.
- boolean currentLineIsBlank = true; is a flag used to detect the end of an HTTP request.
- The while (client.connected()) loop continues as long as the client remains connected.
- if (client.available()) checks if the client has sent any data.
- char c = client.read(); reads a single character from the client's request.
- Serial.write(c); prints the received character to the Serial Monitor for debugging.
- The code then parses the HTTP request. The if (c == '\n' && currentLineIsBlank) condition checks for the end of the HTTP request. A blank line (\n\r\n or \n\n) typically signifies the end of the headers.
If the end of the request is detected, the server sends an HTTP response:
-
HTTP/1.1 200 OK: A standard HTTP response indicating success. *Content-Type: text/html: Specifies that the response body is HTML. *Connection: close: Tells the client that the connection will be closed after the response is sent. This is a simple approach; persistent connections could be used for more efficient communication. *Refresh: 5: This header instructs the browser to refresh the page every 5 seconds. This creates a dynamic effect. * An empty line (client.println();) is crucial; it separates the HTTP headers from the actual content. * The HTML content is then sent:<!DOCTYPE HTML><html><h2>Hello M5Stack LAN Module!</h2></html>. This is the simple HTML that will be displayed in the browser. *break;exits the innerwhile (client.connected())loop because the response has been sent. * The code then handles the logic for detecting the end of the HTTP request.if (c == '\n')checks for a newline character, indicating the start of a new line in the request.currentLineIsBlankis set totruewhen a newline is encountered.else if (c != '\r')checks if the character is not a carriage return. If it's not a carriage return, it means there's data on the current line, socurrentLineIsBlankis set tofalse. This logic effectively detects the blank line that signals the end of the HTTP headers. *delay(1);provides a small delay, allowing the browser time to process the received data. *client.stop();closes the connection with the client. *Serial.println("client disconnected");prints a message to the Serial Monitor indicating that the client has disconnected.

Enhancements and Further Development:
-
Dynamic Content: The current HTML is static. You can generate dynamic content using variables and logic within your Arduino code. For example, you could display sensor readings, control actuators, or show the current time.
-
Handling Different Requests: The code currently responds to any request with the same HTML. You can implement logic to handle different HTTP methods (GET, POST, etc.) and different URLs, allowing you to create a more complex web interface.
-
HTML Forms and User Input: Add HTML forms to your webpage to allow users to input data. You can then process this data on the ATOM S3 and use it to control your devices.
-
WebSockets: For real-time communication, consider using WebSockets instead of HTTP. WebSockets allow for bidirectional communication between the client and the server, which is essential for interactive applications.
-
Security: For production environments, security is crucial. Implement authentication and authorization mechanisms to protect your device and data.
-
File System Integration: Store HTML, CSS, and JavaScript files on an SD card or flash memory and serve them from the ATOM S3. This allows you to create more sophisticated web interfaces.
-
AJAX and JavaScript: Use AJAX (Asynchronous JavaScript and XML) to update parts of the webpage dynamically without requiring a full page reload. This improves the user experience.
-
mDNS (Multicast DNS): Use mDNS to give your ATOM S3 a human-readable name on the local network, making it easier to access.
-
Error Handling: Implement robust error handling to gracefully manage situations like network disconnections or invalid user input.
-
OTA (Over-The-Air) Updates: Implement OTA updates to allow you to update the firmware of your ATOM S3 remotely.
Troubleshooting:
-
No IP Address: Check your network connection, ensure that DHCP is enabled on your router, and verify that the Ethernet module is properly connected to the ATOM S3.
-
Cannot Connect: Double-check the IP address of the ATOM S3, make sure it's on the same network as your computer, and verify that there are no firewalls blocking the connection.
-
Serial Monitor Issues: Ensure that the baud rate in the Serial Monitor matches the baud rate used in your code (usually 115200).
This expanded explanation provides a more thorough understanding of the code and offers a starting point for developing more advanced web server applications on the M5Stack ATOM S3. Remember to consult the M5Stack documentation and other online resources for more detailed information and examples.


