openelab.de
 openelab.com


The LILYGO T-Display S3 series offers various models based on the ESP32-S3 chip, each tailored for different use cases and requirements. These models come with varying display types, memory configurations, and additional features like camera modules. Whether you're building a simple IoT device or a more complex application requiring image capture and processing, the LILYGO T-Display S3 provides versatile options.
Here’s a breakdown of the models in the LILYGO T-Display S3 series, helping you decide which one is best suited for your project.

LILYGO T-Display S3
-
Features:
-
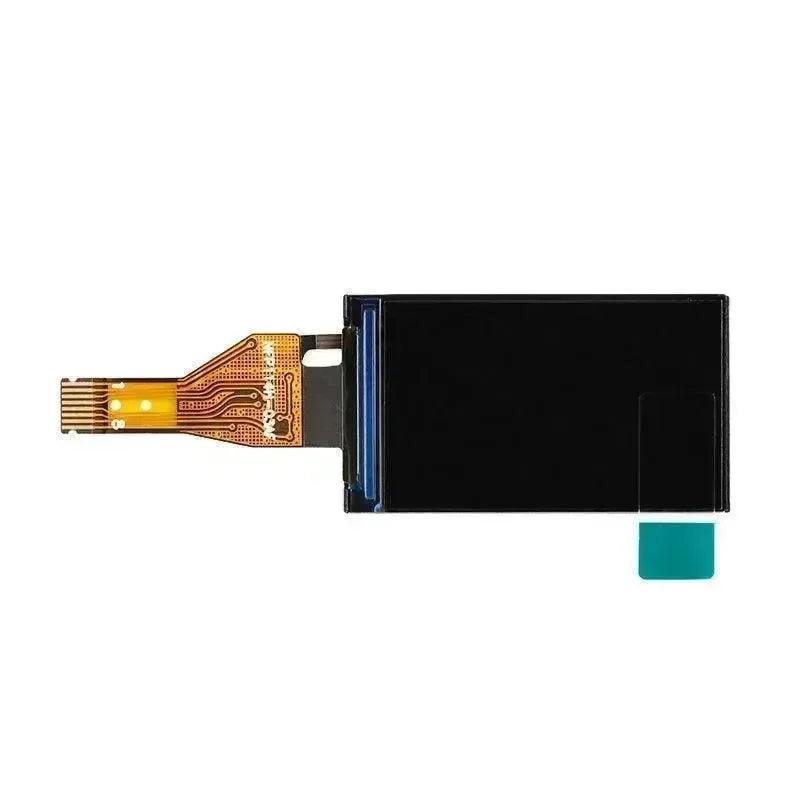
Display: 1.9-inch TFT LCD, 170x320 resolution
-
Chipset: ESP32-S3
-
Memory: 16MB Flash, 8MB PSRAM
-
Connectivity: Supports Wi-Fi and Bluetooth
-
Best For: Basic IoT applications, simple displays, and Wi-Fi/Bluetooth communication-based projects. Ideal for those looking to get started with display-based IoT devices without heavy image processing needs.
-
Quick Start:
-
Use the TFT_eSPI library to write code and test the display.
-
Refer to example projects on GitHub for easy implementation of display functionalities.
LILYGO T-Display S3 AMOLED Camera
-
Features:
-
Display: 1.9-inch AMOLED
-
Camera: Integrated camera module
-
Chipset: ESP32-S3
-
Memory: 16MB Flash, 8MB PSRAM
-
Best For: Projects that require both display and image capture, such as facial recognition, object detection, or any application needing to process visual data.
-
Quick Start:
-
Configure the development environment for the ESP32-S3.
-
Install and configure AMOLED and camera libraries (e.g., Adafruit AMOLED library).
-
Capture images via the camera and display them on the AMOLED screen, or perform simple image processing tasks.
LILYGO T-Display S3 AMOLED V1
-
Features:
-
Display: 1.9-inch AMOLED
-
Camera: None
-
Chipset: ESP32-S3
-
Memory: 16MB Flash, 8MB PSRAM
-
-
Best For: Applications requiring high-quality displays but without the need for image capturing. Common uses include smartwatches, graphical user interfaces, or simple display projects where image capture isn't necessary.
-
Quick Start:
-
Set up the development environment and configure for ESP32-S3.
-
Use the AMOLED display library to design interfaces or display images.
-
Start with basic graphical interfaces, dynamic effects, or animations.
-
LILYGO T-Display S3 AMOLED V2
-
Features:
-
Display: 1.9-inch AMOLED
-
Camera: None
-
Chipset: ESP32-S3
-
Memory: 16MB Flash, 8MB PSRAM
-
Best For: More complex projects requiring advanced graphics rendering and display performance, such as embedded systems or devices with interactive interfaces.
-
Quick Start:
-
Set up the ESP32-S3 environment.
-
Write code for advanced display effects, such as animations or complex graphical interfaces.
-
Refer to advanced example projects for graphical rendering.


Comparison Table
| Model | Display Type | Camera | Best For | Key Features |
| LILYGO T-Display S3 | TFT LCD 170x320 | None | Basic IoT projects, simple display applications | Wi-Fi/Bluetooth, 16MB Flash, 8MB PSRAM |
| LILYGO T-Display S3 AMOLED Camera | AMOLED 170x320 | Yes | Image capture, facial/object recognition | High contrast AMOLED, ESP32-S3, integrated camera |
| LILYGO T-Display S3 AMOLED V1 | AMOLED 170x320 | None | High-quality display for smartwatches, interfaces | AMOLED, high-quality display, ESP32-S3 |
| LILYGO T-Display S3 AMOLED V2 | AMOLED 170x320 | None | Advanced graphic rendering, interactive displays | Enhanced display quality, graphics processing |
How to Get Started with LILYGO T-Display S3 Models
Each model in the LILYGO T-Display S3 series is highly compatible with both Arduino IDE and PlatformIO, providing flexibility in choosing your preferred development environment. Here's a quick setup guide:
How to Install and Configure T-Display-S3 in Arduino IDE?
-
Download and Install Arduino IDE
First, make sure you have the latest version of Arduino IDE installed on your computer. You can download it from the Arduino official website.
-
Configure Arduino IDE to Support ESP32S3
-
Open Arduino IDE and go to File -> Preferences in the top menu.
-
In the Preferences window, find the Additional Boards Manager URLs field and paste the following link:
https://raw.githubusercontent.com/espressif/arduino-esp32/gh-pages/package_esp32_index.json
✔ Copied!
Note: We recommend using Arduino IDE version 2.0.14 for this guide, as higher versions may have compatibility issues with the TFT_eSPI library【see TFT_eSPI/issue3329】. If you encounter problems, consider downgrading to version 2.0.14 or lower.
-
Install the ESP32S3 Board Library
-
After adding the above URL, go to Tools -> Board -> Boards Manager.
-
In the Boards Manager, search for ESP32, and click Install.
-
Download T-Display-S3 Library
-
Download the T-Display-S3 library from GitHub and move it to your Arduino libraries folder. The default library path is: C:\Users\YourName\Documents\Arduino\libraries
-
Copy all the contents of the lib folder into your Arduino libraries folder.
-
Open Example Code
-
Navigate to the examples directory in your downloaded T-Display-S3 folder.
-
Choose any example and double-click any_example.ino to open it.
-
Set Up Development Board Settings
-
Open Arduino IDE and go to Tools -> Board. Select ESP32S3 Dev Module from the list.
-
Set the following configuration based on the table below:
| Setting | Value |
| Board | ESP32S3 Dev Module |
| Port | Select the correct port |
| USB CDC On Boot | Enable |
| CPU Frequency | 240MHz (WiFi) |
| Core Debug Level | None |
| USB DFU On Boot | Disable |
| Erase All Flash Before Upload | Disable |
| Events Run On | Core1 |
| Flash Mode | QIO 80MHZ |
| Flash Size | 16MB (128Mb) |
| PSRAM | OPI PSRAM |
| Upload Mode | UART0/Hardware CDC |
| Upload Speed | 921600 |
| USB Mode | CDC and JTAG |
-
Upload Code to the Development Board
-
After configuring the settings, click the Upload button to compile and upload the code to the development board.
-
If you experience issues with uploading, refer to the Troubleshooting section below.
Common Issues and Solutions
-
What to do if the upload fails? If the upload fails, ensure your board is connected properly. Try reconnecting the USB cable, or press the Boot button on the development board to initiate forced boot mode.
-
How to downgrade to Arduino IDE version 2.0.14? If you face issues with newer Arduino IDE versions, it's advisable to downgrade to version 2.0.14. You can download older versions directly from the Arduino website.
-
TFT_eSPI library not working? As mentioned, TFT_eSPI may not be compatible with versions higher than Arduino IDE 2.0.14. In this case, downgrade to Arduino IDE 2.0.14 or a lower version to ensure compatibility.
How to Install Visual Studio Code and PlatformIO for T-Display-S3
To get started with the T-Display-S3 development board, you’ll need to install Visual Studio Code and configure PlatformIO. Follow these steps for a smooth setup.
-
Install Visual Studio Code
First, download and install Visual Studio Code from the official website. This lightweight and powerful code editor will be used for developing your T-Display-S3 projects.
-
Install the PlatformIO Extension
-
Open Visual Studio Code.
-
Navigate to the Extensions section (on the left side menu).
-
Search for PlatformIO in the search bar.
-
Click Install on the PlatformIO IDE extension.
-
Restart Visual Studio Code
Once the installation is complete, restart Visual Studio Code to ensure the PlatformIO plugin is properly loaded.
-
Select Your Project Folder
-
After restarting Visual Studio Code, click File in the upper-left corner.
-
Select Open Folder and choose the T-Display-S3 project folder you wish to work with.
-
Wait for Dependency Installation
Allow PlatformIO to automatically install any third-party dependent libraries required for your project. This process will take a few moments.
-
Configure PlatformIO Settings
Edit
platformio.ini
-
In the T-Display-S3 project, locate and open the platformio.ini file.
-
Within this file, go to the [platformio] section.
-
Uncomment one of the lines that starts with
default_envs = xxxx, making sure only one configuration is active at a time.
-
Compile and Upload Firmware
-
Once the settings are configured, click the ✔ symbol located in the lower left corner to compile the project.
-
Connect your T-Display-S3 board to your computer using a USB cable.
-
Click the → symbol to upload the compiled firmware to the board.
-
To view the output, click the plug symbol to open the serial monitor.
-
Troubleshooting
If you encounter issues where the device cannot be written, or the USB device keeps flashing, please refer to the FAQ section below for common troubleshooting steps.
Which LILYGO T-Display S3 Should You Choose?
Choosing the right LILYGO T-Display S3 model depends on your project needs:
-
For simple IoT projects and displays, the T-Display S3 with a TFT LCD is perfect.
-
If you need image capture capabilities, consider the T-Display S3 AMOLED Camera.
-
For high-quality graphical displays without camera needs, go for the T-Display S3 AMOLED V1.
-
For advanced graphics and rendering capabilities, the T-Display S3 AMOLED V2 is the best choice.
Each version is versatile and ready to meet the needs of both beginners and advanced users, and with ample resources available on GitHub and in documentation, you can easily dive into development.