Project Description
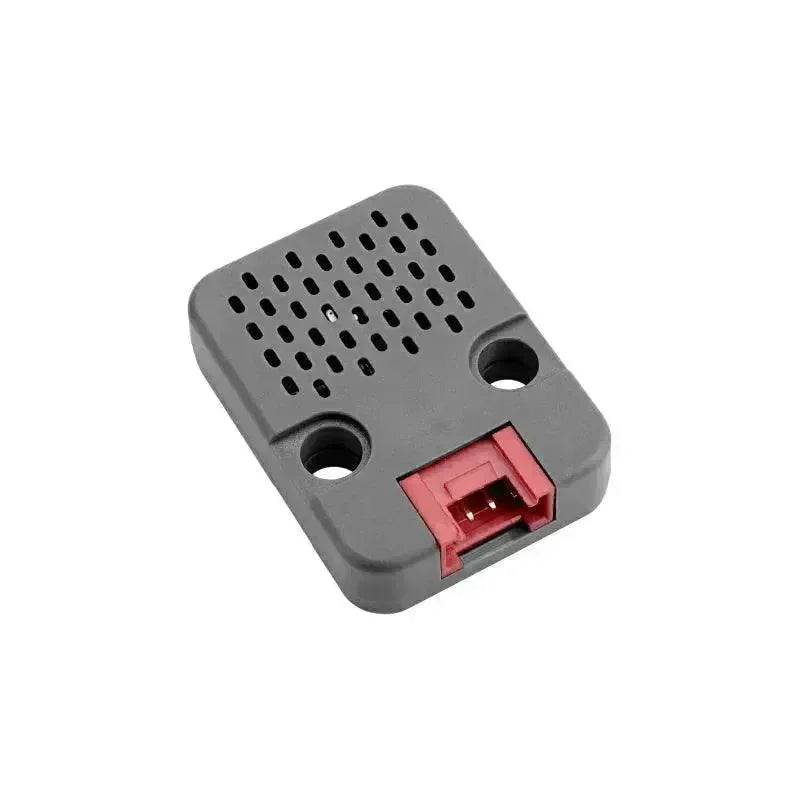
This project uses the M5Stack Hall Effect Unit sensor to track the speed of the bicycle. We started by attaching three small magnets to the inner rim of the wheel and securely mounting the Hall sensor on the frame. As the wheel spins, the magnets rotate along with it, and each time a magnet passes the Hall sensor, it generates an electrical signal.
To calculate the speed, we first measure the wheel's circumference. Then, we record the time interval between two signals to determine how long it takes for the magnet to complete one full revolution. By dividing the wheel’s circumference by the recorded time, we obtain the bicycle’s speed.
It is essential to incorporate an anti-shaking mechanism in the code to avoid multiple triggers when the wheel rotates slowly. Without this, the sensor may register false signals, leading to inaccurate speed readings. This project demonstrates how to apply sensors effectively while ensuring accuracy and reliability through thoughtful implementation.
Functional Features
- Real-Time Speed Display: The current speed of the bicycle is shown in real-time on the M5StickC Plus 2 screen, delivering precise speed measurements for an accurate riding experience.
- Hall Effect Sensor Detection: The system leverages the M5Stack Hall Effect Sensor to calculate speed by measuring the frequency at which a magnet passes over the sensor, ensuring accurate and consistent speed tracking.
- Anti-Shaking Mechanism: A built-in anti-shaking algorithm prevents multiple signal triggers caused by slow wheel speeds or road bumps, enhancing the accuracy of the speed display.
- Lightweight Design: With the compact and lightweight M5StickC Plus 2 as the controller, the system fits perfectly on bicycles, occupying minimal space while providing robust functionality.
Installation and Operation
Precondition
Software dependency: Arduino IDE etc. Hardware requirements: USB-C cable, M5StickCPlus2, Hall Effect Unit, etc. Dependencies: M5StickCPlus2 library, Arduino library, etc.
Installation of Dependencies
1. After installing the Arduino IDE, open the Settings menu, paste the M5 development board link into the appropriate field, and click OK to save the changes.

2. Open Tools->Board->Boards Manager

3. Search for M5Stack in the Arduino Library Manager and install it. Since it's already installed on this system, I won’t repeat the installation process.

4. Select development version, Tools->Board->M5Stack Arduino->M5StickCPlus2

5. Next, install the M5StickCPlus2 library by selecting Tools -> Manage Libraries, searching for 'M5StickCPlus2', and clicking Install. If the library is already installed, the installation process will be skipped.

1. First, we obtain the Hall Effect Unit and learn that whenever a magnet comes near, the indicator on the output pin lights up, and an electrical signal is sent from the I pin.


2. First, we began by defining the receiving pins for the Hall sensor’s electrical signals.
#define WHEEL_CIRCUMFERENCE 2000  // Tire circumference in mm
#define HALL_PIN 33  // Hall Sensor Pins
#define DEBOUNCE_TIME 50  // Dithering time in milliseconds

#define INPUT_PIN 26
3. Initializing the Plus 2 display.
// Initialize M5StickC Plus2
  M5.begin();

  // Setting the orientation and font of the display
  M5.Lcd.setRotation(1);
  M5.Lcd.setTextSize(4);
  M5.Lcd.fillScreen(BLACK);
  M5.Lcd.setTextColor(WHITE);
4. Anti-shaking design: By detecting the interval between electrical signals from the Hall sensor, we can determine whether repeated detections have occurred.
int counter = 0;  // Record the number of tire rotations
unsigned long lastPulseTime = 0;  // Time of last detected pulse
unsigned long lastDisplayTime = 0;  // The last time the update was displayed
unsigned long currentTime = 0;

currentTime = millis();
  // Read Hall sensor status
  bool hallState = digitalRead(HALL_PIN);

  // Changes in Hall sensors are detected and jitter has to be filtered out
  if (hallState == LOW && (currentTime - lastPulseTime > DEBOUNCE_TIME)) {
    counter++;  // Increased count indicates one tire rotation.
    lastPulseTime = currentTime;  // Update last pulse time
  }
5. The key to obtaining the speed is calculating it by measuring the time interval between two signals and combining it with the circumference of the wheel, then displaying the result on the M5StickC Plus 2 screen.
// Update screen display every 1 second
  if (currentTime - lastDisplayTime >= 1000) {
    M5.Lcd.fillScreen(BLACK);
    M5.Lcd.setCursor(20, 20);

    // Calculation of v'elocity in millimeters per second, converted to meters per second
    double speed = ((double)counter * (double)WHEEL_CIRCUMFERENCE) / 1000.0;

    // Create a character buffer to store the formatted speed value
    char buffer[20];
    snprintf(buffer, sizeof(buffer), ' Speed:     %.2f m/s', speed);

    // Prints formatted speed value to LCD
    M5.Lcd.print(buffer);

    // Reset Counter
    counter = 0;

    // Update the displayed time
    lastDisplayTime = currentTime;
  }
Compile and Run
1. First, download the zip archive. Once the download is complete, unzip it and open the speed.ino file.

2. Connect the M5StickC Plus 2 to your computer using a USB-C cable. Then, go to Tools -> Port and select the correct port.

3. Click Compile, and once the compilation is complete, click Upload.

Project Showcase

 openelab.de
 openelab.com


