⚡ Flashing ESP32 Devices with Meshtastic Firmware
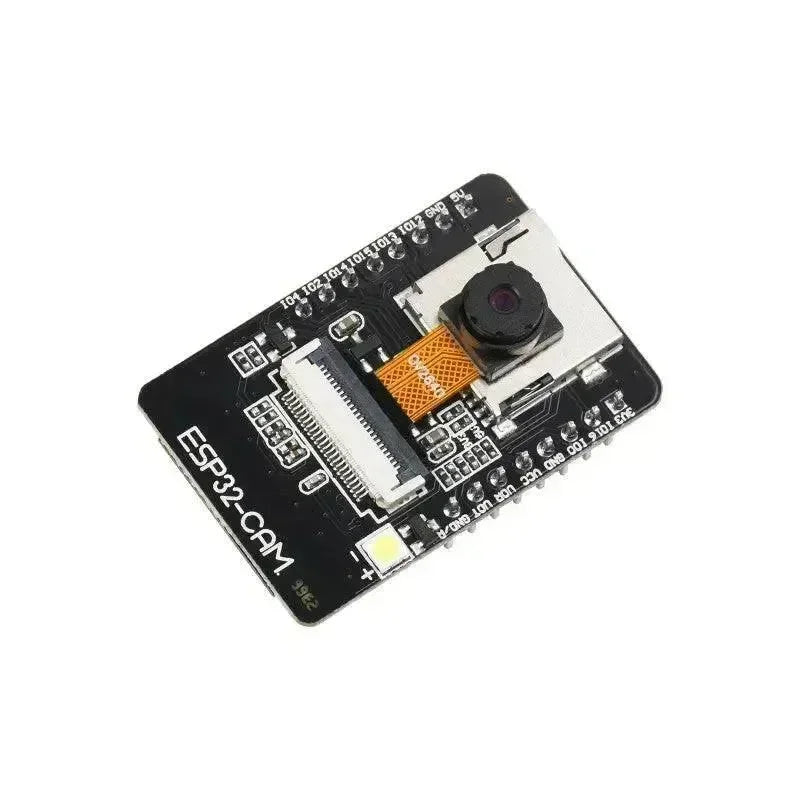
🔧 Flashing ESP32 devices with Meshtastic firmware can be done using several methods. The most recommended method is the 🌐 Web Flasher, which works with Chrome or Edge browsers. It is 👌 user-friendly and ideal for beginners who want to quickly flash their ESP32 boards. The 💻 CLI Script is a manual method for flashing firmware and is better suited for advanced users familiar with command-line tools. If both the Web Flasher and CLI Script fail, using an 🔌 external serial adapter is an option, but it should only be attempted as a last resort ⚠️ due to its complexity.
📡 Before powering on your ESP32-based Meshtastic radio, always attach the antenna. Operating without an antenna can damage the radio chip. To update the Meshtastic web client at meshtastic.local, a full wipe and reinstall of the device is required. This ensures you get the latest bundled web interface. If you want to keep your settings, 💾 export your configuration before reinstalling and import it afterward.
⚙️ Flashing ESP32 firmware is a key step in setting up your Meshtastic device. Whether you use the 🌐 Web Flasher, 💻 CLI Script, or 🔌 serial adapter, make sure to follow safety precautions and choose the method that best fits your experience level.
🚀 Flash Device
-
🔗 Plug in your device
-
🌍 Visit flasher.meshtastic.org *requires Chrome or Edge browser
-
📖 Follow the instructions

🔧 Connect and Set Up Device
💻 Flashing Firmware via CLI
🔍 Connectivity Verification
📡 Before flashing your ESP32 device, verify connectivity with the device you are about to flash. Follow the steps outlined below to check device connection and, if needed, install the appropriate USB drivers for your ESP32 board. If you must install drivers, remember to 🔄 reboot your computer afterward to confirm that the driver installation is complete.
⚠️ NOTE: The T-Beam 0.7 board is an earlier version of the T-Beam ESP32 board. Due to design changes in subsequent iterations, this board requires a specific firmware file that is different from those used by other T-Beam board versions. Make sure to select the correct firmware when flashing your ESP32 T-Beam 0.7 to ensure proper functionality.
-
📂 Use firmware-tbeam0.7-X.X.X.xxxxxxx.bin for the T-Beam 0.7.
-
❌ firmware-tbeam-X.X.X.xxxxxxx.bin is incompatible.
📜 Command Line Interface Instructions
🛠 Install Prerequisite Software
🐧 Linux
|
🐍 python3 --version 📦 pip3 --version |
|
🔄 sudo apt-get update ⬇️ sudo apt-get install python3 |
⬇️ sudo apt-get install python3-pip
|
⬇️ pip3 install --upgrade esptool
|
🍏 MacOS
🔎 brew -v
|
|
🐍 python3 --version 📦 pip3 --version |
⬇️ brew install python3
|
📦 pip3 -v
|
⬇️ pip3 install --upgrade esptool
|
🪟 Windows
-
⬇️ Download and install Python. During the installation process, ensure you select the option to Add Python X.Y to PATH.
-
⬇️ Download and install Git Bash (or another suitable shell), and execute all subsequent commands from that shell.
|
🐍 py --version 📦 pip --version |
⬇️ pip3 install --upgrade esptool
|
🔗 Check Connectivity with the Chip
-
🐧 On Linux and macOS, you may need to explicitly declare esptool as a .py script. Use the command esptool.py chip_id to do this, depending on your environment.
-
🪟 On Windows, you must explicitly declare esptool as a .py script by using the command esptool.py chip_id to ensure proper functionality.
💻 Command
📝 esptool chip_id
|
📤 Expected Output
|
✅ # You should see a result similar to this: 💻 mydir$ esptool chip_id 🔧 esptool.py v2.6 🔍 Found 2 serial ports 🔌 Serial port /dev/ttyUSB0 ⏳ Connecting.... 🔎 Detecting chip type... ESP32 📡 Chip is ESP32D0WDQ6 (revision 1) ✨ Features: WiFi, BT, Dual Core, 240MHz, VRef calibration in efuse, Coding Scheme None 🔑 MAC: 24:6f:28:b5:36:71 ⬆️ Uploading stub... ▶️ Running stub... ✅ Stub running... ⚠️ Warning: ESP32 has no Chip ID. Reading 🔑 MAC instead. MAC: 24:6f:28:b5:36:71 🔄 Hard resetting via RTS pin... |
⬇️ Download Firmware
-
🌐 Navigate to the Meshtastic Downloads Page to obtain the latest firmware.
-
📂 Scroll down to the Firmware section and choose one of the following options based on your preferences:
-
✅ Download Stable: For stable, well-tested releases.
-
🧪 Download Alpha: For newer, experimental releases that include the latest features.
-
📄 Once you are redirected to the GitHub release page, scroll down to the Assets section and expand it.
-
🔎 Identify the appropriate firmware for your device according to its architecture (e.g., firmware-esp32s3 for ESP32-S3-based devices like the Heltec V3).
-
💾 Download the file and make a note of its location on your system, which is typically in your ~/Downloads folder.
📂 Access the Firmware Directory
📂 cd ~/Downloads/firmware-esp32s3-X.X.X.xxxxxxx/
|
⚡ Install or Update Firmware
📌 Please note before you begin:
⚠️ Be extremely careful to install the correct firmware file for your ESP32 board. Specifically, the widely used T-BEAM radio from TTGO is not referred to as TTGO-Lora, which is a different ESP32 board. Therefore, do not flash the TTGO-Lora firmware build onto a T-BEAM, as it will not function properly and may cause issues with your ESP32 device.
❌ If you install the wrong firmware for your ESP32 board, the flashing process may appear to complete successfully, but the device may become unresponsive, showing a blank screen if it has one. Always ensure you flash the correct firmware version for your specific ESP32 hardware.
⚡ Please note that while these ESP32-based devices are generally robust and damage is not guaranteed, there is a risk of harm to the onboard radio module and peripherals if the GPIO pin directions are incorrectly configured during firmware flashing. Proper firmware selection is critical to maintaining the functionality and safety of your ESP32 Meshtastic device.
🐧 Linux & 🍏 macOS
💻 ./device-install.sh -f firmware-BOARD-VERSION.bin
|
⬇️ Download Firmware
-
🌐 Navigate to the Meshtastic Downloads Page to obtain the latest firmware.
-
📂 Scroll down to the Firmware section and choose one of the following options:
-
✅ Download Stable: For stable, well-tested releases.
-
🧪 Download Alpha: For experimental releases with latest features.
-
📄 On the GitHub release page, scroll down to Assets and expand it.
-
🔎 Identify the correct firmware for your device (e.g. firmware-esp32s3 for ESP32-S3 boards).
-
💾 Download the file and note its location (usually ~/Downloads).
📂 Access the Firmware Directory
| 📂 cd ~/Downloads/firmware-esp32s3-X.X.X.xxxxxxx/ |
⚡ Install or Update Firmware
📌 Important:
⚠️ Always install the correct firmware for your ESP32 board. Do not confuse T-BEAM with TTGO-Lora.
❌ Wrong firmware may flash but leave the device unresponsive (blank screen).
⚡ Incorrect GPIO configs during flashing may harm the radio module. Choose carefully.
🐧 Linux & 🍏 macOS
| 💻 ./device-install.sh -f firmware-BOARD-VERSION.bin |
| 💻 ./device-update.sh -f firmware-BOARD-VERSION-update.bin |
🪟 Windows
| 💻 esptool.exe --chip esp32 write_flash -z 0x1000 firmware-BOARD-VERSION.bin |
| 💻 esptool.exe --chip esp32 write_flash -z 0x1000 firmware-BOARD-VERSION-update.bin |
💻 device-install.bat -f firmware-BOARD-VERSION.bin
|
💻 device-update.bat -f firmware-BOARD-VERSION-update.bin
|
🔌 Connect and Set Up Device
🔧 Flashing with an External Serial Adapter
⚙️ Flashing Process
-
⚠️ Due to the ongoing chip shortage, recently acquired devices like the TTGO T-Beam may be equipped with legacy or non-standard USB to Serial adapter chips, which can be unreliable in certain situations.
-
❌ Some devices may feature defective USB to Serial chips, leading to communication issues.
-
🔗 Specific devices, such as the Hydra (Meshtastic-DIY target)
🔌 USB Serial Adapters
🛠 There are numerous ESP32 adapter options available in the marketplace, but it is advisable to choose an adapter that uses the Silicon Labs CP2102 chip, known for its reliability and status as an industry standard for ESP32 flashing. The CP2102-based adapter ensures stable USB-to-serial communication, which is essential for successful firmware flashing.
🔌 Begin by plugging the CP2102 adapter into your computer without connecting any ESP32 devices at this point. Make sure that the necessary USB drivers for the adapter are installed on your computer. For Windows users, the correct CP2102 drivers should typically install automatically, enabling smooth ESP32 device detection and reliable firmware upload.

Connecting Adapter to the Device
-
🔄 Connect the RX pin of the adapter to the TX pin of the device.
-
🔄 Connect the TX pin of the adapter to the RX pin of the device.
-
⚡ Connect a GND pin of the adapter to the GND pin of the device.
-
🔋 Connect either the 5V pin of the adapter to the 5V pin of the device (as illustrated) or the 3.3V pin of the adapter to the 3.3V pin of the device.
-
🟢 Bridge GPIO 0 to GND on the device with a jumper. (This will put the device into flash mode when powered up.) Example wiring featuring a T-Beam.

-
🔌 Connect the device to a USB port on the computer.
-
❎ Remove the jumper bridging GPIO 0 to GND.

💾 Flashing the Device

🛠 Troubleshooting the Flashing Process
🔌 Connect and Set Up Device
📡 Flashing nRF52 & RP2040 Devices
-
⚡ Firmware Upgrade Process for nRF52 and RP2040 Devices: Devices based on nRF52 and RP2040 architectures offer a straightforward firmware upgrade process that does not require any driver or software installation on any platform.
-
📂 Drag & Drop: These devices utilize the Drag & Drop installation method for installing firmware releases. Simply drag the firmware file onto the device in your file explorer.
-
📶 Over-The-Air (OTA) Updates: nRF52 devices can receive OTA firmware updates from a mobile device via Bluetooth, allowing for seamless updates without the need for physical connections.
-
🧹 Factory Erase: Before installing new firmware, you may consider performing a Factory Erase to clear any existing data that may change format or location between releases.
🔄 Converting RAK4631-R to RAK4631: If your device does not come with the Arduino bootloader, you will need to perform a conversion to ensure compatibility.
-
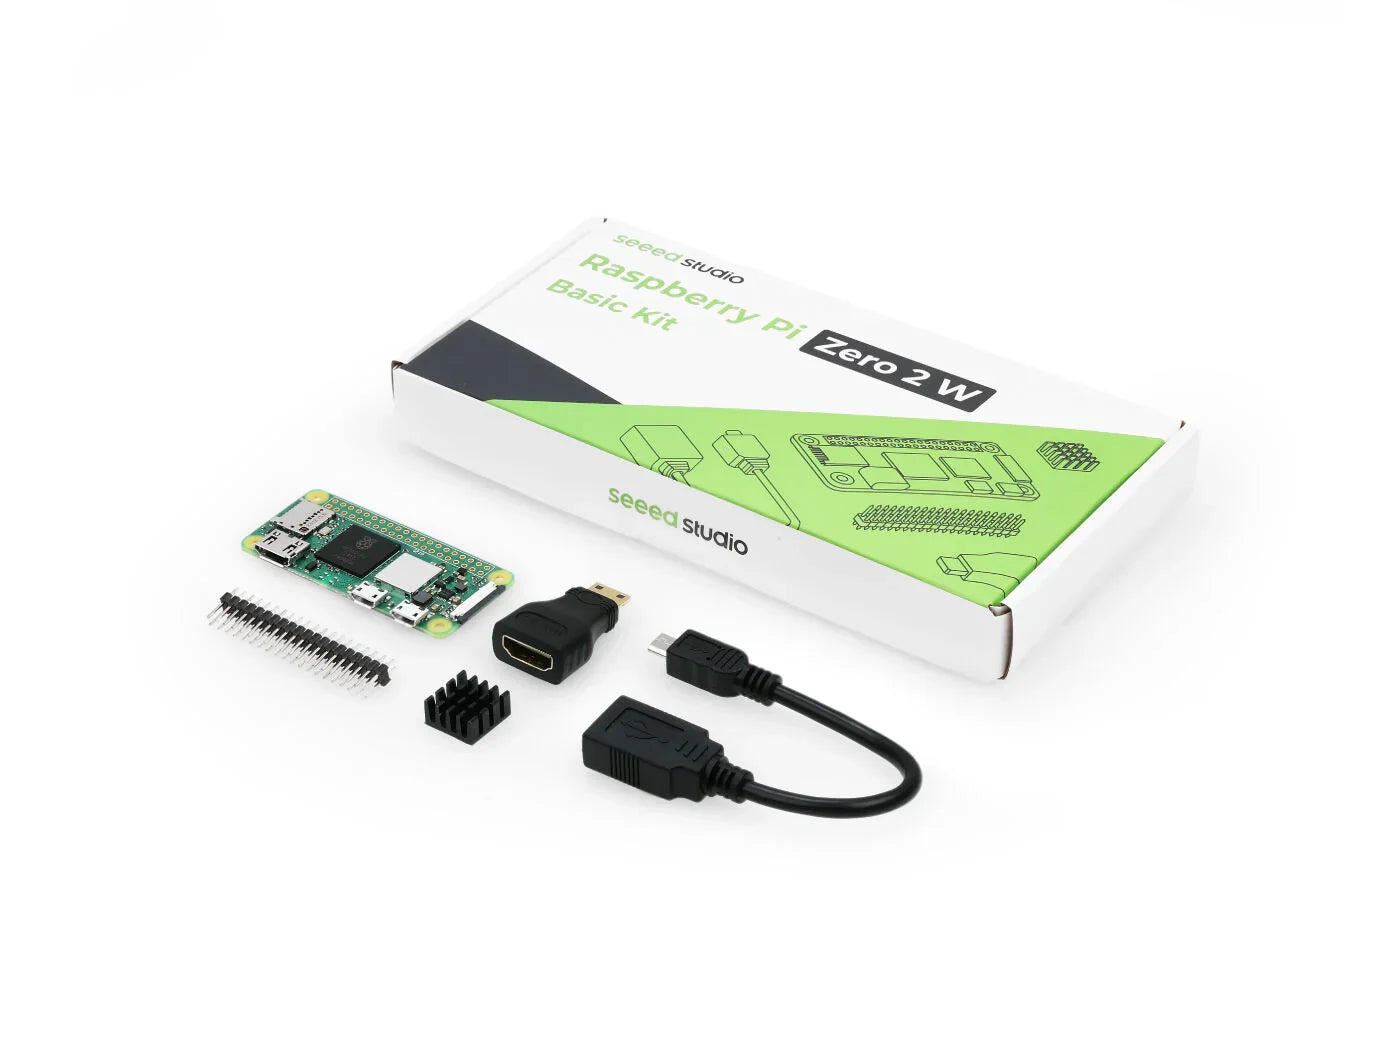
🛠 Using Raspberry Pi as a SWDIO Flash Tool: If your device cannot be flashed via USB or Bluetooth, an alternative option is to use a direct SWDIO connection with a Raspberry Pi as a flashing tool.
📂 Drag-and-Drop Firmware Updates for nRF52 & RP2040
💻 Flash Device
-
🌐 You can now utilize the Meshtastic Web Flasher to download and transfer firmware to your nRF52 or RP2040-based devices. Alternatively, you can follow the instructions below to download and install the firmware.
-
🧹 If you have recently completed a Factory Erase, your device might automatically start up in bootloader mode. You can then proceed directly to "Copy the appropriate firmware..." for your specific device below:
🔵 nRF52
- ⬇️ Download and unzip the latest firmware from the Meshtastic Downloads.
- 🔌 Connect your device to your computer using a USB data cable.
- 🔁 Press the reset button on your device twice (this will enter bootloader mode).
- 💻 A new drive will be mounted on your computer (compatible with Windows, Mac, Linux, or Android).
- 📂 Open this drive, where you should find three files: CURRENT.UF2, INDEX.HTM, and INFO_UF2.TXT.
- 📥 Copy the appropriate firmware file (firmware-DEVICE_NAME-X.X.X-xxxxxxx.uf2) from the release folder to this drive.
- ✅ After the file finishes copying, the device will reboot and install the Meshtastic firmware.
🟣 RP2040
- ⬇️ Download and unzip the latest firmware from the Meshtastic Downloads.
- 🔘 Press and hold the BOOTSEL button, then connect the device to your computer using a USB cable.
- 💻 A new drive will be mounted on your computer (compatible with Windows, Mac, Linux, or Android).
- 📂 Open this drive, where you should find two files: INDEX.HTM and INFO_UF2.TXT.
- 📥 Copy the appropriate firmware file (firmware-DEVICE_NAME-X.X.X-xxxxxxx.uf2) from the release folder to this drive.
- ✅ After the file has finished copying, the device will reboot and install the Meshtastic firmware.
⚠️ Possible Flashing Edge Cases
- 🔎 Before flashing, ensure that you have the RAK4631 and not the RAK4631-R. If not, you will need to change the bootloader. Instructions can be found here.
- ⚠️ Older versions of the firmware may retain outdated data, leading to crash loops. If you encounter problems upgrading, perform a factory erase before flashing.
🔌 Connect and Set Up Device
📡 Over-the-Air (OTA) Firmware Updates for nRF52
🤖 Android
- ⬇️ Download firmware from Meshtastic Downloads or GitHub.
- 📂 Unzip the firmware folder.
- 📱 Open nRF Connect App → SCANNER tab → CONNECT device.
- 🔗 If shows DISCONNECT, continue; if CONNECT, tap it.
- ⚙️ Tap DFU icon (top right).
- 📦 Select "Distribution Packet (ZIP)" → OK.
- 📥 Choose firmware file ending with -ota.zip.
- ⏳ Update starts automatically (may be slow).
- ✅ Device reboots after update.
🍎 Apple
- ⬇️ Download firmware from Meshtastic Downloads, GitHub, or directly via the app.
- 📂 Unzip the firmware folder.
- 📱 Open the nRF DFU App and select the correct device firmware file (ending with -ota.zip).
- 🔗 Connect to your device.
- ⬆️ Upload the firmware.
- ⚙️ Go to settings and enable "Packets Receipt Notification".
- 🔽 Change "Number of Packets" to a lower value; some users have found success with "5".
🧹 Factory Reset for nRF52/RP2040 Devices
- 💾 Meshtastic uses the littlefs library to store configuration, logs, and other data in the internal flash memory of nRF52 and RP2040 devices. Updating firmware does not erase this data, which can cause issues if formats change between releases.
- 🌐 You can use the Meshtastic Web Flasher to factory erase your devices. Select your board and click the 🗑️ icon to erase. Alternatively, follow the instructions below.
🔵 nRF52
- ⬇️ Download and unzip the latest firmware from the Meshtastic Downloads page.
- 🔌 Connect your device via USB.
- 🔁 Double-click the reset button to enter bootloader mode.
- 💻 A new drive mounts (Windows/Mac/Linux).
- 📂 Drive contains: CURRENT.UF2, INDEX.HTM, INFO_UF2.TXT.
- 📝 Open INFO_UF2.TXT and note the SoftDevice value.
- 📥 Copy the correct factory erase UF2 file (Meshtastic_nRF52_factory_erase...) to the drive. Device reboots.
- 💻 Run
meshtastic --noprotoin terminal. - ✅ You should see: Formatting... Done.
🟣 RP2040
- ⬇️ Download flash_nuke.uf2.
- 🔘 Hold BOOTSEL and connect via USB.
- 💻 Board mounts as RPI-RP2.
- 📥 Copy flash_nuke.uf2 to the drive.
- ✅ Board restarts and flash memory is erased.
🔄 Converting RAK4631-R to RAK4631
💻 USB Device Firmware Update (DFU)
- ⬇️ Install Python.
- ⬇️ Install adafruit-nrfutil.
| 📦 pip3 install adafruit-nrfutil |
-
🧹 You can now use the Meshtastic Web Flasher to factory erase your nRF52 or RP2040-based devices. Visit the flasher, select your board, and click the 🗑️ trash can icon to the right of the Flash button. This will open a dialog to initiate the erase procedure. Alternatively, you can follow the instructions below.
🔵 nRF52
- ⬇️ Download and unzip the latest firmware from the Meshtastic Downloads page.
- 🔌 Connect your device to your computer using a USB data cable.
- 🔁 Double-click the reset button on your device to enter bootloader mode.
- 💻 A new drive will be mounted on your computer (Windows, Mac, or Linux).
- 📂 Open this drive, and you should see three files: CURRENT.UF2, INDEX.HTM, and INFO_UF2.TXT.
- 📝 Open the INFO_UF2.TXT file in a text editor and note the SoftDevice value.
- 📥 Locate the file in the downloaded firmware that matches your SoftDevice version (7.x.x or 6.x.x). Use either Meshtastic_nRF52_factory_erase_v3_S140_7.3.0.uf2 or Meshtastic_nRF52_factory_erase_v3_S140_6.1.0.uf2, and copy it onto the drive. The device will reboot.
- 💻 With the Meshtastic CLI installed, open Terminal/Console and enter:
meshtastic --noproto. - ✅ You should see the message: Formatting... Done.
🟣 RP2040
- ⬇️ Download the flash_nuke.uf2 file to your computer.
- 🔘 Press and hold the BOOTSEL button, then connect the board to your computer using a USB cable.
- 💻 The board should now appear as a mass storage device on your computer, labeled as RPI-RP2.
- 📥 Copy the flash_nuke.uf2 file to this device.
- ✅ The board will automatically restart, and the flash memory will be erased.
🔄 Converting RAK4631-R to RAK4631
💻 USB Device Firmware Update (DFU)
- ⬇️ Install Python
- ⬇️ Install adafruit-nrfutil
| 📦 pip3 install adafruit-nrfutil |
🛠 Debugger
| 📦 pip3 install pyocd |
- ⬇️ Download the necessary bootloader: WisCore_RAK4631_Board_Bootloader.hex
- 🔗 Connect the RAKDAP as instructed below:

-
⚡ Flash the bootloader
| 💻 pyocd flash -t nrf52840 .\WisCore_RAK4631_Board_Bootloader.hex |
-
➡️ Proceed with the standard flashing instructions.
🔄 Updating or Recovering the Bootloader on nRF52 Devices
✅ Method 1: Updating with the UF2 File (Recommended)
- 📥 Lilygo T-Echo
- 📥 RAK4631
- 📥 Seeed Tracker 1000-E
- 📥 Generic Meshtastic 6.1.1 for DIY
- 📥 Generic Meshtastic 7.3.0 for DIY
- ⬇️ Download the correct UF2 Bootloader file.
- 🔌 Connect your device to your computer using a USB cable.
- 🔁 Activate bootloader mode by quickly double-pressing the RESET button. For the Seeed Tracker 1000-E, press and hold the user button, then quickly connect the USB cable to the MagSafe port twice. The device should show up as a removable drive.
- 📂 Drag and drop the UF2 file you downloaded into the removable drive. The device will automatically update the bootloader and reset.
- ✅ Once the device resets, the update is complete. Your device is now on the latest bootloader version, and you can proceed with flashing the firmware.
⚠️ Method 2: Using adafruit-nrfutil
- 📥 Lilygo T-Echo SHA256: 85d8a334bbf82802d712e183f29ec5215f06786ca88914687c437aceab75d9cf
- 📥 RAK4631 SHA256: 4a216ad2be8be23b80371a11753677c850c5711d3b85129390a416fc47ea0910
-
📦 Seeed Tracker 1000-E SHA256: 8c69f0d43a7aac925055451d7262682d6926d4cfb7ea8240b466dc8f16a692ba
-
📦 Generic Meshtastic 6.1.1 for DIY SHA256: ecebecea849ab79d09517dd4f6ff98de5647fe275b0b4d525501e6c29cb5a586
-
📦 Generic Meshtastic 7.3.0 for DIY SHA256: 9a38edf4e974a6f705c41b296499a4fc57682ec9bb686eecd9f3d8d02fc6ffcf
- 💻 Open a terminal or command prompt and install adafruit-nrfutil by running the following command:
| 📦 pip install adafruit-nrfutil |
- ⬇️ Obtain the correct ZIP package.
- 🔌 Connect your device to your computer using a USB cable.
- 💻 In the terminal or command prompt, navigate to the directory where you downloaded the bootloader ZIP package, and execute the following command. Replace /dev/ttyACM0 with the correct port (Windows users may use COMx):
| ⚡ adafruit-nrfutil --singlebank --touch 1200 --verbose dfu serial --package <downloaded file>.zip -p /dev/ttyACM0 -b 115200 |
- ✅ Once the process is complete, the update is finished. Your device is now operating with the latest bootloader version, allowing you to proceed with flashing the firmware.
🛠 Method 3: Using a Debugger
🍓 Using SWDIO for Flashing with a Raspberry Pi
🔌 Wiring Setup
⚙️ Install OpenOCD Software
|
🔄 $ sudo apt update 📦 $ sudo apt install libtool autoconf automake texinfo telnet gdb-multiarch git 🌐 $ git clone git://repo.or.cz/openocd.git 📂 $ cd openocd/ ⚙️ $ ./bootstrap ⚙️ $ ./configure --enable-bcm2835gpio ⚡ $ make -j4 ✅ $ sudo make install |
🔍 Verify Connection
| 💻 $ openocd -f ./openocd/tcl/interface/raspberrypi-native.cfg -c "transport select swd" -f openocd/tcl/target/nrf52.cfg -s tcl |
|
🖥️ Open On-Chip Debugger 0.12.0+dev-00633-gad87fbd1c 📜 Licensed under GNU GPL v2 🔗 For bug reports, read http://openocd.org/doc/doxygen/bugs.html ⚡ swd ℹ️ Info : Listening on port 6666 for tcl connections ℹ️ Info : Listening on port 4444 for telnet connections ℹ️ Info : BCM2835 GPIO JTAG/SWD bitbang driver ⏱️ Info : clock speed 100 kHz 🔎 Info : SWD DPIDR 0x2ba01477 🧩 Info : [nrf52.cpu] Cortex-M4 r0p1 processor detected 🛠️ Info : [nrf52.cpu] target has 6 breakpoints, 4 watchpoints ✅ Info : [nrf52.cpu] Examination succeed ⚙️ Info : [nrf52.cpu] starting gdb server on 3333 ℹ️ Info : Listening on port 3333 for gdb connections 🔗 Info : accepting 'telnet' connection on tcp/4444 |
⬇️ Download Firmware
⚡ Flash Firmware
|
💻 $ telnet 127.0.0.1 4444 🔗 Trying 127.0.0.1... ✅ Connected to 127.0.0.1. ⎋ Escape character is '^]'. 🖥️ Open On-Chip Debugger ⚙️ > init ⚙️ > reset init ⏸️ > halt 🧹 > nrf5 mass_erase 📥 > program firmware.hex verify 🔄 > reset 🚪 > exit 0 |
 openelab.de
 openelab.com


