Story
In our work hours, we always need to use shortcut keys. Almost all keyboards have less than 4 custom keys, so I have always wanted to make a keyboard with custom shortcut keys.
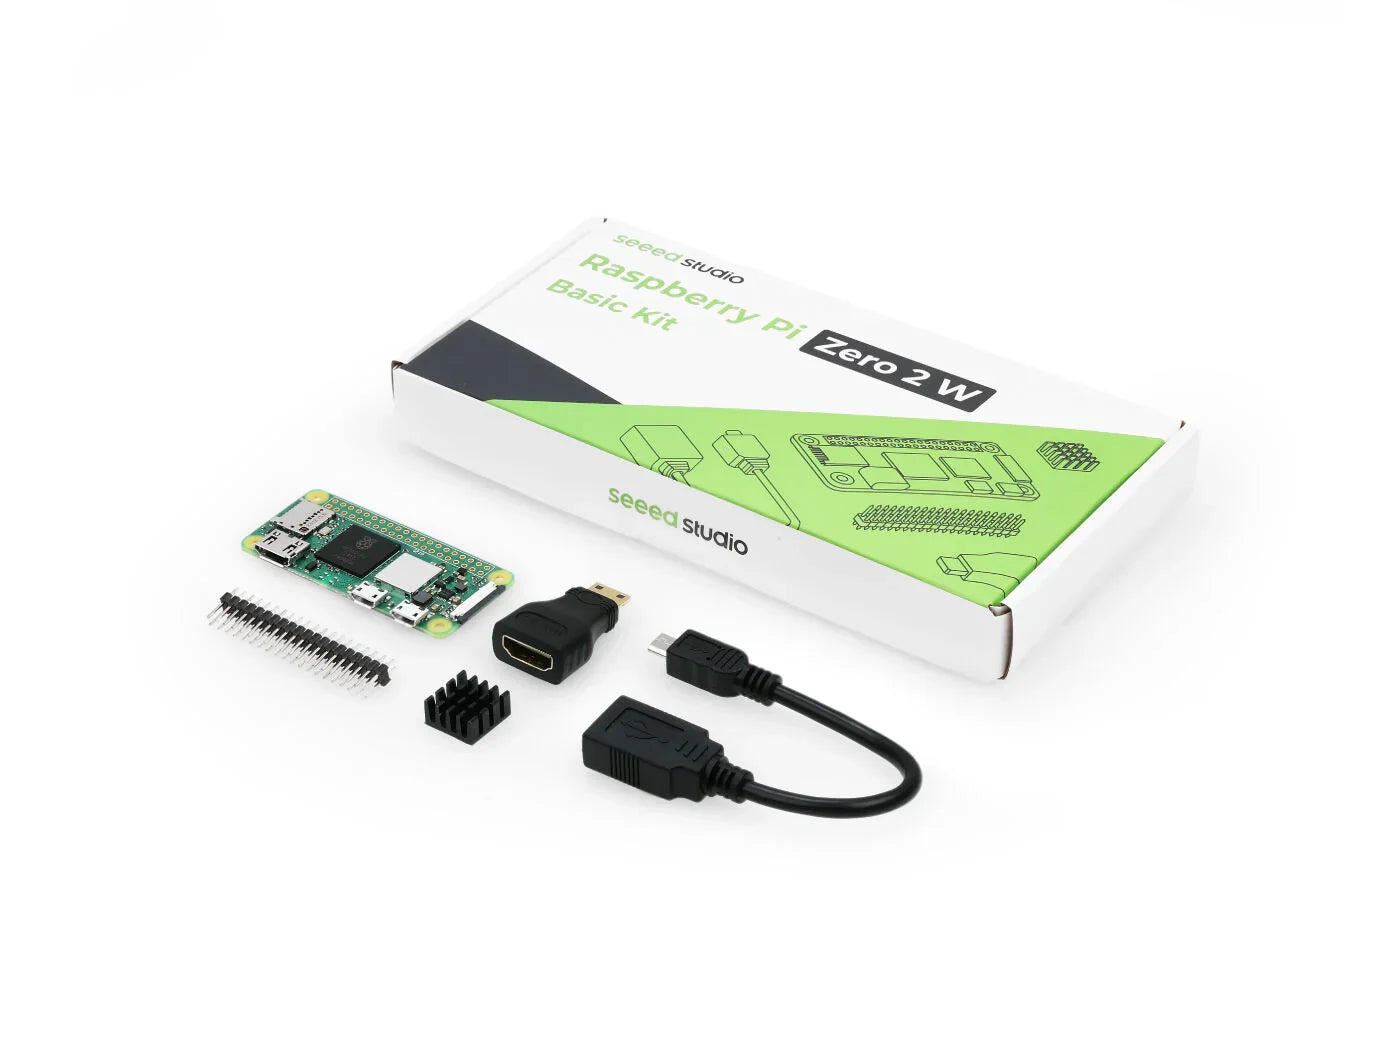
I recently received a new Raspberry Pi product. Right, it's a Raspberry Pi Pico 2, so I think it's time to make it. Let's do it now.
3D print
Hardware
12 x Cherry MX Style Keys
13 x Wire
1 x M3 Screws Kit
You'll find space for the Pico 2 and wiring below. The USB port on the Pico 2 will be accessible from the hole in the back of the enclosure, so you can connect it to your computer. You can insert the cover from the bottom of the keyboard and secure it with two screws later on. This way, you won't see the junction between the enclosure and the cover.

Electronics
Arduino Nano
First of all, I used Arduino Nano to make a keyboard, but that makes me sad. When I write code already, everything looks well.
But......
Unfortunately, the Arduino IDE can't use USB-HID.
The first version failed. You guys don't need to consider nano anymore.

And I received a Raspberry Pi Pico 2. That made me change my mind. This time I tested the simple code first.

It worked, that's very nice. Let's move on.
Raspberry Pi Pico 2
Install CircuitPython into Pico 2.
If you don't know how to install CircuitPython, look at this Article:
Then open Mu IDE, choose CircuitPython, connect Pico 2, and choose the right port.
Make sure your pico 2 gpio connects the keys.
keys = [
digitalio.DigitalInOut(board.GP0),
]
Define the right gpio in this part
keymap = [
[Keycode.CONTROL, Keycode.C], # Ctrl+C
]
Define the keys setting you wanted, like'Keycode.CONTROL, Keycode.C' means 'Ctrl+C', it's a copy key set.
Summary
That's all the parts for this simple keyboard. If you have some good ideas, contact us please, like putting some LEDs in this keyboard.
Anyway, have fun with your project. Hope we can find more and more funny things.
 openelab.de
 openelab.com


