What is Espressif ESP32
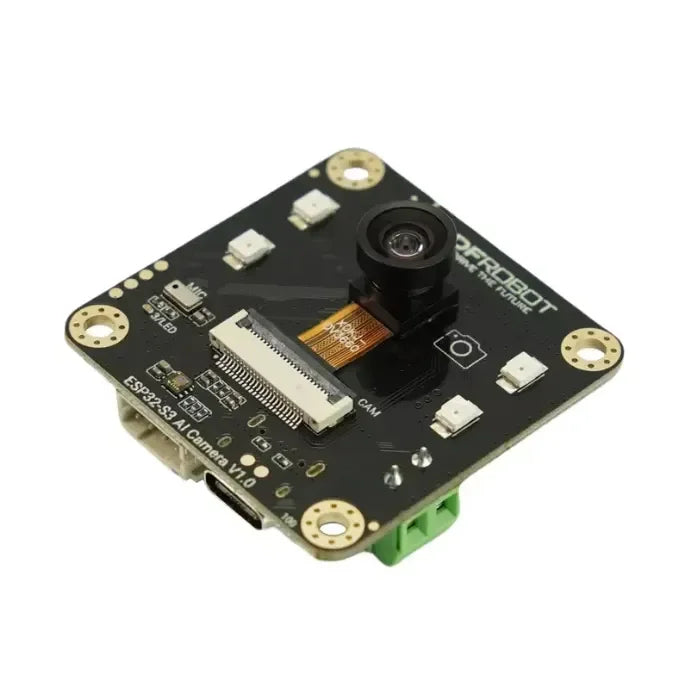
The Espressif ESP32 is a versatile microcontroller ideal for industrial, consumer, and IoT applications, operating reliably in extreme temperatures from –40°C to +125°C. It features ultra-low power consumption with advanced power management and high integration, including built-in antenna switches and RF components, simplifying hardware design. As a hybrid Wi-Fi and Bluetooth chip, it offers seamless connectivity for smart devices and can operate independently or interface with other systems through various protocols. The ESP32 enhances functionality and efficiency across a wide range of projects, from smart homes to industrial IoT.
Develop Espressif ESP32 with VSCode
Open the VSCode website to download according to the appropriate system and system bits.
After running the installation package, you can continue with the default settings. However, for a better experience, it is recommended that you check the boxes for items 1, 2, and 3.
-
Enabling items 1 and 2 allows you to open VSCode directly by right-clicking on a file or directory, improving your workflow.
-
Enabling item 3 allows you to select VSCode as the default option when choosing how to open files.

Install Espressif IDF Plug
Note: The latest version of the plugin is V1.6.4. For a consistent experience, users can choose the same version as ours.
To open VSCode, press Shift+Ctrl+X to access the plug-in manager.


-
Press F1 to input:
esp-idf: configure esp-idf extension

- Select express (this guide is for users who install it for the first time).

Select the download server and choose the version of ESP-IDF you want to use. We recommend the latest version, V5.1.1, as ESP32-C6 support starts from V5.1.
Specify the installation paths for the ESP-IDF container directory and the ESP-IDF Tools directory.
Note: If you have previously installed ESP-IDF or encountered installation issues, ensure you delete the existing files completely.
After configuring, click “Install” to download. The download interface will appear, and the corresponding tools and environment will be installed automatically. Just wait for a moment.
Once the installation is complete, you will see the following interface, indicating that the process is finished.
Demo Example
- Press F1 to enter:
- Select the corresponding IDF version:

Using the Hello World demo as an example:
-
Select the corresponding demo.
-
The readme will indicate which chip the demo applies to (usage and file structure details are described below and omitted here).
-
Click to create the demo.
Choose the path to save the demo, ensuring it does not contain a folder with the same name as the demo.
Modify COM Port
The corresponding COM ports are displayed here; click to modify them.
Select the COM ports according to your device. It is recommended to use the COM port corresponding to the USB connector (viewable in the device manager).
If a download fails, press the reset button for more than 1 second and wait for the PC to recognize the device again before attempting to download again.
Select the project or demo to use, then we finish the modification of the COM ports
Modify the Driver Object
The driver object is displayed here, and you can modify it by clicking on it.
-
Select the project or demo to use and wait for a minute after clicking.
-
Select the object we need to drive, which is our main chip ESP32C6.
-
Choose the path to openocd. This selection doesn’t affect us here, so you can choose one at random.
The Rest of the Status Bar
-
SDK Configuration Editor: Supports modifying most functions of ESP-IDF.
-
All Cleanup: Clears all compiled files.
-
Compile: Compiles the project.
-
Current Download Mode: Default is UART.
-
Burn Firmware: Burn the current firmware after compiling.
-
Open Serial Port Monitor: Used to view serial port information.
-
All-in-One Button: Compiles, burns, and opens the serial monitor (most commonly used for debugging).

Click the all-in-one button we described earlier to compile, burn, and open the serial port monitor. The compilation process may take a while, especially the first time. During this process, ESP-IDF may consume significant CPU resources, potentially causing system lag.
For a new project, you will need to select the download method and choose UART. This can be changed later in the Download Methods section (click to bring up the options). With the onboard automatic download circuit, manual operation is not required for automatic downloading.
After a successful download, the serial monitor will open automatically. You will see the chip output the corresponding information and be prompted to restart after 10 seconds.
FAQ
What is Espressif ESP32 used for?
Espressif ESP32 can be used to create smart home devices, environmental sensors, and home automation: ESP32-based devices can control lights, thermostats, and other home appliances through Wi-Fi or Bluetooth connections, making it a popular choice for DIY home automation projects.
How do I set the Espressif device target in VS Code?
Select an Espressif target (esp32, esp32s2, etc.) by selecting menu View > Command Palette and typing ESP-IDF: Set Espressif Device Target command. Select menu View > Command Palette and type the ESP-IDF: Select OpenOCD Board Configuration to choose the openOCD configuration files for the extension openOCD server.
Should I use Arduino or ESP32?
All things considered, the choice between ESP32 and Arduino largely depends on the project requirements. For complex, connected applications, ESP32 is the choice, while for simplicity and learning, Arduino is preferred.
 openelab.de
 openelab.com


