 openelab.de
 openelab.com


Introduction
With the rapid development of Internet of Things (IoT) technology, the Smart Pet Box has emerged as a new application field. Pet owners are increasingly concerned with the quality of their pets' lives, but traditional pet boxes lack automated control and environmental monitoring. The Smart Pet Box, by integrating sensors and automated control systems, is able to monitor and adjust the living environment of pets in real-time.
This project utilizes IoT technology and a variety of sensor modules to monitor parameters such as temperature, humidity, CO₂ concentration, and light intensity inside the pet box, ensuring that the environment always remains within a comfortable range. Additionally, the project incorporates remote control functionality through a cloud platform, allowing users to view environmental data and adjust devices such as humidifiers, fans, and heating pads anytime. The Smart Pet Box makes it easier for pet owners to manage their pets' environment, improving the overall quality of life for pets.
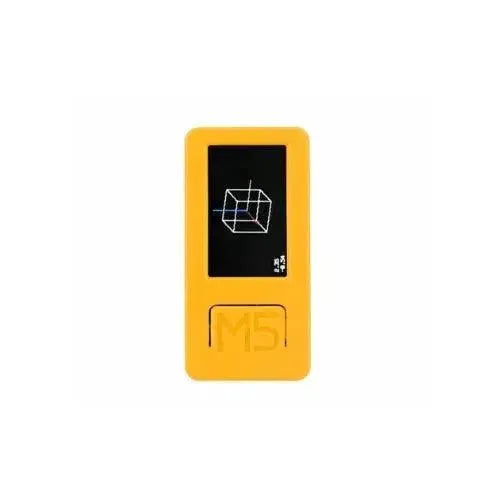
What is M5StickC Plus2?
-
Compact Design: Measuring only 54mm × 54mm, it is easy to carry and integrate into various projects.
-
Built-in Display: A 1.14-inch color TFT display supporting multiple fonts and graphic displays.
-
Multifunctional Sensors: Includes an accelerometer, gyroscope, temperature and humidity sensors, among others, suitable for diverse application scenarios.
-
Built-in Speaker: Supports audio playback, ideal for sound feedback and alarm functions.
-
Rich Interfaces: Supports GPIO, I2C, UART, and other communication interfaces, facilitating peripheral expansion.
-
Battery-Powered: Integrated battery supports long-term operation, suitable for mobile applications.

This section describes hardware and builds the environment
1. Hardware used
2. Connection Method
M5StickC Plus 2 and PaHub Connection:
PaHub and Sensor Connections:
-
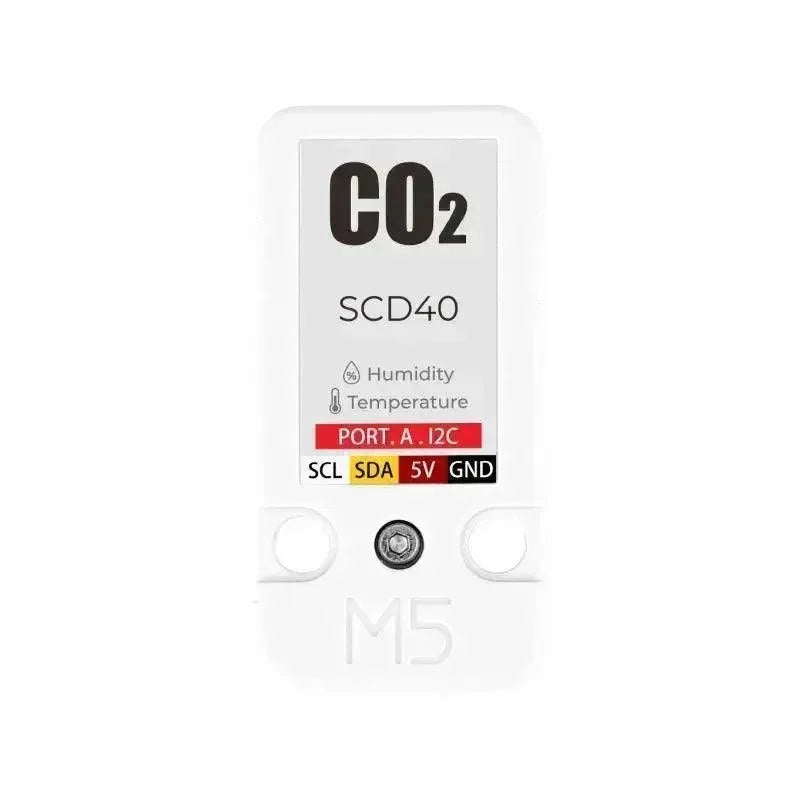
Channel 0 on the PaHub is connected to the SCD40 CO2 Sensor.
-
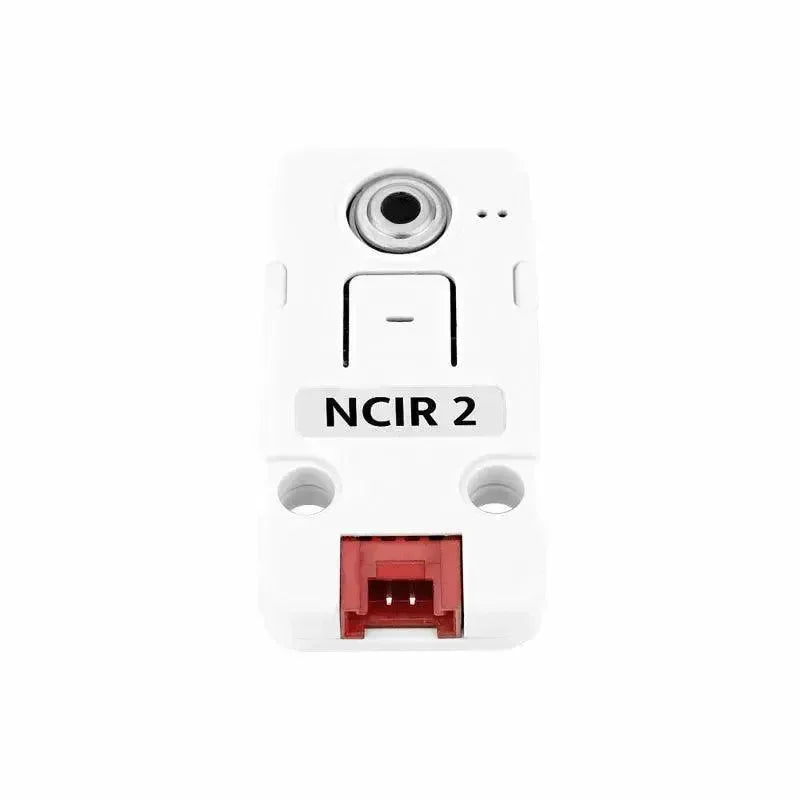
Channel 1 on the PaHub is connected to the MLX90614 Infrared Temperature Sensor.
-
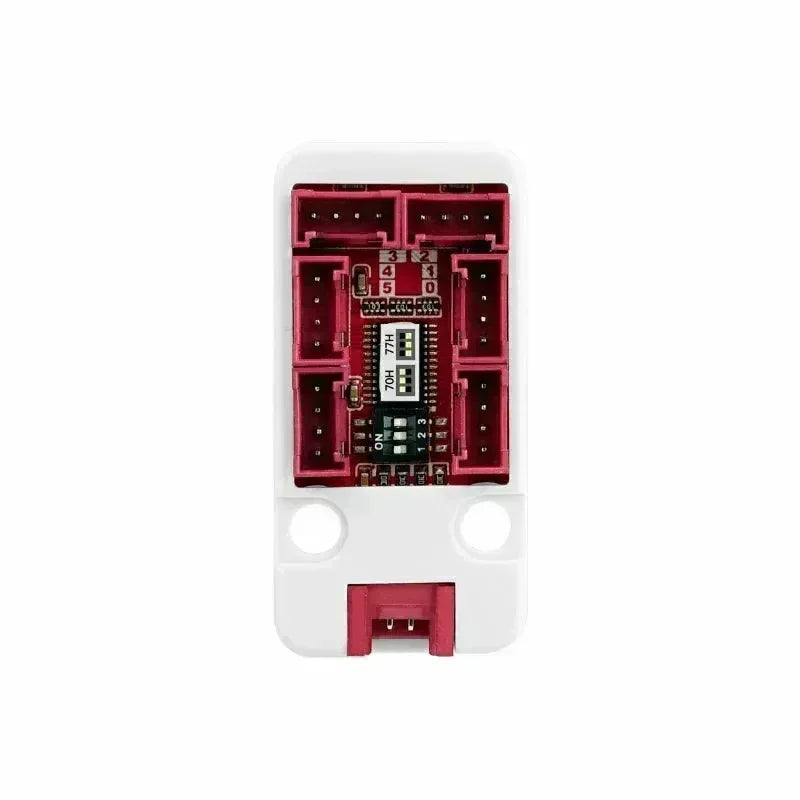
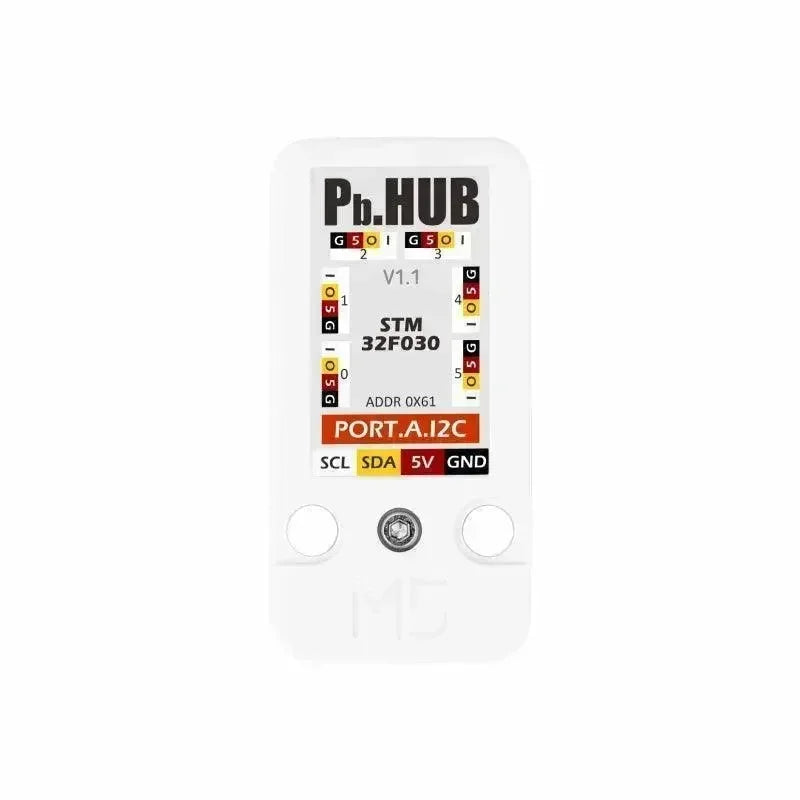
Channel 2 on the PaHub is connected to PbHub.
PbHub and Peripheral Connections:
-
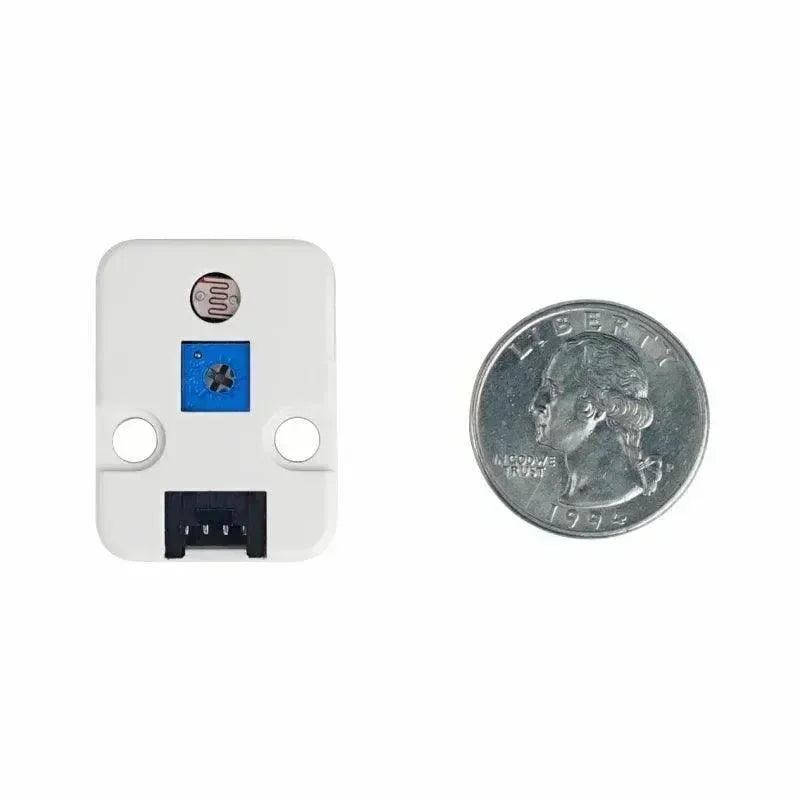
Channel 0 on the PbHub is connected to a light sensor.
-
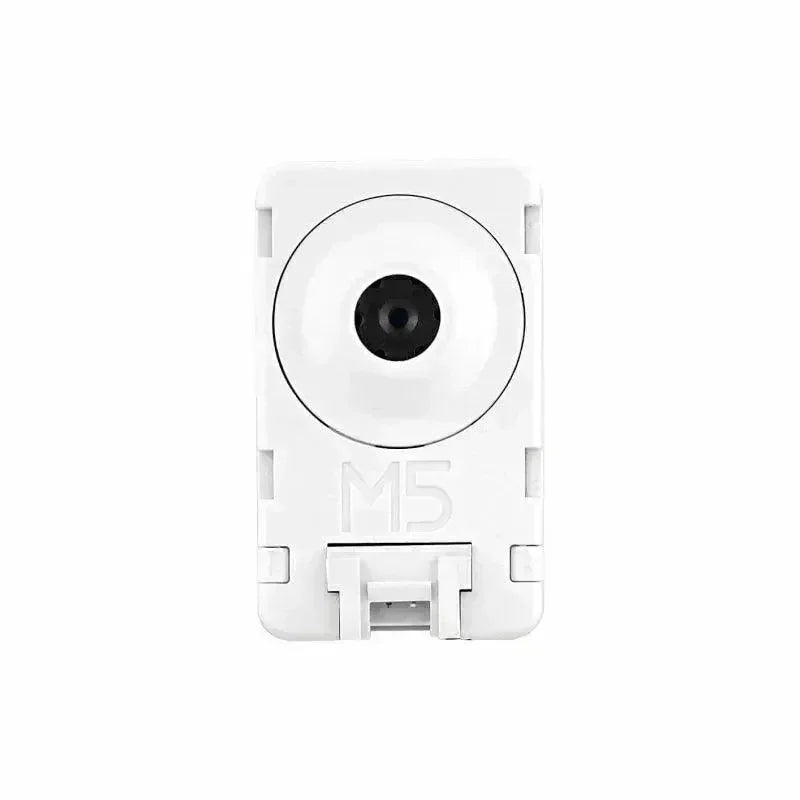
Channel 2 on the PbHub is connected to the camera module (used only for power).
-
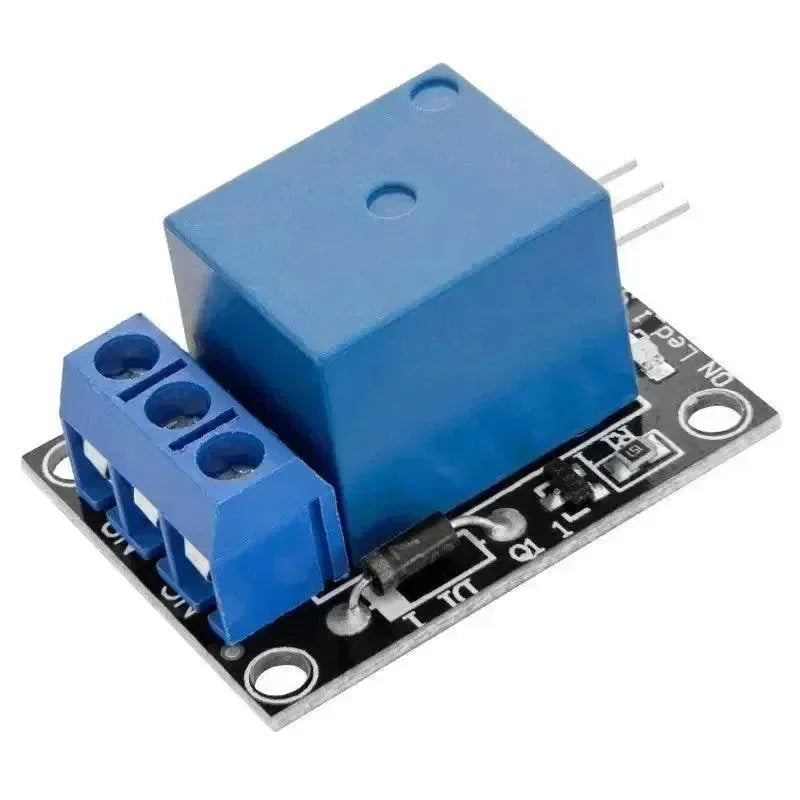
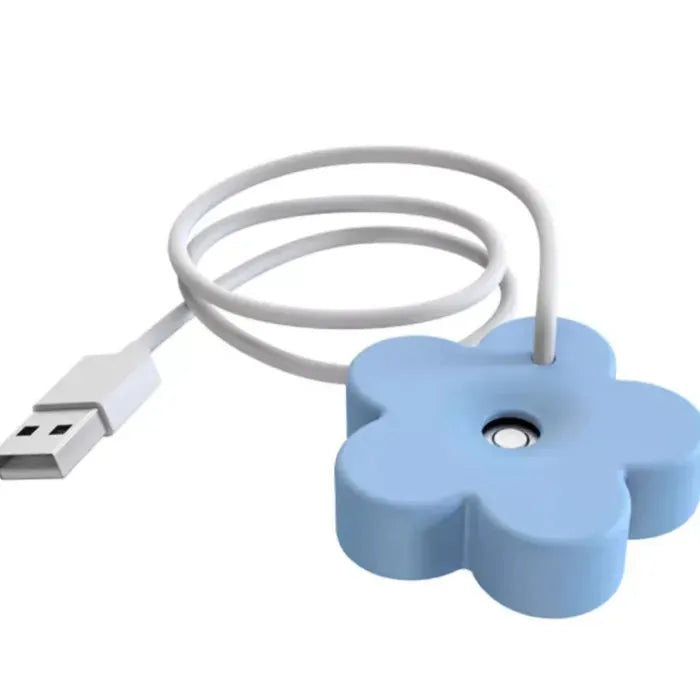
Channel 3 on the PbHub controls the humidifier via a relay.
-
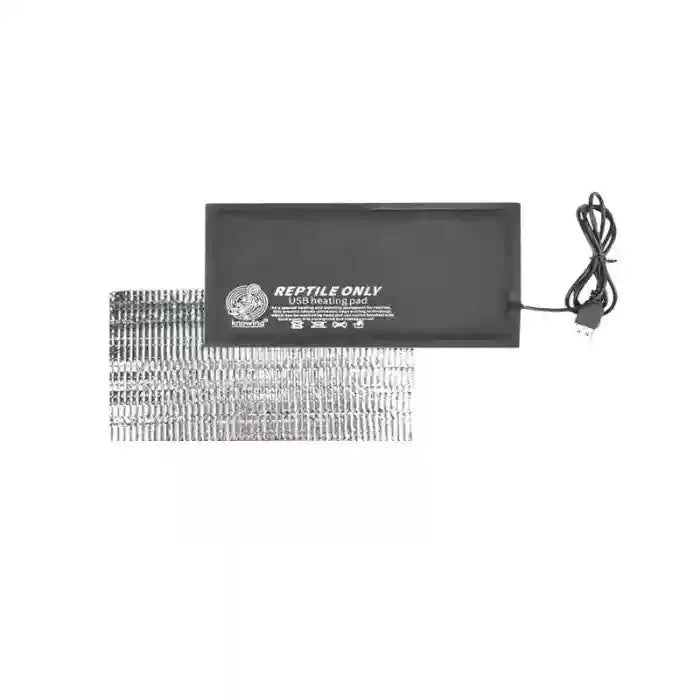
Channel 4 on the PbHub controls the heating pad via a relay.
-
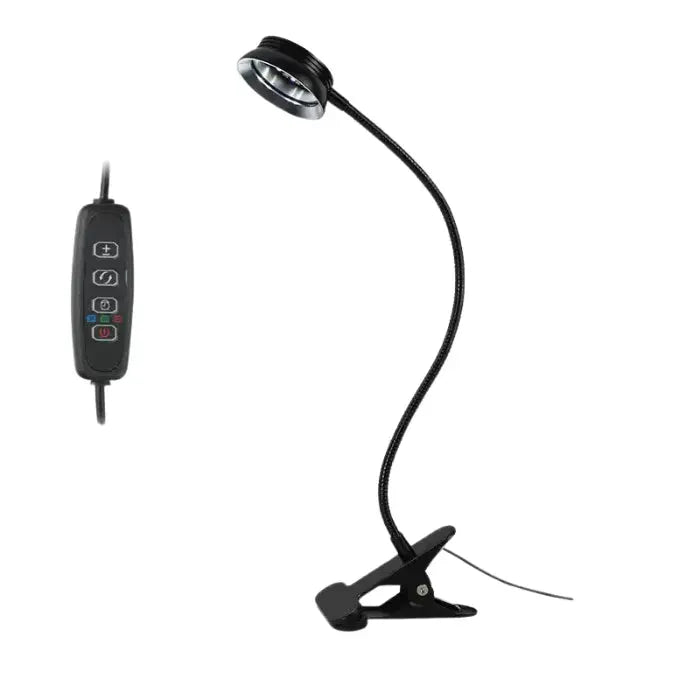
Channel 5 on the PbHub controls the UVA light via a relay.
-
Channel 1 on the PbHub controls the fan via a relay (optional).
Software Setup
1. Software environment
Development Environment:
For some of the Libraries used by the sensor, go directly to PIO Home -> Libraries -> Registry -> and search for a keyword.
Required Libraries:
-
M5GFX – Used for graphics and text display, controlling the M5Stack display.
-
M5Unified – Provides a unified API interface for easier control of M5Stack devices.
-
IRremote – For receiving and transmitting IR signals to communicate with other devices.
-
M5StickCPlus2 – Controls the M5StickC Plus2 board, managing device initialization and operation.
-
Sensirion I2C SCD4x – For controlling the SCD40 environmental sensor to read temperature, humidity, and CO2 levels.
-
ArduinoJson – Used for processing and parsing JSON data to upload sensor data to the cloud platform.
-
M5Unit-HUB 和 M5Unit-PbHub – For interacting with PaHub and PbHub modules, expanding I2C and GPIO interfaces, and connecting additional external devices.
-
TimerOne – For controlling time intervals, ensuring regular sensor data collection.
-
PubSubClient – Implements MQTT communication for exchanging data with the cloud platform.
-
Adafruit MLX90614 Library – Used for controlling the MLX90614 infrared temperature sensor to read the bottom temperature of the pet box.
2. Code Structure
-
WiFi Connection:Connects to the network via WiFi, enabling access to the cloud platform for subscription and publication of data.
-
MQTT Communication:Uses the PubSubClient library to implement MQTT communication, uploading environmental data to the cloud platform and receiving instructions from it.
-
Sensor Data Retrieval: Each sensor's data is read periodically and uploaded using a polling method:
-
SCD40: Reads temperature, humidity, and CO2 concentration.
-
MLX90614:Reads the temperature sensor data (bottom temperature).
-
Device Control:Controls relays to turn devices on and off, such as heating pads, humidifiers, UVA lights, etc. The devices can be controlled automatically or manually by setting target temperature and humidity.
3. IoT Platform and Data Upload
-
Platform Selection: We use Alibaba Cloud IoT to upload data and manage devices remotely.
-
Device Connection and Binding: Follow the setup tutorial to bind your device with the cloud platform.
-
Data Upload: Sensor data is uploaded via the MQTT protocol in JSON format.
// Parse the received JSON message
void callback(char* topic, byte* payload, unsigned int length)
{
  Serial.print("Message arrived [");
  Serial.print(topic);
  Serial.print("] ");

  // Convert the received payload to a string
  char msg[length + 1];
  for (unsigned int i = 0; i < length; i++) {
    msg[i] = (char)payload[i];
  }
  msg[length] = '\0'; // Null terminator for the string

  // Output the received message
  Serial.println(msg);

  // Parse the JSON data
  JsonDocument doc;  // Use JsonDocument to parse JSON
  DeserializationError error = deserializeJson(doc, msg);  // Parse the message into a JSON object

  // Check if parsing was successful
  if (error) {
    Serial.printf("deserializeJson() failed: ");
    Serial.println(error.f_str());
    return;  // Exit if parsing failed
  }

  // Get the temperature value and print it, correctly retrieving the target_temperature from the nested "params" field
  if (doc["params"]["target_temperature"].is()) {
    target_temperature = doc["params"]["target_temperature"];
    Serial.print("Received target_temperature: ");
    Serial.println(target_temperature);
  }
  // Get the humidity value and print it, correctly retrieving the target_humidity from the nested "params" field
  if (doc["params"]["target_humidity"].is()) {
    target_humidity = doc["params"]["target_humidity"];
    Serial.print("Received target_humidity: ");
    Serial.println(target_humidity);
  }
}
4. Callback to Receive Data from Cloud Platform
// Parse the received JSON message
void callback(char* topic, byte* payload, unsigned int length)
{
  Serial.print("Message arrived [");
  Serial.print(topic);
  Serial.print("] ");

  // Convert the received payload to a string
  char msg[length + 1];
  for (unsigned int i = 0; i < length; i++) {
    msg[i] = (char)payload[i];
  }
  msg[length] = '\0'; // Null terminator for the string

  // Output the received message
  Serial.println(msg);

  // Parse the JSON data
  JsonDocument doc;  // Use JsonDocument to parse JSON
  DeserializationError error = deserializeJson(doc, msg);  // Parse the message into a JSON object

  // Check if parsing was successful
  if (error) {
    Serial.printf("deserializeJson() failed: ");
    Serial.println(error.f_str());
    return;  // Exit if parsing failed
  }

  // Get the temperature value and print it, correctly retrieving the target_temperature from the nested "params" field
  if (doc["params"]["target_temperature"].is()) {
    target_temperature = doc["params"]["target_temperature"];
    Serial.print("Received target_temperature: ");
    Serial.println(target_temperature);
  }
  // Get the humidity value and print it, correctly retrieving the target_humidity from the nested "params" field
  if (doc["params"]["target_humidity"].is()) {
    target_humidity = doc["params"]["target_humidity"];
    Serial.print("Received target_humidity: ");
    Serial.println(target_humidity);
  }
}
IoT Platform Configuration
1. Alibaba Cloud IoT:
-
Log in to Alibaba Cloud IoT platform, create a new project, and configure device names, product keys, etc.
-
Retrieve the client ID, username, password, and ensure MQTT communication settings are correc.
2. App Control:
-
Create a product on the Alibaba Cloud IoT platform and configure the interface for device control.
-
Use Alibaba Cloud's SDK to develop a mobile app that allows real-time monitoring and remote device control.
Notes and Common Issues
1. Sensor Initialization:
-
The SCD40 CO2 sensor requires about 6 seconds for initialization before accurate readings are available.
-
The MLX90614 sensor requires the I2C bus speed to be set to 100kHz to function correctly.
2. Device Conflicts:
-
Ensure that the I2C addresses for PaHub and PbHub modules are unique to avoid conflicts.
-
Assign different channels for sensors and peripherals on PaHub to avoid interference.
3. Debugging and Optimization:
-
Adjust the device connection and data upload intervals to avoid excessive data uploads and reduce cloud platform load.
-
If data is not received on the cloud platform, ensure stable device connections and check MQTT settings.
Use Cases
1. Environmental Monitoring and Management:
2. Remote Control and Adjustments:
3. Automation:
4. Pet Monitoring:
5. Versatile Usage:
Future Possibilities and Expansion
1. Aquatic Pet Environments:
2. DIY Features and Customization:
3. Health Monitoring:
4. Cloud Intelligence and Automation:
Conclusion


