M5StickC Plus2 Product Features
Compact and Portable
-
Dimensions: 48mm × 24mm × 14mm
-
Lightweight, ideal for wearable projects.
Powerful Processing Capability
-
It is equipped with an ESP32 chip, supporting Wi-Fi and Bluetooth for easy cloud connection or inter-device communication.
Display Screen
-
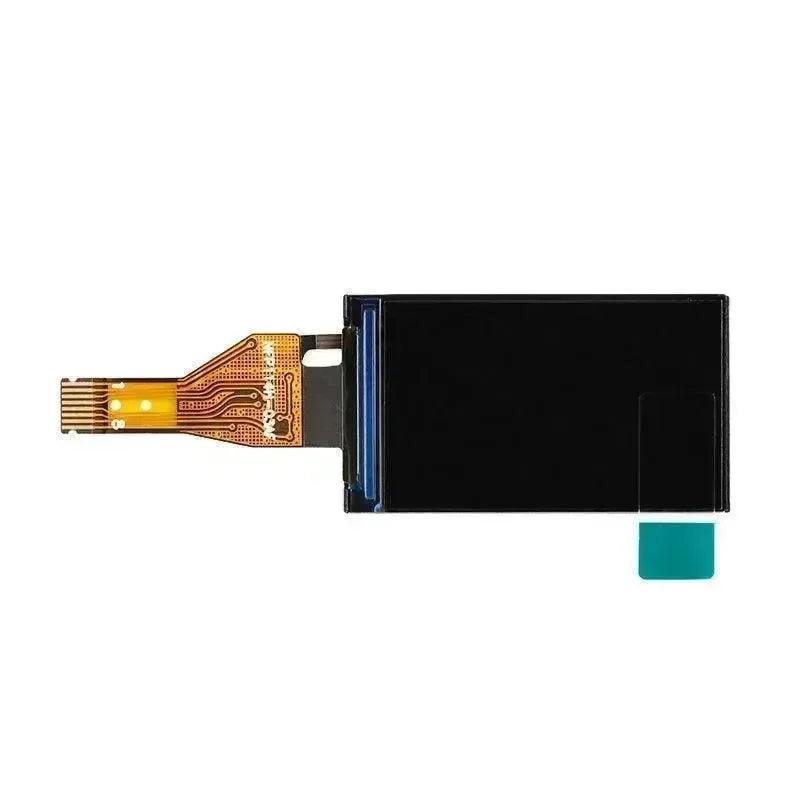
Comes with a 0.96-inch color TFT screen for an intuitive display of status, data, or information.
Built-in Battery
-
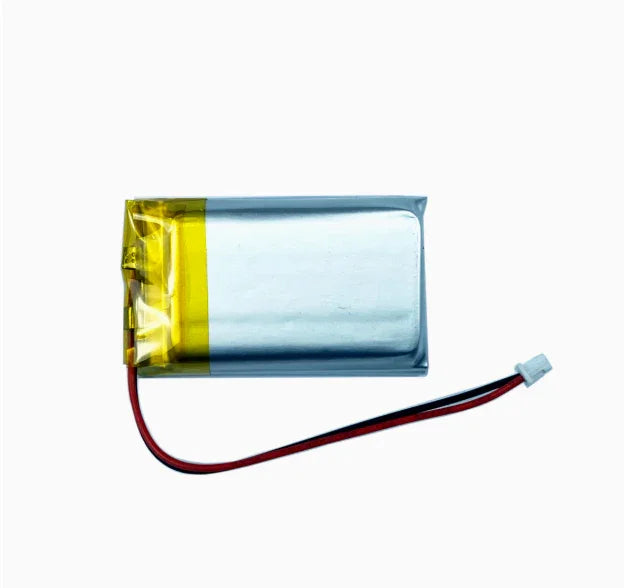
It features an 80mAh lithium battery, is rechargeable, and is suitable for short-term independent operation.
Multiple Sensors
-
Include a six-axis gyroscope (MPU6886) and an infrared transmitter, supporting motion detection and remote control.
Versatile Interfaces
-
Support Grove port expansion, making it easy to connect more sensors and modules.
Easy to Program
-
Compatible with Arduino, MicroPython, and UIFlow environments, suitable for both beginners and professional developers.
M5Burner Firmware Burning Process
Step 1: M5burner Download:m5-docs (m5stack.com)
Step 2: Firmware Burning Process
-
Prepare the Device
-
Connect your M5 device (such as M5StickC Plus2) to your computer using a USB data cable.
-
Ensure the necessary USB drivers (e.g., CP210x or CH340) are installed.
-
Open M5Burner
-
Launch the M5Burner software.
-
In the top-left corner, select the connected device port from the dropdown menu.
-
Select Firmware
-
Browse through the firmware list and select the appropriate firmware for your device.
-
If the firmware is not downloaded yet, click “Download” to retrieve it.
-
Set Burning Parameters
-
In the firmware burning section, configure additional settings such as Wi-Fi SSID and password (if applicable).
-
You may also enable the “Erase All Flash” option to clear existing data.

-
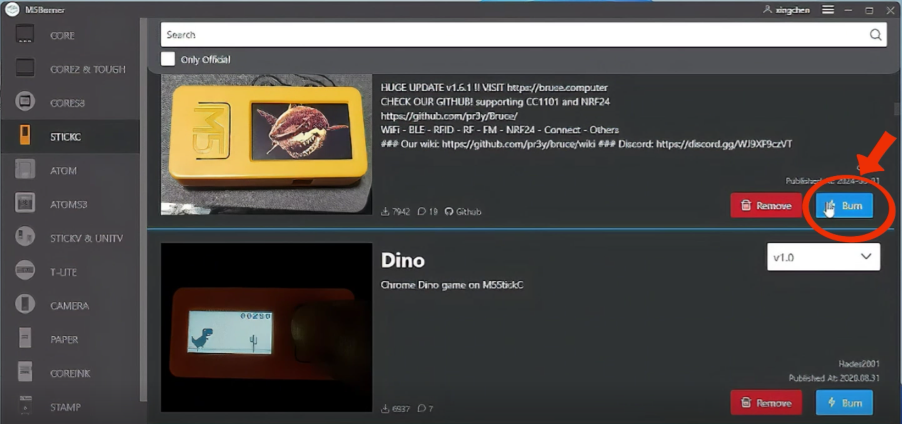
Start Burning
-
After confirming all settings, click the “Burn” button.
-
Wait for the burning process to complete, which may take a few minutes. The progress will be displayed in the software.
-
choose continue

-
Select port COM5


-
Displaying this indicates a successful burn.


Tips: If the burn fails, press and hold the power button (RES) for two seconds to force the burn.

 openelab.de
 openelab.com


