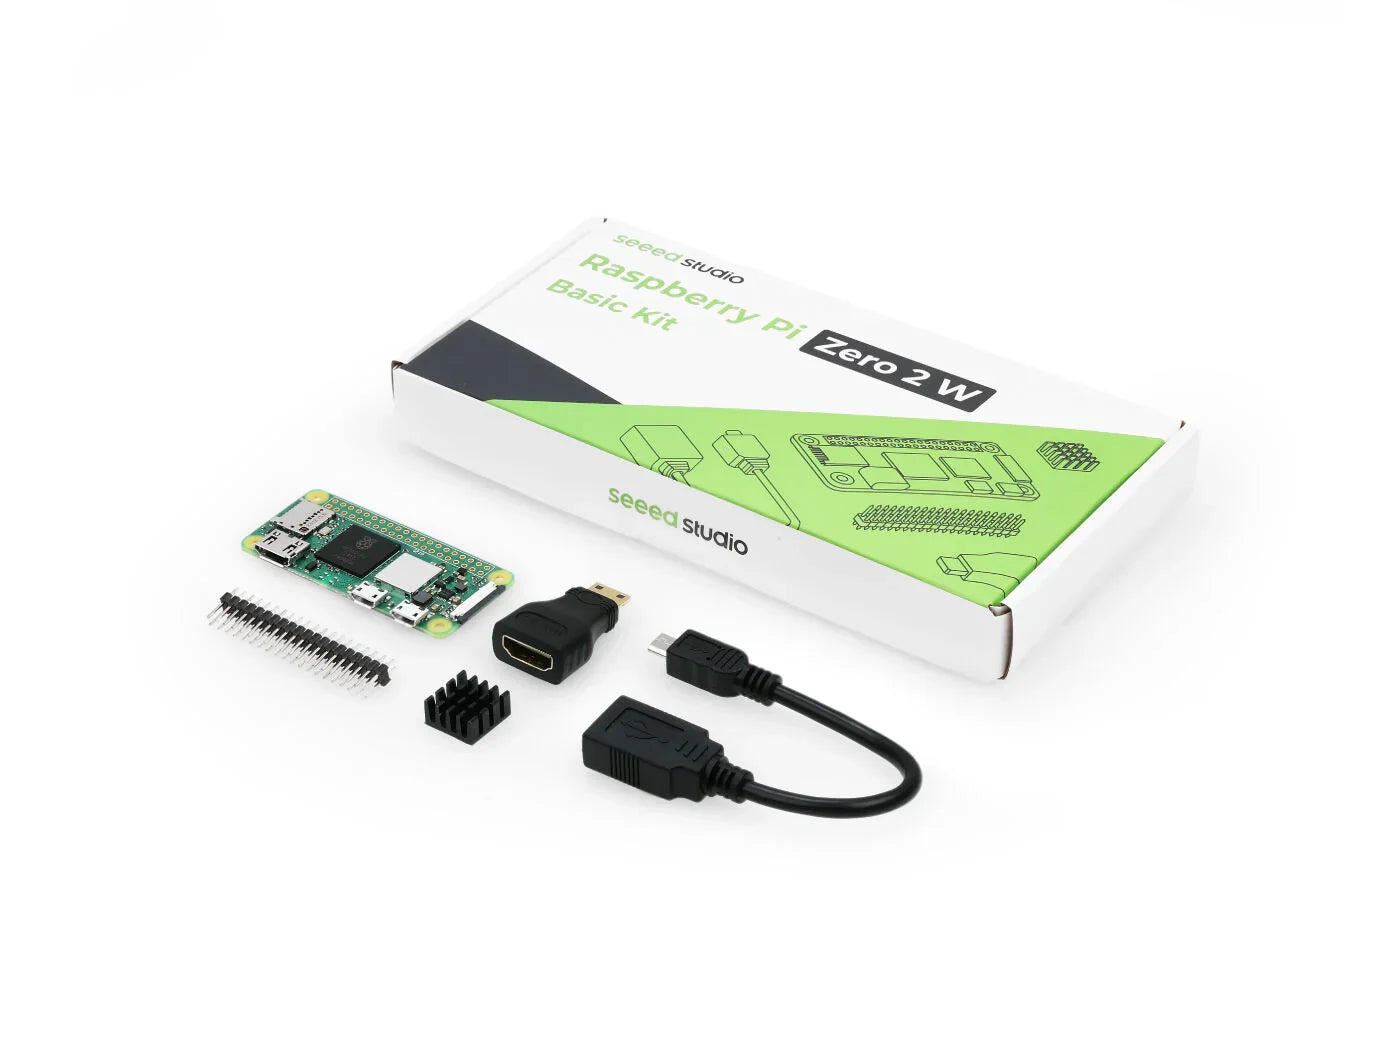
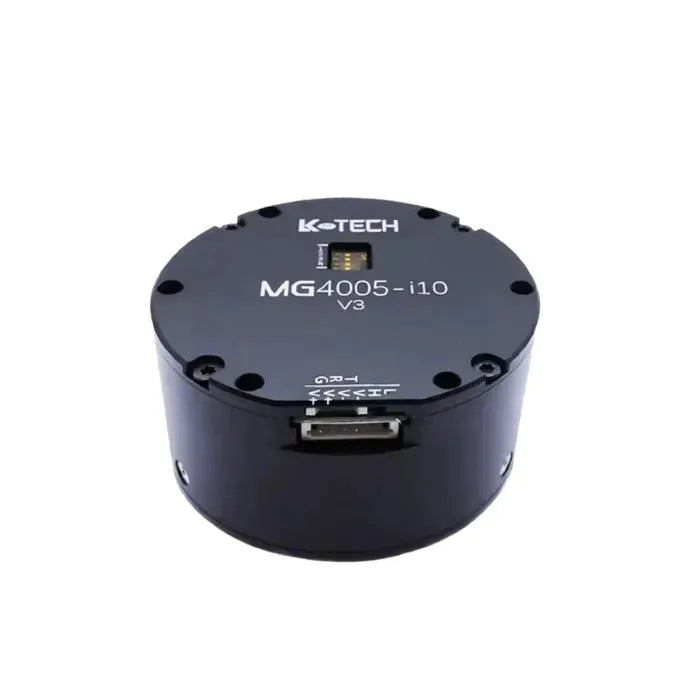
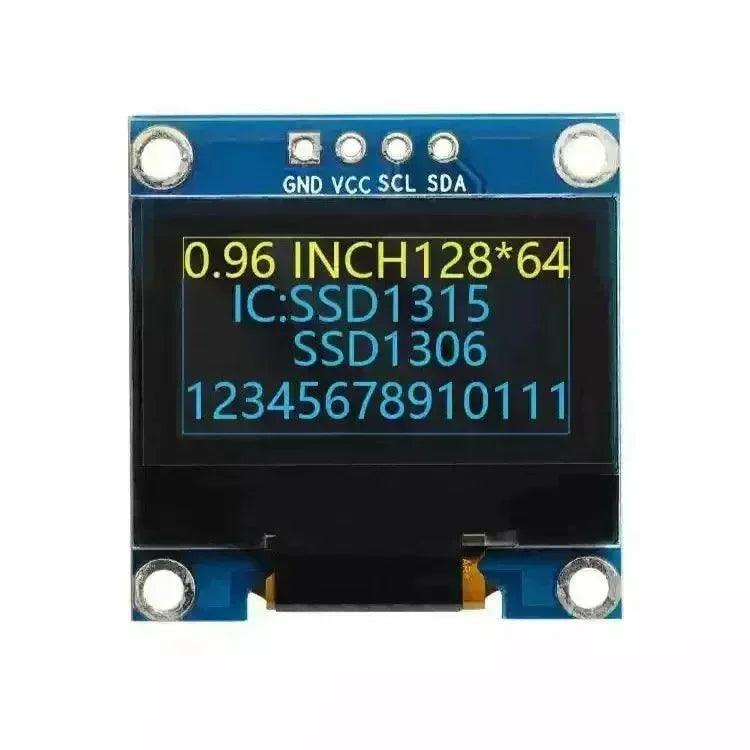
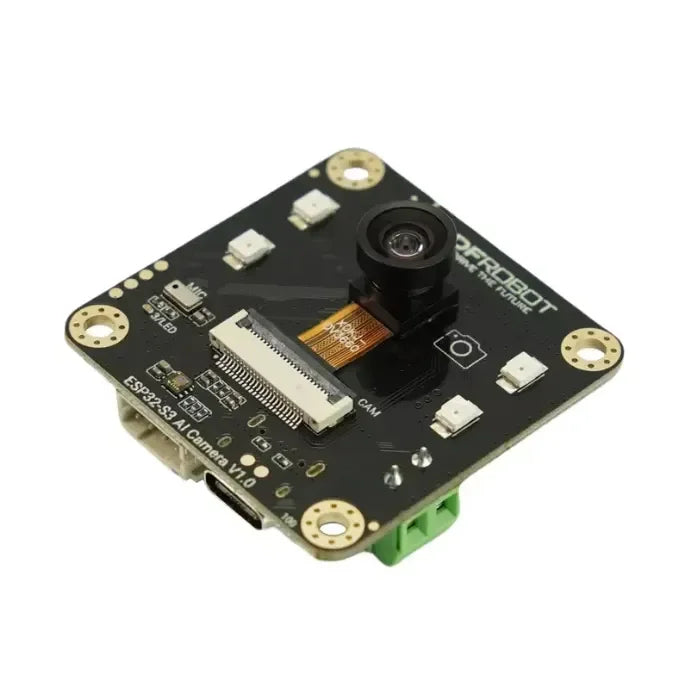
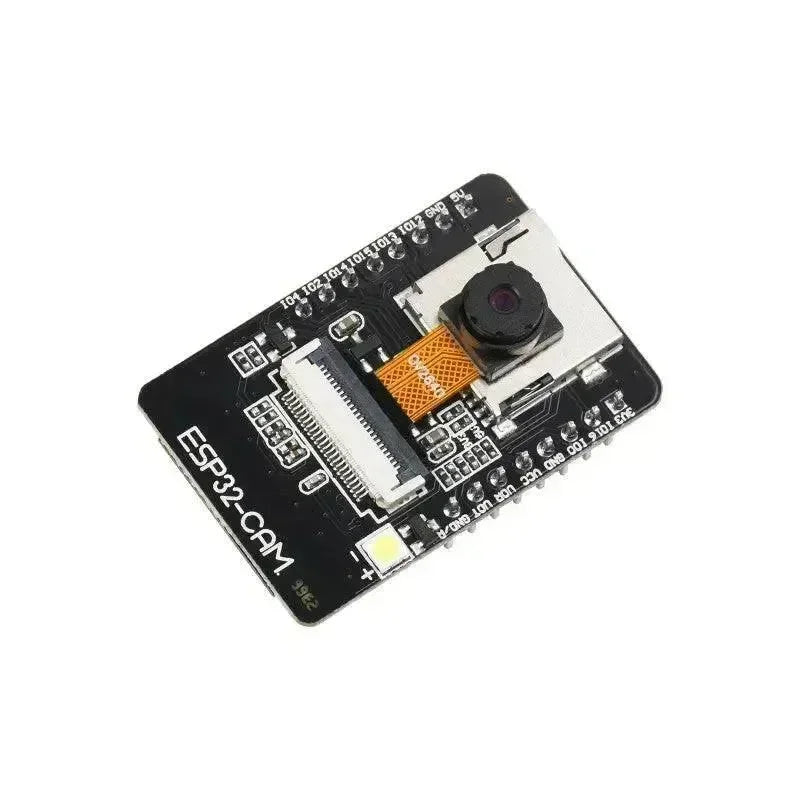
The ESP32 and ESP32S2 microcontrollers are popular for IoT projects thanks to their versatile features and reliable performance. One of the essential functionalities developers often need is PWM (Pulse Width Modulation), and the
AnalogWrite library simplifies configuring PWM channels on these platforms. This article explores the key aspects of the ESP32-ESP32S2 AnalogWrite library, including PWM channel configurations, to help developers optimize their projects and boost search engine rankings with this practical guide.What is the AnalogWrite Library?
The
AnalogWrite library extends the functionality of the ESP32 and ESP32S2 boards by enabling precise control over PWM pins. While the ESP32 has built-in PWM capabilities, configuring them directly can be complex. This library streamlines the setup and usage of PWM channels, making it easier for developers to adjust pin outputs, such as dimming LEDs, controlling motors, or generating audio signals.How About the Key Features?
- Easy PWM Configuration: The library simplifies configuring PWM channels and allows developers to control duty cycles with ease.
- Supports Multiple Channels: Both ESP32 and ESP32S2 microcontrollers can use multiple PWM channels simultaneously, enhancing their ability to control multiple components like motors and LEDs.
- Adjustable Frequencies: Users can adjust the PWM frequency to fit various applications, such as audio signals or precision motor control.
- Seamless Integration: The library integrates easily with Arduino IDE, facilitating rapid development for IoT projects.
PWM Channel Configuration Overview
Setting PWM Channels
Each ESP32 PWM output requires a separate channel. The channel acts as an independent controller for specific pins, ensuring multiple signals can be generated simultaneously.
-
PWM Channel Range: Up to 16 channels are available, meaning you can control 16 different devices simultaneously.
PWM Frequency Setup
-
Frequency Range: Between 1Hz and 40MHz.
-
Choose an appropriate frequency based on your specific application. For example:
-
Low frequency (500 Hz): Suitable for LED dimming.
-
High frequency (above 20kHz): Used for motor drivers to avoid audible noise.
-
Duty Cycle Adjustment
-
Duty cycle range: 0% to 100%.
-
Modify the duty cycle to control how long the signal stays 'on' within a given cycle. This is crucial for managing brightness, speed, or voltage.
Basic Code Example
The following example shows how to use the library to control a servo motor:
// Initialize M5StickC Plus2
#include

Servo myservo;

void setup() {
  myservo.attach(2);  // Attach the servo motor to GPIO2
}

void loop() {
  myservo.write(90);  // Rotate the servo to 90 degrees
  delay(1000);        // Wait for 1 second
  myservo.write(180); // Rotate the servo to 180 degrees
  delay(1000);        // Wait for 1 second
}
✔ Copied!
Key Functions
This library provides a variety of functions to control devices with simulated signals. Below are some essential functions:
-
write(): Sets the duty cycle of the servo motor or PWM output.
-
writeMicroseconds(): Sets the pulse width (in microseconds) for the servo motor.
-
read(): Retrieves the current angle of the servo motor.
-
readMicroseconds(): Retrieves the current pulse width (in microseconds) of the servo motor.
-
attach(): Attaches a servo motor or PWM output to a specified GPIO pin.
-
attachPWM(): Attaches a PWM output to a specified GPIO pin.
-
attached(): Checks if a servo motor or PWM output is already attached to the specified GPIO pin.
-
attachInvert(): Attaches an inverted PWM signal to a specified GPIO pin.
-
attachPin(): Attaches a servo motor or PWM output to the specified GPIO pin.
-
writePwm(): Sets the duty cycle of the PWM output.
-
detach(): Detaches the servo motor or PWM output from the GPIO pin.
-
pause(): Temporarily stops the PWM signal.
-
resume(): Resumes the paused signal.
-
setFrequency(): Sets the frequency of the PWM output.
-
setResolution(): Sets the resolution of the PWM output.
-
tone(): Generates sound on a buzzer at a specified frequency.
-
noTone(): Stops the sound being generated on the buzzer.
-
printDebug(): Prints debugging information.
Optimizing Your Projects with AnalogWrite
The AnalogWrite library not only simplifies PWM configuration but also provides smooth, flicker-free outputs essential for various applications. With support for multiple channels, developers can control complex systems efficiently using the ESP32 and ESP32S2 boards.
Conclusion: Simplify PWM Control with AnalogWrite
The ESP32-ESP32S2 AnalogWrite library is a game-changer for developers needing easy PWM control. It enables rapid prototyping and deployment of IoT applications like LED displays, motor controllers, and audio generators. By mastering PWM channel configurations, developers can unlock the full potential of ESP32 boards for a wide range of IoT and embedded system projects.
 openelab.de
 openelab.com


