openelab.de
 openelab.com


 Introduction
Gas leaks are very dangerous in terms of safety as it can cause an explosion, fire or even health problems. For this reason, a gas detector that is dependable becomes handy to give peace of mind and quick notice if there is any leakage. In this guide, we will guide you on how to make a smart gas detector using ESP32 microcontroller and MQ-2 gas sensor. This project will provide you with knowledge to make an affordable solution for gas detection which is versatile.
Understanding the Components
ESP32 Microcontroller
IoT projects extensively use the powerful and flexible ESP32 microcontroller. These include:
- Built-in Wi-Fi and Bluetooth connectivity
- Several analog and digital input/output pins
- Low power consumption rate.
- Easily programmable using Arduino IDE.
MQ-2 Gas Sensor
The MQ-2 sensor is a low-cost and widely available sensor which can detect several gases such as:
- Methane (CH4)
- Propane (C3H8)
- Butane (C4H10)
- Liquefied Petroleum Gas (LPG)
- Smoke
- Alcohol
The sensor outputs an analog voltage signal that varies with the concentration of the detected gas.
Hardware Setup
To build the gas detector, you'll need the following components:
- ESP32 Development Board
- MQ-2 Gas Sensor
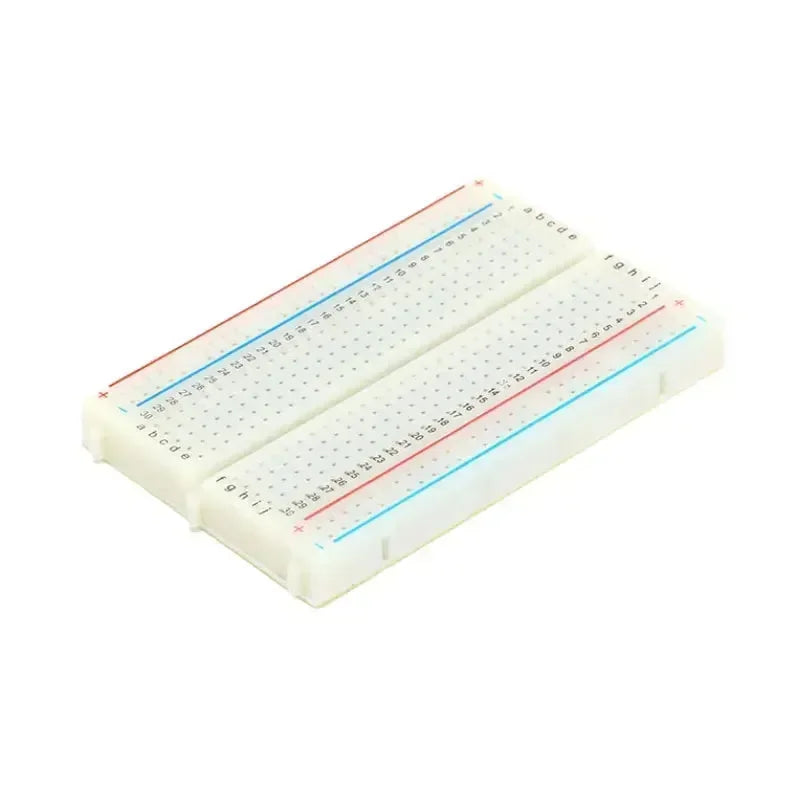
- Breadboard
- Jumper Wires
- Resistor (10k ohms)
- Optional: Buzzer, LED, LCD Display
The connection diagram is as follows:
ESP32:
- 5V Pin: Connected to the positive (+) pin of the MQ-2 sensor
- Analog Input Pin (A0): Connected to the output pin of the MQ-2 sensor
- Ground Pin: Connected to the negative (-) pin of the MQ-2 sensor
MQ-2 Sensor:
- Positive (+) Pin: Connected to the 5V pin of the ESP32
- Output Pin: Connected to the A0 pin of the ESP32
- Negative (-) Pin: Connected to the ground pin of the ESP32
Resistor:
- One end connected to the 5V pin of the ESP32
- The other end connected to the positive (+) pin of the MQ-2 sensor
Optional Components:
- Connect a buzzer to a digital output pin of the ESP32 for an audible alarm.
- Connect an LED to a digital output pin of the ESP32 for a visual alarm.
- Connect an LCD display to the ESP32 to display the gas concentration reading.
Software Development
1. Install the Arduino IDE: Download and install the Arduino IDE from the official website.
2. Install the ESP32 Board Support: In the Arduino IDE, go to File -> Preferences and add the following URL to the **Additional Boards Manager URLs:
https://dl.espressif.com/dl/package_esp32_index.json
3. Select the ESP32 Board: Open the Arduino IDE and go to **Tools -> Board -> ESP32 Arduino by Espressif -> ESP32 Dev Module**. Select the appropriate COM port for your ESP32 board.
4. Upload the Code: Copy and paste the following code into the Arduino IDE and upload it to your ESP32 board.
#include <Arduino.h>

const int sensorPin = A0; // Analog input pin for MQ-2 sensor

void setup() {
  Serial.begin(115200); // Initialize serial communication
}

void loop() {
  int sensorValue = analogRead(sensorPin);
  float gasConcentration = map(sensorValue, 0, 4095, 0, 100); // Map sensor value to a gas concentration range (0-100)
  Serial.print('Gas Concentration:' );
  Serial.println(gasConcentration); // Print gas concentration
  delay(1000); // Delay for 1 second
}
5. Monitor the Serial Monitor: Open the Serial Monitor in the Arduino IDE (Tools -> Serial Monitor). The gas concentration readings will be displayed in the Serial Monitor.
Calibration and Testing
1. Calibrate the Sensor: Before using the gas detector, it's essential to calibrate the MQ-2 sensor. Expose the sensor to fresh air and note the baseline reading. This baseline reading represents the sensor's output in clean air.
2. Test the Sensor: Expose the sensor to a known gas source (e.g., a gas stove or a lighter) and observe the sensor's response. The sensor's output should increase as the gas concentration increases.
3. Adjust the Code (Optional): You can adjust the mapping function in the Arduino code to fine-tune the gas concentration readings based on your sensor's behavior.
Enhancements and Applications
1. Integrate an Alarm: An audio alarm (buzzer) or a visual alarm (LED) can be added to be activated whenever a gas leak occurs. This can happen when gas concentration goes beyond the predetermined threshold.
2. Enable Remote Monitoring: The Wi-Fi feature of ESP32 enables you to use your smartphone app or web interface for remote monitoring of gas concentrations. At this point, you may need services such as Blynk or ThingSpeak to generate simple dashboards for data visualization and emergency notifications.
3. Connect with Smart Home Systems: You could automate responses to gas leaks like switching off appliances or sending phone notifications by integrating your gas detector with smart home systems e.g., Amazon Alexa and Google Assistant.
Conclusion
To make a smart gas detector using an ESP32 microcontroller and an MQ-2 gas sensor, this guideline has been providing you with valuable help. It is aimed at making the home secure from any danger caused by gases that escape into it through its appliances.
Always take care of your safety; if you are unsure or need further information, consult professionals. Try out various emanations and applications for a personalized gas detector that suits you best in particular circumstances.