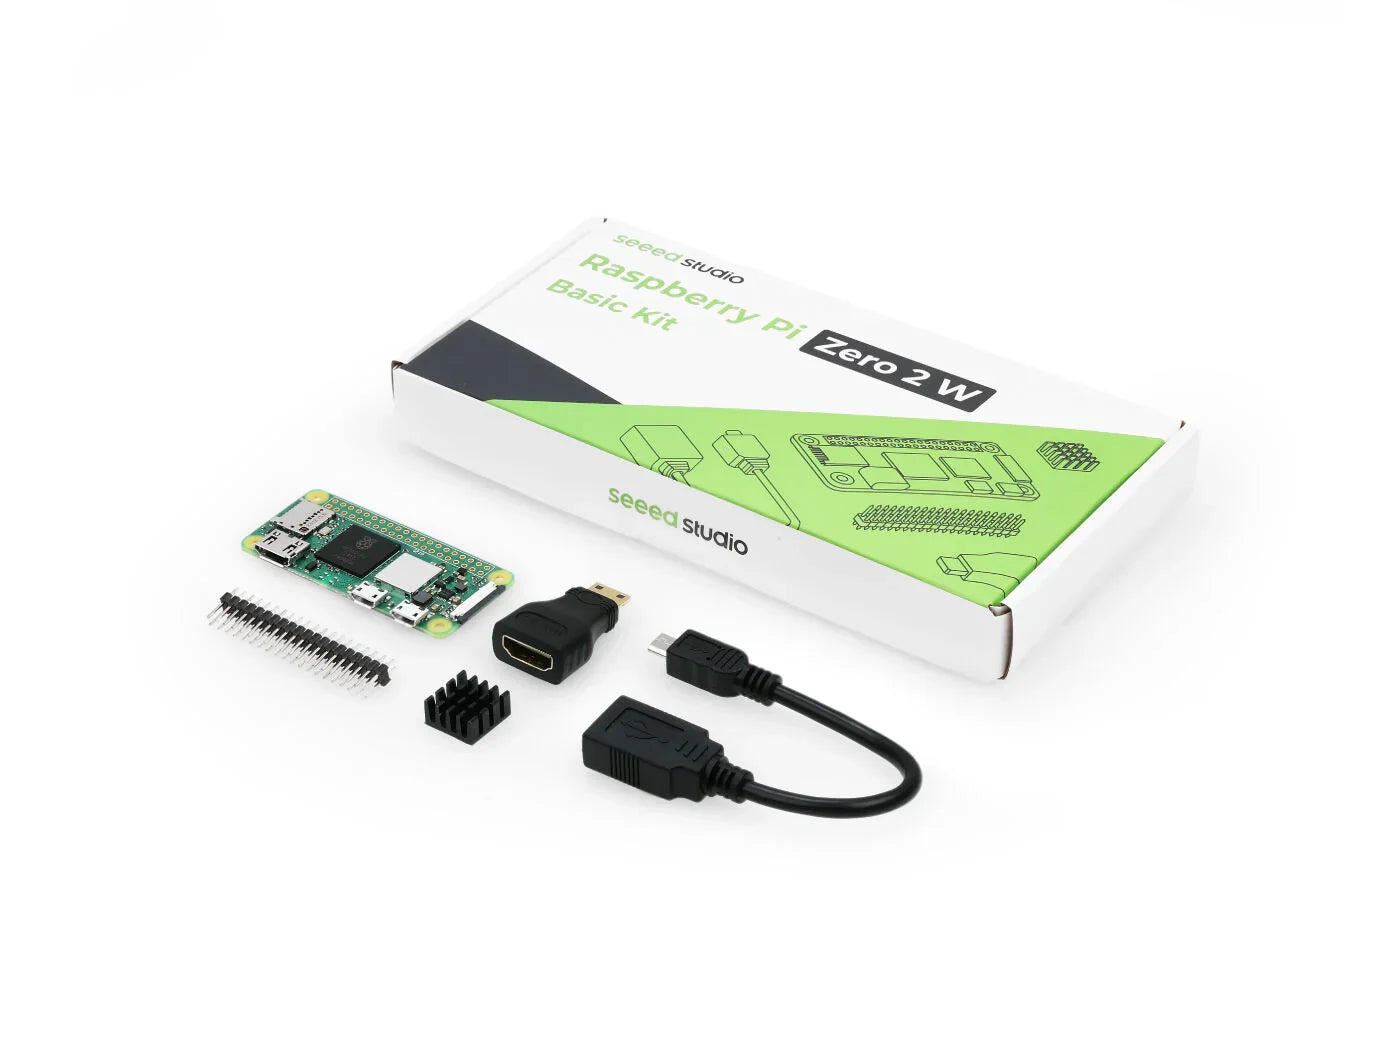
Welcome to the fascinating world of Raspberry Pi! This tiny yet powerful device has captivated tech enthusiasts, DIY hobbyists, and beginning coders alike with its versatility and affordability. Whether you're looking to create your own home media center, build a personal web server, or explore the basics of coding and electronics, setting up a Raspberry Pi is your first step into a wider world of technology. In this guide, we'll walk you through the process of setting up a Raspberry Pi for the first time.
If you're working on a project using Raspberry Pi, our website offers a wide range of Raspberry Pi products, and we can also produce customized Raspberry Pi based on your requirements. OpenELAB is a one-stop development platform for global AIoT electronics enthusiasts and an open-source community for electronic engineers. Besides providing developer modules online, our services also include customized manufacturing of various electronic parts, such as micro switches and batteries, as well as plastic or metal parts through 3D printing, injection molding, CNC, laser cutting, etc.

Gather Necessary Components
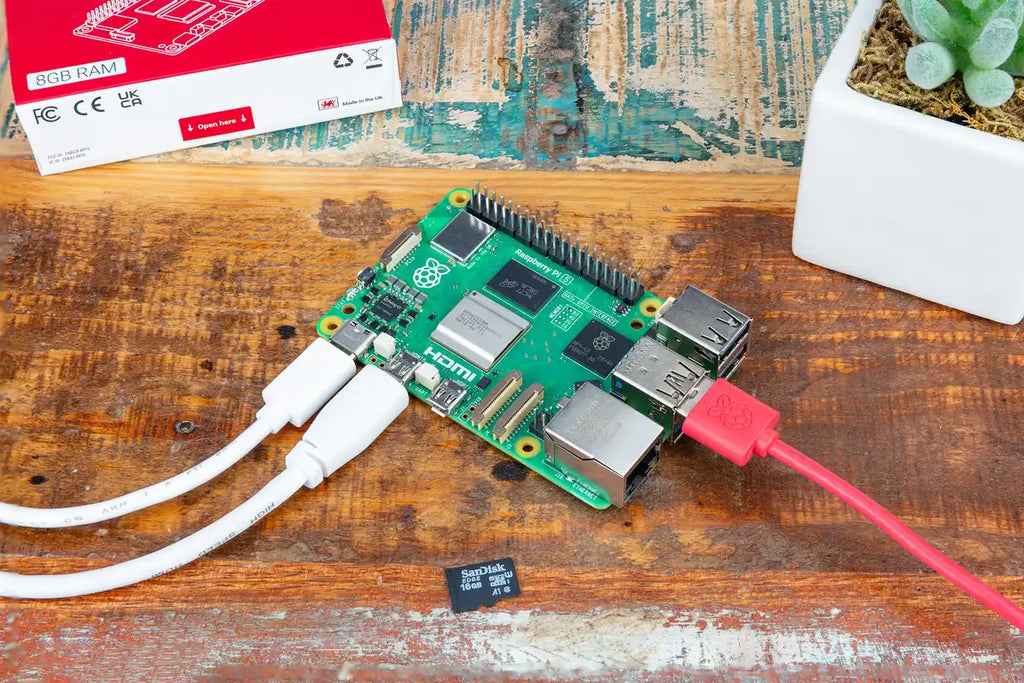
Before you can leap into action, ensure you have all the necessary components to get your Raspberry Pi up and running. Here’s a quick checklist:
-
Raspberry Pi Board: Select the model that best fits your needs. Each model varies in power and size, so consider what projects you want to tackle.
-
Micro SD Card: This acts as your Raspberry Pi's hard drive. An 8 GB card is the minimum size recommended, but opting for more storage space is wise for additional projects and applications.
-
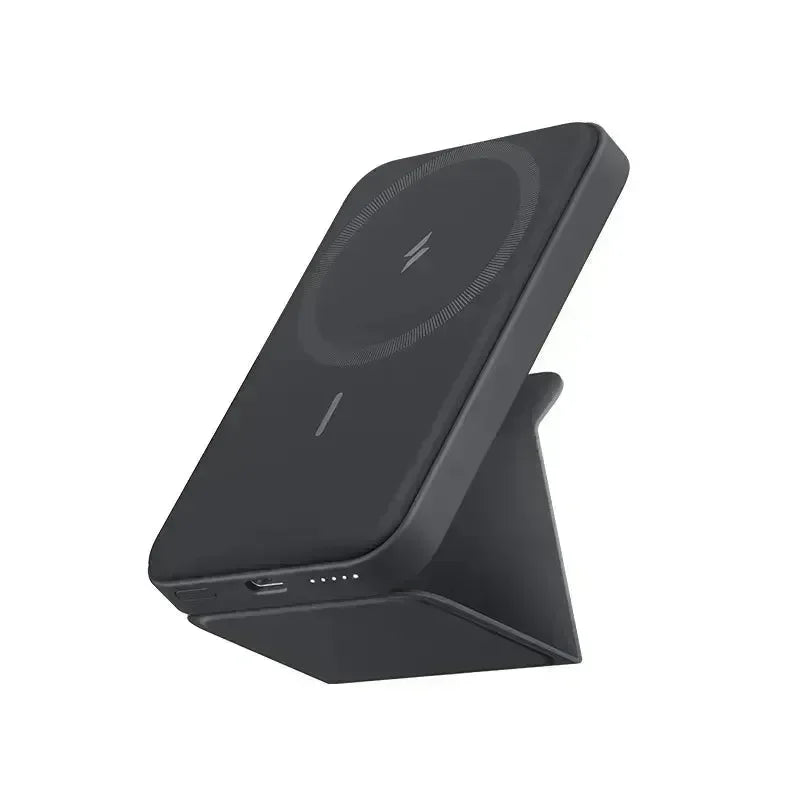
Power Supply: A stable 5V and at least 2.5A power supply is crucial for newer Raspberry Pi models to ensure smooth operation.
-
HDMI Cable: Needed to connect your Raspberry Pi to a monitor or TV for display.
-
Keyboard and Mouse: USB or wireless options are both fine, depending on your preference and the ports available on your Raspberry Pi model.
-
Case (optional): While not strictly necessary, a case can protect your Raspberry Pi from dust and damage.

Prepare the Operating System
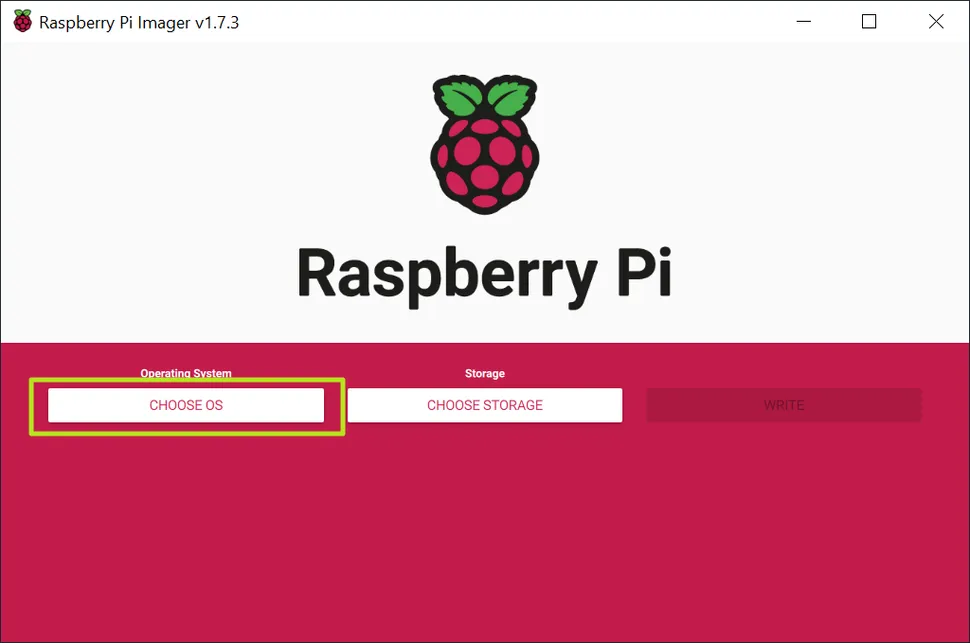
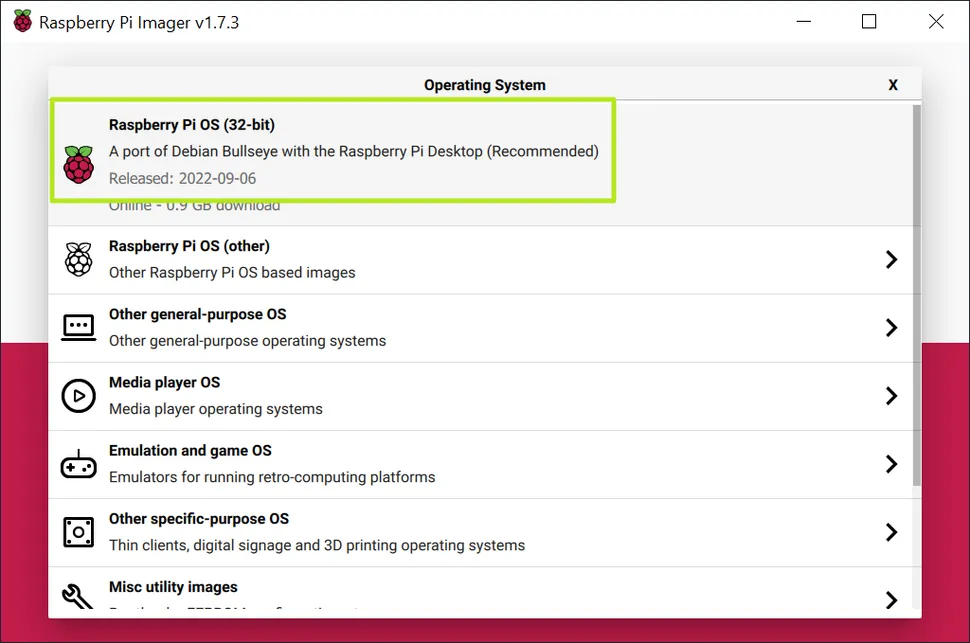
Your Raspberry Pi needs an operating system (OS) to run. Raspberry Pi OS, formerly known as Raspbian, is the official OS designed specifically for your Pi.
-
Download the OS: Head over to the official Raspberry Pi website and download the latest version of the Raspberry Pi OS or any other compatible operating system.
-
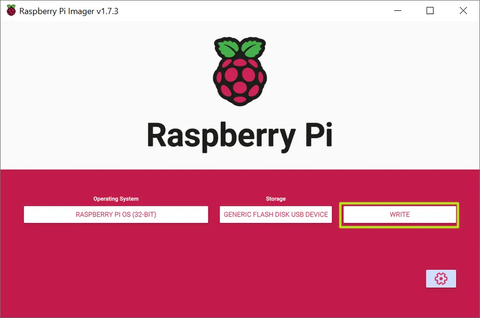
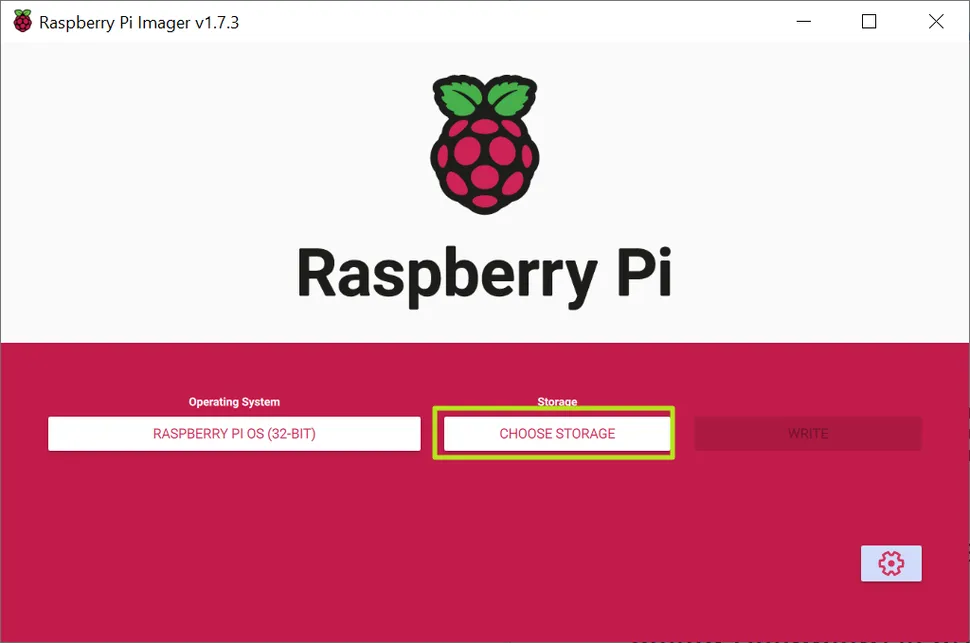
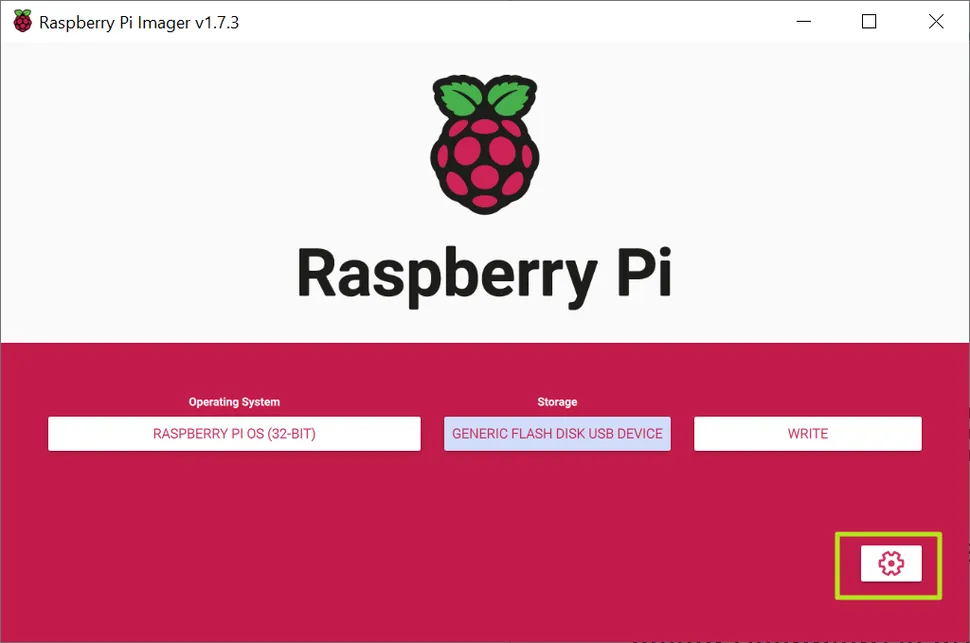
Write to SD Card: Utilize software like Balena Etcher to flash the OS image onto your SD card. This process will format the card and install the OS, making it bootable for the Raspberry Pi.
Assembly
With your operating system ready and your components gathered, it’s time to put everything together.
-
Insert the SD Card: Carefully place the flashed SD card into the Raspberry Pi’s SD card slot.
-
Connect Peripherals: Hook up the keyboard, mouse, and HDMI cable to their respective ports on the Raspberry Pi.
-
Power Up: Finally, connect your power supply to the Raspberry Pi. Only do this after all other peripherals are connected to avoid any potential damage.
Initial Configuration
Upon booting your Raspberry Pi for the first time, you'll be greeted by a setup wizard.
-
Setup Wizard: The wizard will guide you through essential settings like country, language, time zone, and password change. It’s important to change the default password to secure your device.
-
Connect to WiFi: If you’re using a model with WiFi capabilities, connect to your network via the WiFi icon in the top right of the desktop or through command-line configurations.
Update and Upgrade
Keeping your software up to date is crucial for security and performance.
-
Open a terminal window and run
sudo apt updatefollowed bysudo apt full-upgradeto update your system's package list and upgrade all installed packages to their latest versions.
Install Additional Software
Based on your project needs, you may want to install additional software.
-
Use the command line or the built-in package manager to search for and install new packages, expanding the capabilities of your Raspberry Pi.
Enable SSH (Optional)
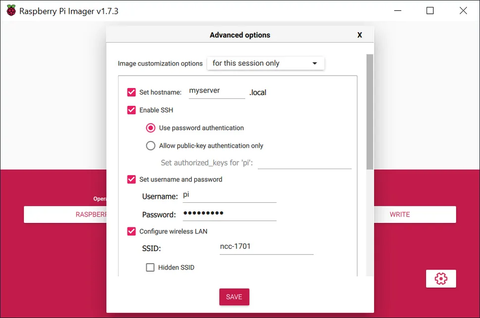
For remote access to your Raspberry Pi, enabling SSH (Secure Shell) is essential.
-
Activate SSH through the Raspberry Pi configuration menu under "Interfaces". This allows you to control your Raspberry Pi from another computer on the same network.
Explore and Experiment
Congratulations! Your Raspberry Pi is now set up and ready for use. From here on, the possibilities are endless. Start exploring more advanced configurations, dip your toes into programming, or begin working on projects tailored to your interests and your Raspberry Pi model’s capabilities.
Setting up your Raspberry Pi is just the beginning of a thrilling journey into technology and innovation. Remember, the Raspberry Pi community is vast and supportive, full of resources, tutorials, and forums to help you along the way. Don’t be afraid to experiment, make mistakes, and learn. Happy tinkering!
 openelab.de
 openelab.com


