M5StickC Plus2 est une petite carte de développement basée sur une puce ESP32 avec de nombreuses fonctions puissantes, y compris Bluetooth, Wi-Fi, écran OLED, écran tactile, et ainsi de suite. Grâce à elle, nous pouvons facilement réaliser la fonction de télécommande pour contrôler d'autres appareils ou électroménagers. Cet article vous montrera comment fabriquer une télécommande simple en utilisant M5StickC Plus2 et présentera la structure et l'implémentation du code du projet.

Fonctions LED expliquées
Le M5StickC Plus2 est équipé d'une LED d'alimentation programmable qui peut être codée pour un contrôle simple marche/arrêt ou des effets de clignotement. La LED peut être utilisée pour indiquer l'état d'alimentation et, en conjonction avec d'autres modules de capteurs, comme indication de l'état de l'appareil. La programmabilité de cette LED offre une large gamme de scénarios d'application pour des rappels intelligents ou des systèmes d'alarme simples.
Exemple d'analyse
StickCP2.Power.setLed(1) est utilisé pour allumer la LED d'alimentation du M5StickC Plus2.
En conséquence, StickCP2.Power.setLed(0) est utilisé pour éteindre la LED. Cette fonction est souvent utilisée pour l'indication de statut, comme savoir si l'alimentation est allumée ou éteinte, si l'appareil fonctionne correctement, ou pour faire une simple indication de signalisation.

        void setup() {
            // Retrieves device configuration.
            auto cfg = M5.config();
            // Initializes the M5StickC Plus2.
            StickCP2.begin(cfg);
            // Rotates the display
            StickCP2.Display.setRotation(1);
            // sets text color to green
            StickCP2.Display.setTextColor(VERT);
            // centers the text
            StickCP2.Display.setTextDatum(middle_center);
            // uses the "Orbitron_Light_24" font
            StickCP2.Display.setTextFont(&fonts::Orbitron_Light_24);
            StickCP2.Display.setTextSize(1);
            // Displays the message "Power LED" at the screen’s center.
            StickCP2.Display.drawString("LED d'alimentation", StickCP2.Display.width() / 2,
                                        StickCP2.Display.height() / 2);
        }

        boucle vide() {
            // inside power red led control
            //Turns on the power LED.
            StickCP2.Power.setLed(1);
            // Waits 1 second.
            délai(1000);
            // Turns off the LED.
            StickCP2.Power.setLed(0);
            //Waits 1 second.
            délai(1000);
        }
✔ Copié !
Pour une explication de la fonction infrarouge, voir : Guide du débutant M5Stack : Capacités infrarouges PLUS2
Réalisation de la fonction de télécommande
Étape 1 : Reconnaissance du signal infrarouge de la télécommande
Dans cette méthode, le M5Stack Plus2 agit comme une télécommande, envoyant des signaux infrarouges à d'autres appareils (par exemple, téléviseurs, climatiseurs, etc.) via un module émetteur infrarouge (LED IR).
-
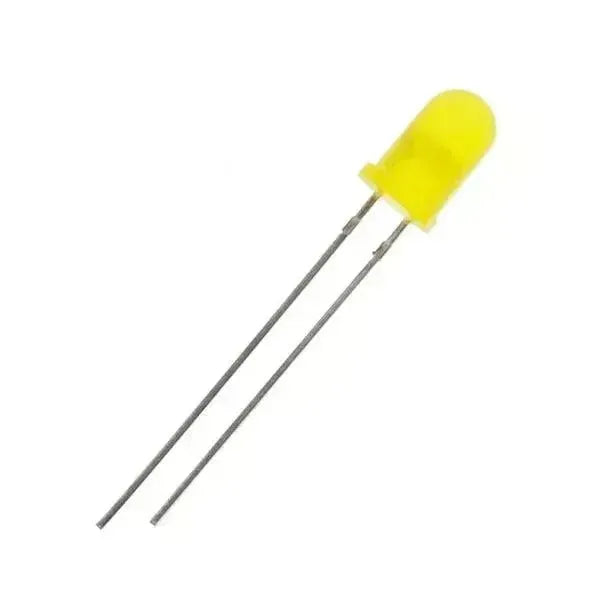
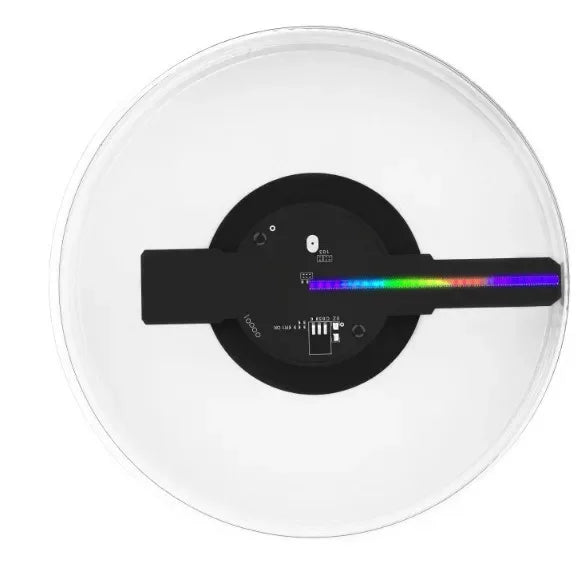
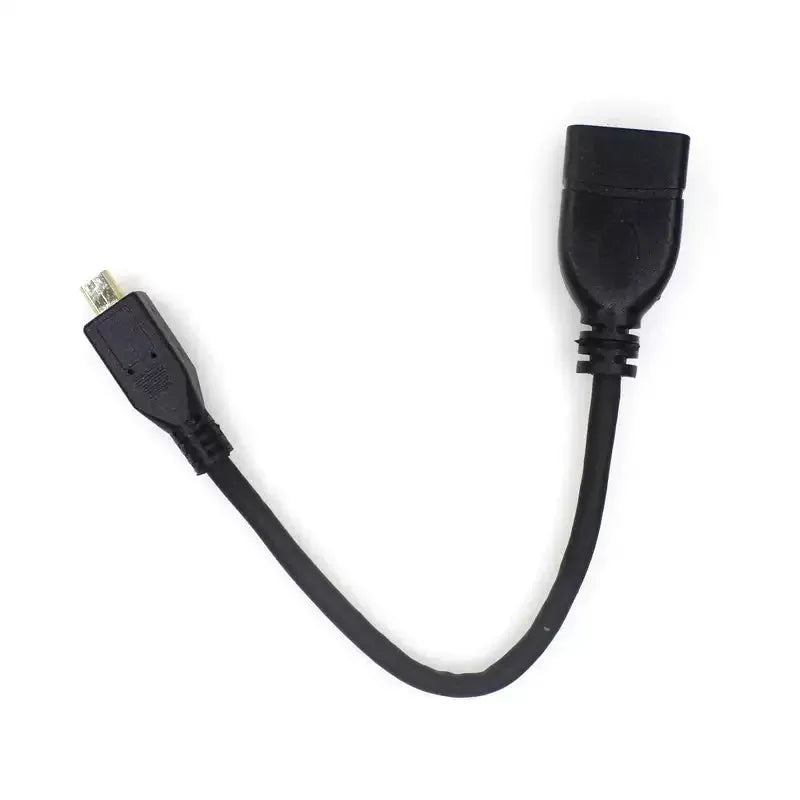
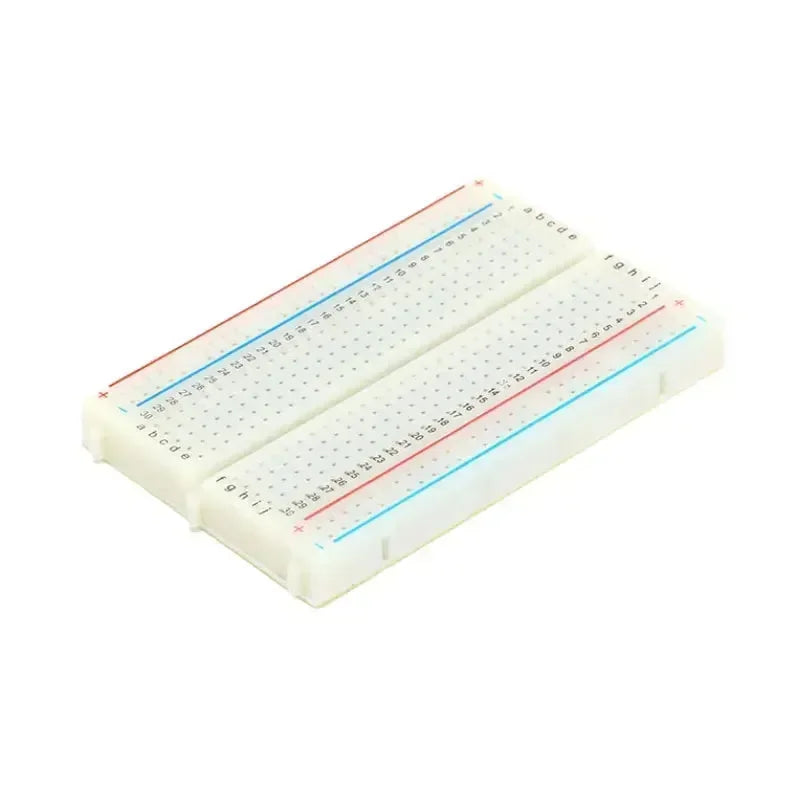
Matériel requis :
-
Connexions matérielles :
| Arduino UNO | ---> | Récepteur IR |
| 5V | ---> | VCC |
| GPIO 11 | ---> | DANS |
| GND | ---> | GND |

-
Installer la bibliothèque
-
Vous pouvez aller de l'avant et installer la bibliothèque IRremote dans l'IDE Arduino. Cette bibliothèque vous aidera à générer des signaux IR conformes aux normes.
-
Ouvrez l'IDE Arduino, sélectionnez Outils -> Gestionnaire de bibliothèques, recherchez IRremote, et installez-le.
-
Écrire le code de réception infrarouge
        // Defines the pins to which the IR receiver sensor is connected
        const int RECV_PIN = 11;
        //Creating IR Receiving Objects
        IRrecv irrecv(RECV_PIN);
        // Create the decoding result object
        decode_results results;

        void setup() {
          // Initialize serial communications
          Serial.begin(115200);
          // Start IR reception
          irrecv.enableIRIn();
          Serial.println("IR Receiver Ready");
        }

        void loop() {
          if (irrecv.decode(&results)) {
            // IR signal detected
            Serial.print("IR Code Received: ");
            // Print the received IR signal
            Serial.println(results.value, HEX);
            // Receive the next signal
            irrecv.resume();
          }
          delay(100);
        }
✔ Copié !
-
Cliquez sur Outils -> Port pour graver.


-
Cliquez sur Outils -> Moniteur Série pour surveiller le signal IR.


Étape 2 : Explication du projet de contrôle LED
Après avoir compris les fonctions du code et suivi le tutoriel sur les boutons, nous pouvons maintenant combiner les opérations sur les boutons avec le contrôle des LED. La logique est simple :
-
Appuyez sur le bouton A (StickCP2.BtnA.wasPressed()) : Allumez la LED en utilisant
StickCP2.Power.setLed(1);. -
Appuyez sur le bouton B (StickCP2.BtnB.wasPressed()) : Éteignez la LED en utilisant
StickCP2.Power.setLed(0);.
Nous implémentons cela en utilisant des
conditions if pour détecter quand le Bouton A ou le Bouton B est pressé. Cela offre un moyen réactif de basculer la LED en utilisant des interactions simples avec les boutons, ce qui en fait un projet facile pour commencer.M5Stack Plus2 implémente des fonctions de télécommande
Le code d'exemple émet un signal infrarouge via la LED IR lorsque le bouton du M5Stack Plus2 est pressé, simulant le fonctionnement d'une télécommande. Vous pouvez changer le numéro du signal dans
IrSender.sendNEC() pour contrôler différents appareils selon les besoins.
        #define DESACTIVER_CODE_POUR_RECEPTEUR
        #define ENVOYER_PWM_PAR_TIMER
        #define IR_TX_PIN 19
        #include "M5StickCPlus2.h"
        #include

        void setup() {

            auto cfg = M5.config();

            //To understand the underlying logic of the initialization with begin(), you can refer to the Dependent Library.
            StickCP2.begin(cfg);

              //Display rotation directions
            StickCP2.Display.setRotation(1);

            //  The color of the text displayed on the screen.
            StickCP2.Display.setTextColor(VERT);

            //Text alignment middle_center means aligning the center of the text to the specified coordinate position.
            StickCP2.Display.setTextDatum(middle_center);

            //Font Styles
            StickCP2.Display.setTextFont(&fonts::Orbitron_Light_24);

            //Font size
            StickCP2.Display.setTextSize(1);

            IrSender.begin(DISABLE_LED_FEEDBACK);  // Démarrer avec IR_SEND_PIN comme broche d'envoi
            IrSender.setSendPin(IR_TX_PIN);//Paramètres de la broche d'émission du signal infrarouge
        }

        boucle vide() {

          si (StickCP2.BtnA.aEteAppuye()) {
            // Send IR code for power button
             IrSender.sendNEC(0x25AE7EE3, 32);  // Exemple de code NEC pour TV (à remplacer par le code réel)
             StickCP2.Display.clear();
             StickCP2.Display.drawString("Signal d'alimentation envoyé", StickCP2.Display.width() / 2,
                                        StickCP2.Display.height() / 2 - 40);
             delay(5000);  // Envoyé toutes les 5 secondes
          }

          si (StickCP2.BtnB.aEteAppuye()) {
            // Send IR code for volume up button
            //IrSender.sendNEC(25AE7EE3, 32);  // Send volume up signal
            StickCP2.Display.clear();
            StickCP2.Display.drawString("Volume augmenté envoyé", StickCP2.Display.width() / 2,
                                        StickCP2.Display.height() / 2 - 40);
            delay(5000);  // Envoyé toutes les 5 secondes
          }

          StickCP2.update();  // Mettre à jour le statut du bouton

        }
✔ Copié !
 openelab.de
 openelab.com


