Votre premier pas dans le monde sauvage d'Arduino
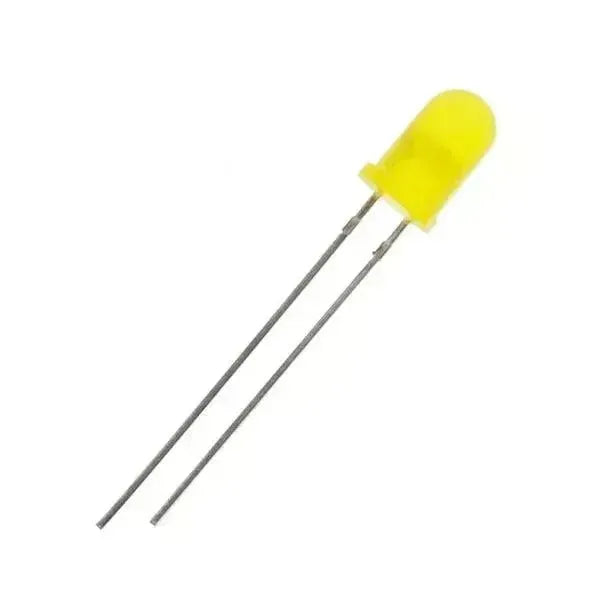
Chaque parcours de programmeur commence par un simple « Hello World ». Dans l'univers Arduino, ce rite de passage est Blink—le clignotement emblématique de la LED qui transforme les débutants en créateurs. Allumons votre carte, écrivons votre premier code, et rejoignons les rangs des hackers matériels du monde entier. Pas besoin de blouse de laboratoire !
Pourquoi Blink est important
Blink n'est pas juste une lumière clignotante. C'est la preuve que votre Arduino est en vie, que votre code fonctionne, et que vous avez maîtrisé les bases du téléchargement de programmes. Considérez-le comme votre diplôme matériel.
Étape 1 : Trouvez l'exemple Blink
L'IDE Arduino est préchargé avec plus de 100 exemples gratuits pour démarrer votre apprentissage. Voici comment trouver Blink :
-
Ouvrez l'IDE Arduino.
-
Naviguez vers Fichier > Exemples > 01.Basics > Blink.

Cliquez dessus, et le code apparaît comme par magie.
Le Code Blink Expliqué (En Quelque Sorte)
Voici ce que vous verrez :
// the setup function runs once when you press reset or power the board
void setup() {
  // initialize digital pin LED_BUILTIN as an output.
  pinMode(LED_BUILTIN, OUTPUT);
}

// the loop function runs over and over again forever
void loop() {
  digitalWrite(LED_BUILTIN, HIGH);  // turn the LED on (HIGH is the voltage level)
  delay(1000);                      // wait for a second
  digitalWrite(LED_BUILTIN, LOW);   // turn the LED off by making the voltage LOW
  delay(1000);                      // wait for a second
}
✔ Copié !
Points à retenir rapides:
-
installation()s'exécute une fois (comme un rituel d'activation). -
boucle()se répète indéfiniment (le battement de cœur de votre code). -
LED_INTÉGRÉE= la LED intégrée de la broche 13.
Ne vous inquiétez pas des détails—nous analyserons chaque ligne dans le Chapitre 2.
Étape 2 : Configurez votre tableau et votre port
Sélectionnez votre carte
-
Allez dans Outils > Carte > Arduino Uno Mini (Si vous utilisez une autre carte, comme Nano ou MEGA, choisissez-la ici.)

Choisissez le port série
-
Naviguez vers Outils > Port.

-
Windows : Cherchez
COMsuivi d'un numéro (par exemple, COM23). -
Mac:
/dev/cu.usbmodemXXXX. -
Linux/Ubuntu:
/dev/ttyACMXX.
Astuce de pro : Si votre carte n'est pas répertoriée, vérifiez votre câble USB—certains sont uniquement pour la charge !
Étape 3 : Compiler et téléverser
Vérifier (Rechercher des erreurs)
-
Cliquez sur le bouton ✓ (Vérifier).
-
Si réussi, la console affiche "Compilation terminée."924 bytes = La taille de votre code.Max 32,256 bytes = stockage total de l'UNO (beaucoup d'espace !).
Télécharger sur votre tableau
-
Appuyez sur le bouton → (Upload).

-
Regardez les LED TX/RX clignoter rapidement — cela signifie que votre code est en cours d'écriture sur la carte.
-
Terminé ? La LED étiquetée L sur votre UNO clignotera comme un métronome.

Dépannage
-
Le téléchargement a échoué ?
-
Vérifiez à nouveau vos sélections de Board et de Port.
-
Redémarrez l'IDE si la carte n'est pas détectée.
-
-
DIRIGÉ Ne cligne pas des yeux ?
-
Assurez-vous d'avoir sélectionné la bonne broche (
LED_INTÉGRÉE= broche 13).
-
Pourquoi cela fonctionne : un coup d'œil en coulisses
-
pinMode(): Indique à Arduino si une broche est en ENTRÉE (capteurs) ou en SORTIE (LEDs, moteurs). -
écriturenumérique(): Envoie HIGH (5V) ou LOW (0V) à une broche. -
retard(): Met en pause le code (en millisecondes).
Montez de niveau : Pirater le Blink
Essayez ces ajustements pour le personnaliser :
-
Changement
retard (1000)àretard (500)pour un clignotement plus rapide. -
Ajoutez une deuxième LED sur la PIN 12 et faites-les alterner.
Et ensuite ?
Blink n'est que le début. À partir d'ici, vous allez :
-
LED à fondu avec
analogWrite(). -
Contrôlez les moteurs et les servomoteurs.
-
Construisez des stations météo ou des voitures robotisées.
 openelab.de
 openelab.com


