 openelab.de
 openelab.com


ESPHome est un framework de firmware open source qui vous permet de transformer des microcontrôleurs courants — tels que les cartes ESP32, ESP8266 et RP2040 — en appareils domotiques entièrement contrôlables.
Une « configuration » d'appareil dans ESPHome est composée d'un ou plusieurs fichiers YAML. Sur la base de ces fichiers, ESPHome compile un firmware personnalisé que vous pouvez installer directement sur votre appareil. Tout matériel défini dans la configuration — capteurs, interrupteurs, lumières, etc. — apparaîtra automatiquement dans l'interface de Home Assistant.
ESPHome se compose de deux parties principales :
-
Le firmware qui s'exécute sur votre microcontrôleur.
-
L'outil de gestion qui s'exécute sur votre ordinateur ou serveur (par exemple, un Raspberry Pi, un ordinateur portable ou de bureau) — dans ce guide, nous utiliserons l'add‑on ESPHome Device Builder pour Home Assistant, qui fournit une interface web simple pour créer, modifier et installer des configurations.
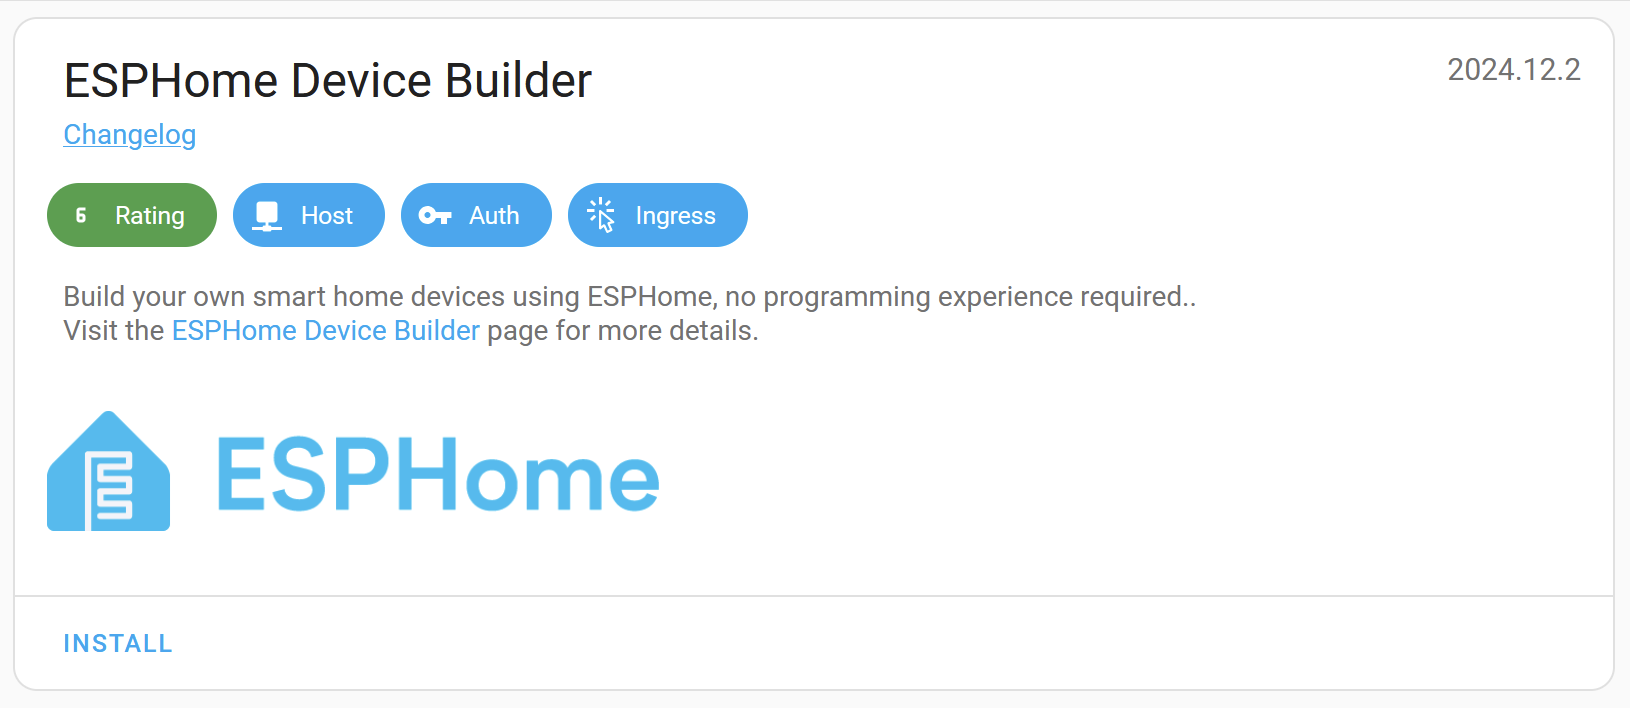
1. Installation de l'add‑on ESPHome Device Builder
Le moyen le plus simple de commencer est d'installer ESPHome en tant qu'add‑on Home Assistant.
Étapes :
-
Dans Home Assistant, allez dans Paramètres → Boutique d'add‑ons.
-
Recherchez ESPHome et cliquez sur Installer.
-
Attendez la fin de l'installation (cela peut prendre une minute ou deux).
-
Cliquez sur Démarrer, puis sur Ouvrir l'interface Web pour lancer le Device Builder.
Note : Si votre installation Home Assistant ne prend pas en charge les add‑ons, vous pouvez exécuter ESPHome Device Builder séparément dans Docker.
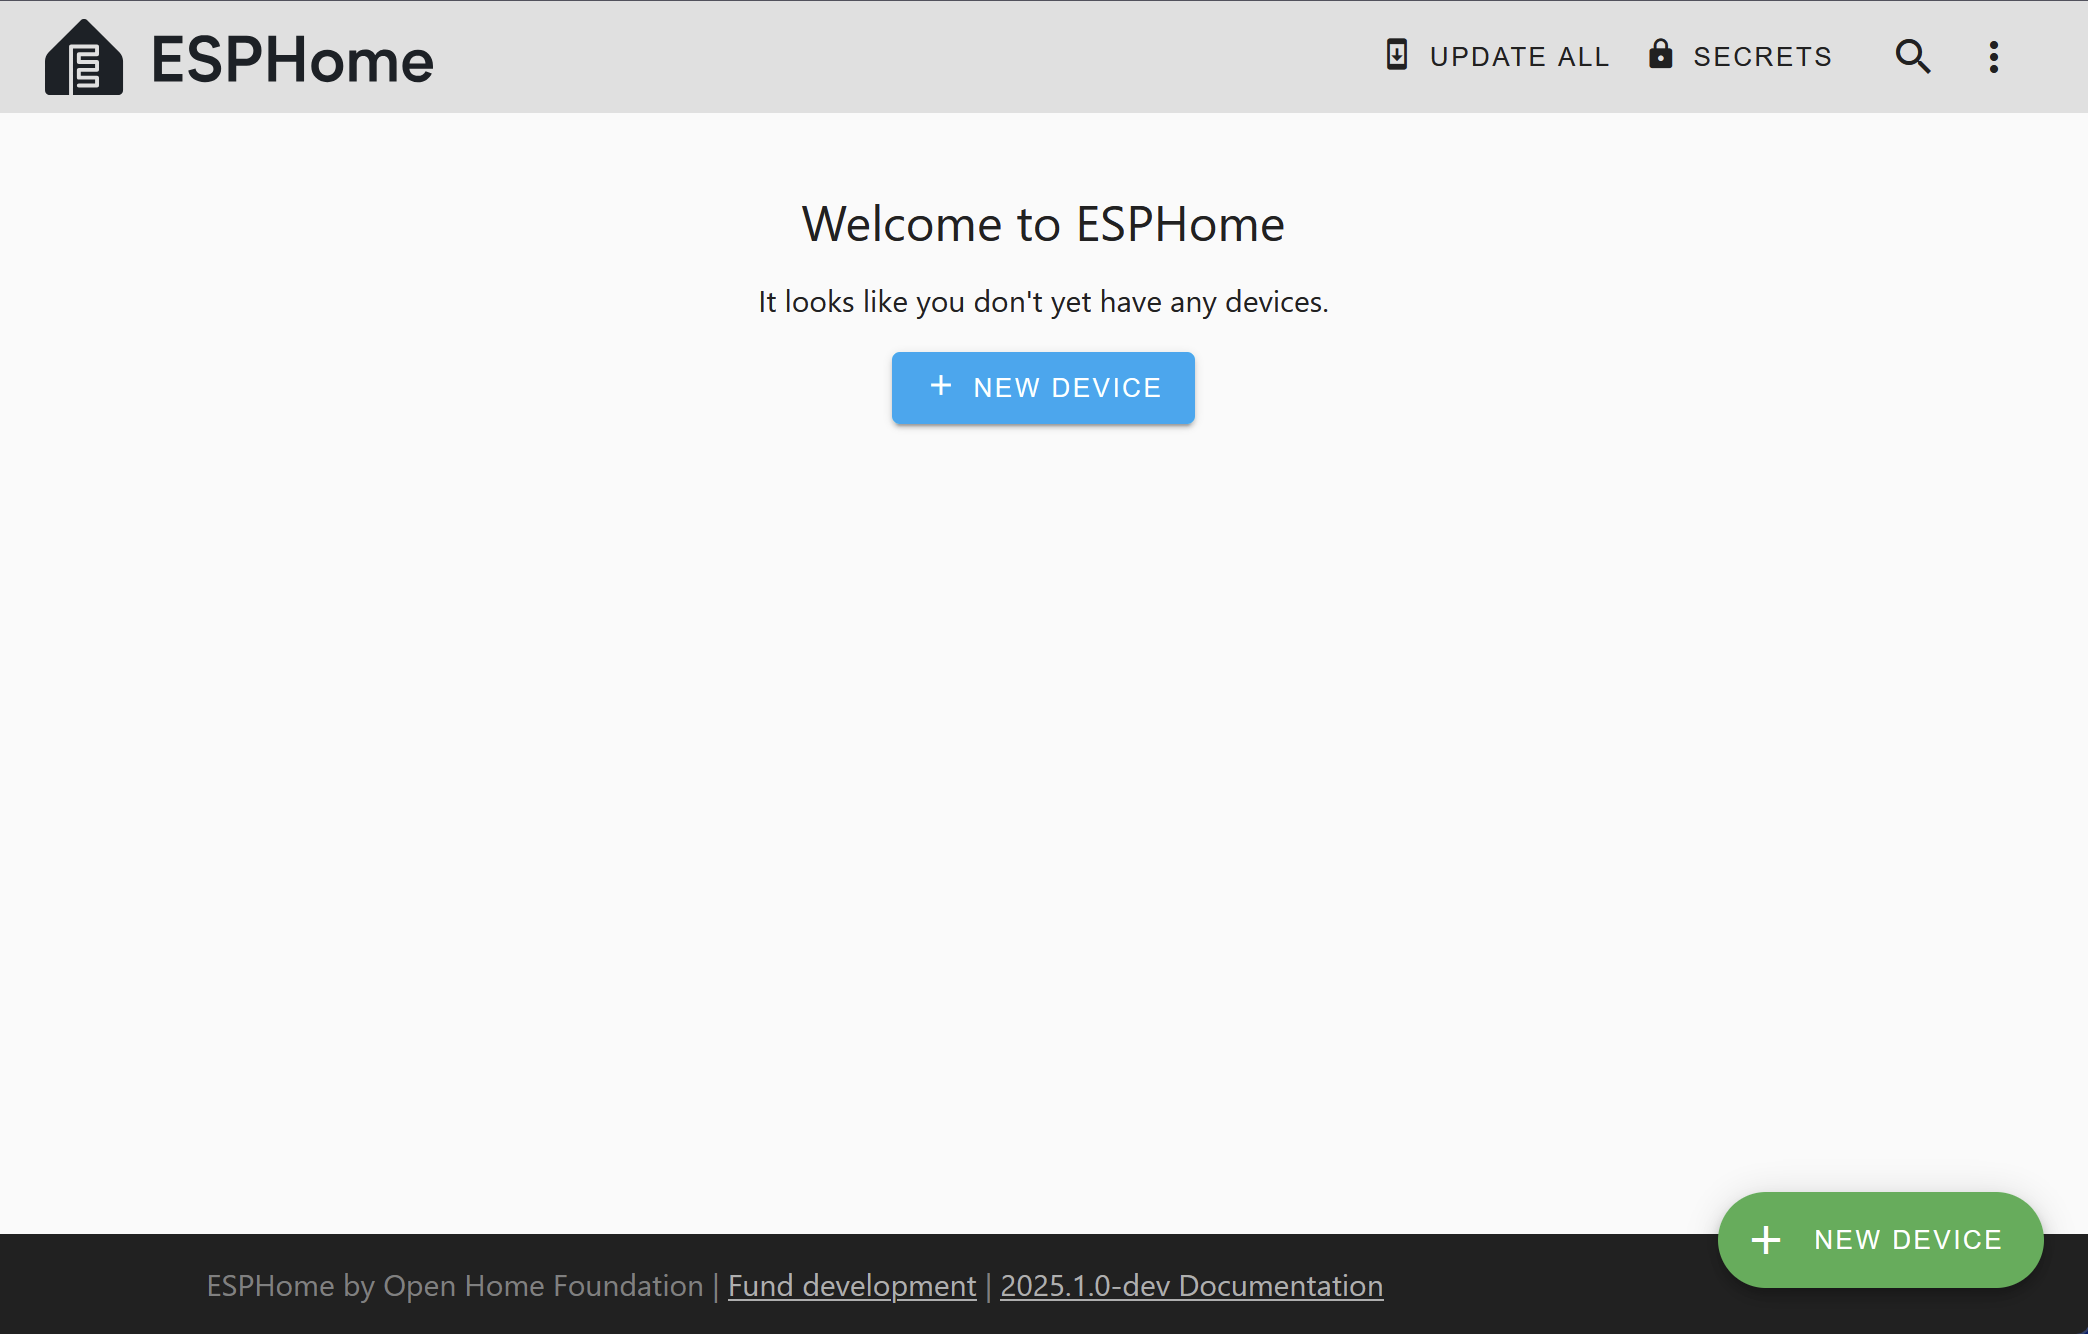
2. Création de votre première configuration
Lorsque vous ouvrez l'interface Web pour la première fois, un assistant de configuration vous guidera pour créer votre première configuration d'appareil.
Vous devrez :
-
Entrez un nom d'appareil (minuscules avec des tirets sont recommandés).
-
Sélectionnez votre type de carte (par exemple, ESP32 DevKit v1).
-
Fournissez votre SSID et mot de passe Wi‑Fi afin que l'appareil puisse se connecter à votre réseau après le flash.
Conseil : La toute première installation sur un nouvel appareil est souvent l'étape la plus intimidante. Si vous ne l'avez jamais fait auparavant, consultez le guide Connexion physique à votre appareil.
3. Flasher le firmware pour la première fois
Après avoir créé votre configuration, vous devez l'installer sur votre appareil :
-
Connectez votre carte à l'hôte Home Assistant via USB.
-
Dans ESPHome, cliquez sur Installer et choisissez l'option USB.
-
Une fois flashé, l'appareil se connectera à votre Wi‑Fi et communiquera avec Home Assistant.
4. Explorer l'interface du Device Builder

L'écran d'accueil de l'ESPHome Device Builder liste toutes vos configurations d'appareils (« nœuds »). Pour chaque configuration, vous pouvez :
-
Mettre à jour — si la version ESPHome de l'appareil est plus ancienne que celle de l'add‑on.
-
Modifier — ouvrir l'éditeur de configuration YAML.
-
Journaux — afficher les journaux de l'appareil via USB/série ou en Wi‑Fi.
-
Menu débordement — accéder aux actions supplémentaires :
-
Valider — vérifier la configuration pour détecter les erreurs.
-
Installer — ouvrir la boîte de dialogue d'installation.
-
Nettoyer les fichiers de build — supprimer les fichiers de build générés pour résoudre les problèmes de compilation.
-
Supprimer — supprimer la configuration.
-
Note : Les fichiers de configuration sont stockés dans
<HOME_ASSISTANT_CONFIG>/esphome/. L'accès direct peut nécessiter l'add-on SSH et la désactivation du « mode Protection » — évaluez les implications de sécurité avant de procéder.
5. Ajouter des fonctionnalités à votre appareil
Exemple : Interrupteur GPIO
Ouvrez le fichier YAML de votre appareil dans l'éditeur et ajoutez :
interrupteur :
  - plateforme : gpio
    nom : "Déshumidificateur du salon"
    broche : GPIO5
Cela crée une entité d'interrupteur dans Home Assistant qui contrôle tout ce qui est connecté à GPIO5 — cela pourrait être une lumière, un ventilateur ou tout autre appareil.

Dans l'exemple ci-dessus, nous ajoutons simplement un interrupteur appelé « Déshumidificateur du salon » connecté à la broche GPIO5. Cet interrupteur pourrait vraiment contrôler n'importe quoi – des lumières ou un ventilateur de table, par exemple. Son nom et sa fonction sont arbitraires et doivent être définis en fonction de votre application particulière.
Exemple : Capteur binaire
Pour surveiller l'état d'une broche GPIO (par exemple, un capteur de contact de fenêtre), ajoutez :
  - plateforme : gpio
    nom : "Fenêtre du salon"
    broche :
      numéro : GPIO0
      inversé : true
      mode :
        input: true
        pullup: true
Après modification, cliquez sur Enregistrer pour sauvegarder vos changements.
6. Mise à jour de votre appareil
Enregistrer le fichier YAML ne met pas à jour automatiquement l'appareil. Chaque fois que vous effectuez des modifications :
-
Cliquez sur Installer pour recompiler le firmware.
-
Réinstallez-le sur l'appareil.
Si ESPHome est déjà installé sur l'appareil, vous pouvez le mettre à jour sans fil (OTA) sans reconnecter l'USB.
7. Connexion de l'appareil à Home Assistant
Une fois que l'appareil est flashé et connecté au Wi‑Fi :
-
Home Assistant devrait le découvrir automatiquement (si votre réseau prend en charge mDNS).
-
Sinon, allez dans Paramètres → Appareils & Services → Ajouter une intégration, recherchez ESPHome, et saisissez le nom d'hôte de l'appareil (par exemple,
living-room-lamp.local) ou l'adresse IP.
Répétez ce processus pour chaque appareil ESPHome que vous ajoutez.
8. Où aller ensuite
🎉 Félicitations — vous avez configuré votre premier projet ESPHome et installé un firmware personnalisé sur votre appareil ! Vous avez également appris à ajouter des composants de base via YAML.
Étapes suivantes :
-
Parcourez le Index des composants pour trouver tout le matériel pris en charge.
-
Consultez la FAQ pour les questions fréquentes.
-
Si vous rencontrez des problèmes ou souhaitez demander des fonctionnalités, ouvrez un ticket sur le suivi des problèmes GitHub.


