openelab.de
 openelab.com


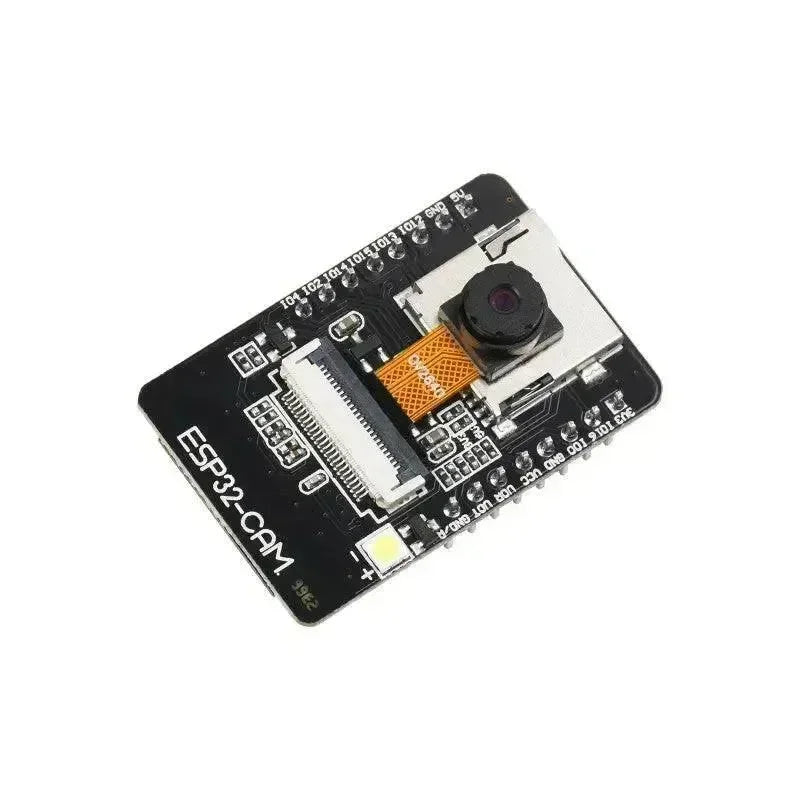


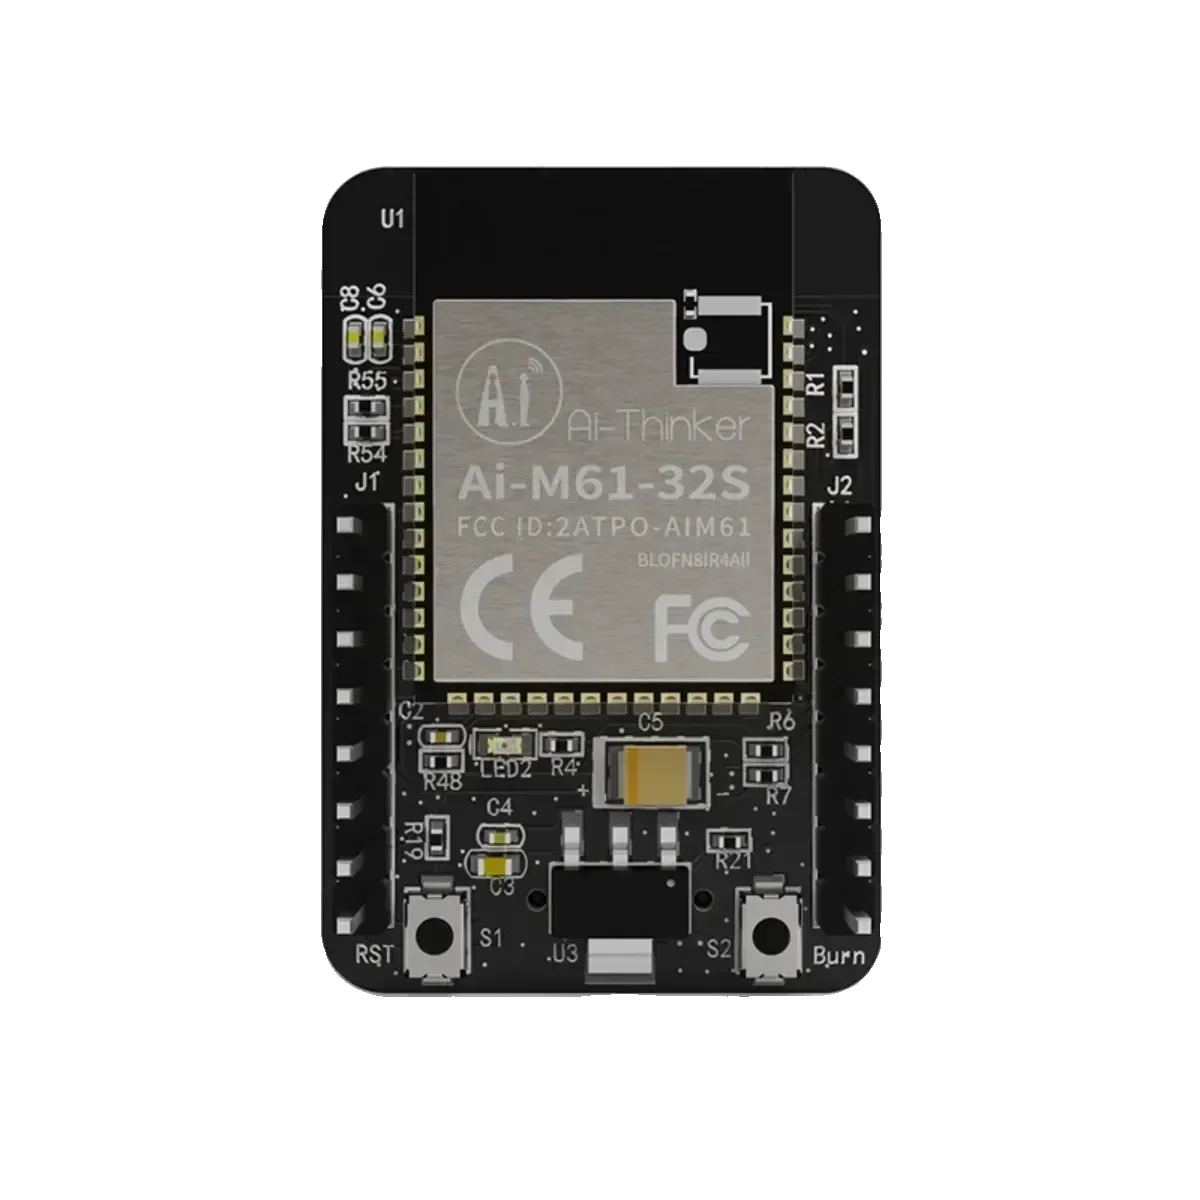
The AiPi CAM D200 ESP CAM Dev Board by Ai-Thinker is a powerful development board designed specifically for image capture and processing. It integrates the high-performance ESP32 chip, offering a variety of features, including Wi-Fi connectivity, real-time video streaming, image capture, and storage. Whether for embedded system development, IoT projects, or video surveillance applications, the AiPi CAM D200 provides stable and reliable support.
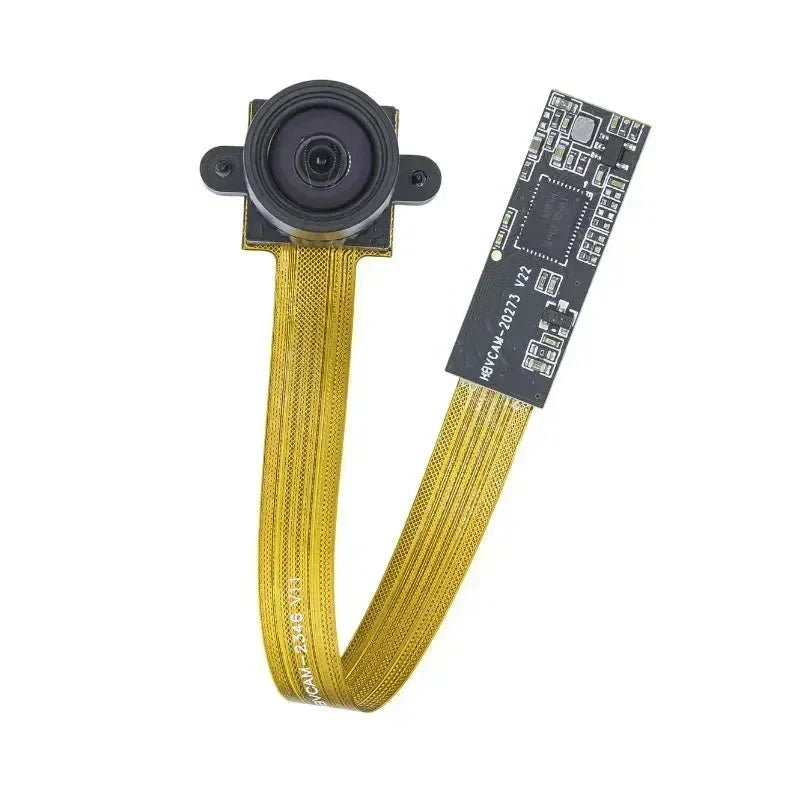
This development board comes with a DVP camera and an SD card slot, allowing you to capture photos and store them on the SD card. With additional features like an LED light and robust network capabilities, it opens up endless possibilities for developers.
What Are the Key Features of the AiPi CAM D200 ESP CAM Dev Board?
- ESP32 Chip: Equipped with a high-performance ESP32 processor, providing powerful computing and network connectivity capabilities.
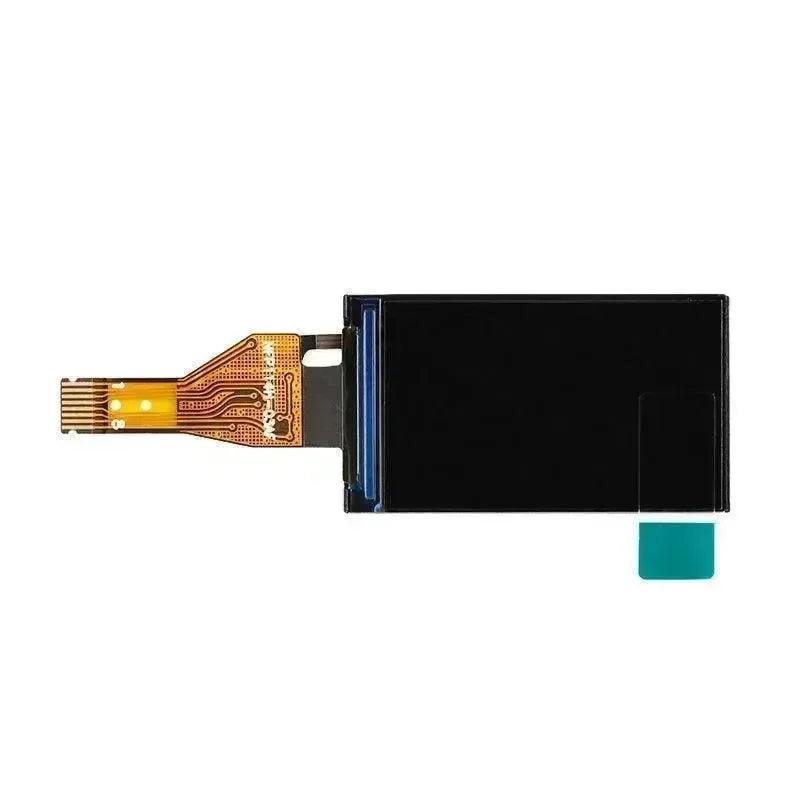
- Camera Support: Connects to a DVP camera via the FPC socket, supporting real-time video streaming and image capture.
- SD Card Storage: The board includes an SD card slot to store captured images in JPG format.
- Wi-Fi Hotspot: Supports connecting via Wi-Fi, allowing users to control the device remotely.
- LED Light Function: Integrated LED light for night photography or as a status indicator.
- Easy Development & Debugging: Easily debug and burn firmware through serial and USB interfaces.
How Do You Burn the Firmware on the AiPi CAM D200?
Before using the AiPi CAM D200, you need to burn the firmware. Here are the steps to do so:
- Serial Connection: Make sure the serial port is properly connected.
- Download Burning Tool: Download the burning tool provided on the product page.
-
Burning Process:
- Hold down the ’Download Button’.
- Press the "Reset Button" and release it.
- The tool will begin the firmware burning process after entering the burning mode.
How Do You Connect the Camera and Start Using the AiPi CAM D200?
The AiPi CAM D200 supports connecting the DVP camera via the FPC socket. After connecting the camera, follow these steps:
- Power On: Turn on the device, and connect to the device's Wi-Fi hotspot with the name "ai_pi_cam" and the password "12345678".
- Access Web Interface: Open a browser and navigate to IP address 192.168.169.1 to access the control page.
- Start Video Stream: Click the "Start Stream" button on the webpage to check if you can view the real-time camera feed.
How Do You Capture Photos and Save Images on the AiPi CAM D200?
The device allows you to take photos and save the images to the SD card. Here’s how:
- Photo Capture: Press the S2 (Boot) button to capture the current page’s image.
- Image Storage: The captured photo will be automatically named with a number starting from “0” and saved as a JPG file.
- Viewing Photos: Remove the SD card, use a card reader to connect to your computer, and you will find the saved images.
How Can You Control the LED Light on the AiPi CAM D200?
The AiPi CAM D200 also features an LED light, which can be controlled easily:
- Turn on LED: Hold the S2 (Boot) button for about 2 seconds and release it to turn on the LED light.
- Turn off LED: Repeat the same action to turn the LED off.
- Serial Output: The serial port will output corresponding information to monitor the operation status.
Why Should You Choose the Ai-Thinker AiPi CAM D200 ESP CAM Dev Board?
The AiPi CAM D200 ESP CAM Dev Board is a versatile and feature-rich development board suitable for a variety of image capture and processing applications. With its high-performance ESP32 chip, Wi-Fi connectivity, SD card storage, photo capture, and LED light control, it is the ideal choice for IoT projects, surveillance systems, smart home applications, and more.
Whether you are testing a development project or using it as a foundation for your final product, the AiPi CAM D200 provides powerful and flexible support for developers to bring their ideas to life.