In the realm of Internet of Things (IoT) initiatives, the ESP8266 microcontroller stands as a highly favored choice owing to its cost-effectiveness, superior performance, and user-friendly programming attributes. When embarking on an ESP8266 project rooted in the Arduino platform, it is essential to execute the installation of the hardware package and configure the development environment meticulously. Presented herewith is a comprehensive, sequential tutorial designed to facilitate the seamless installation of the ESP8266 hardware package.
Preparation Hardware
For those who are new to this, it is advisable to utilize development boards like NodeMCU. These boards come with an integrated ESP8266 chip, along with a USB interface and essential circuits, making it convenient for beginners to quickly get started. The core chip of NodeMCU is ESP8266-12F, which is highly suitable for learning and project development.
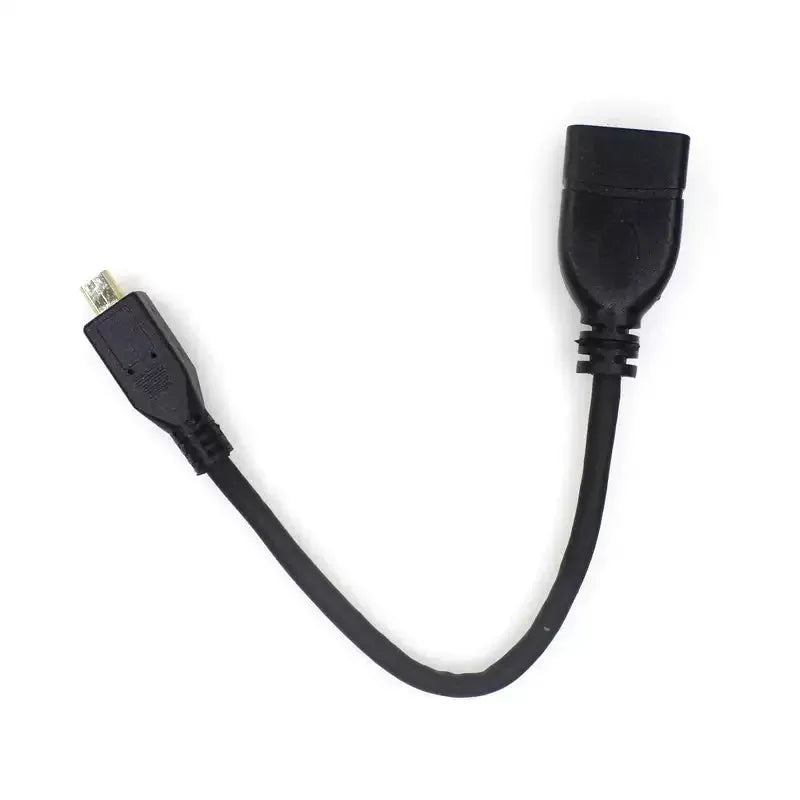
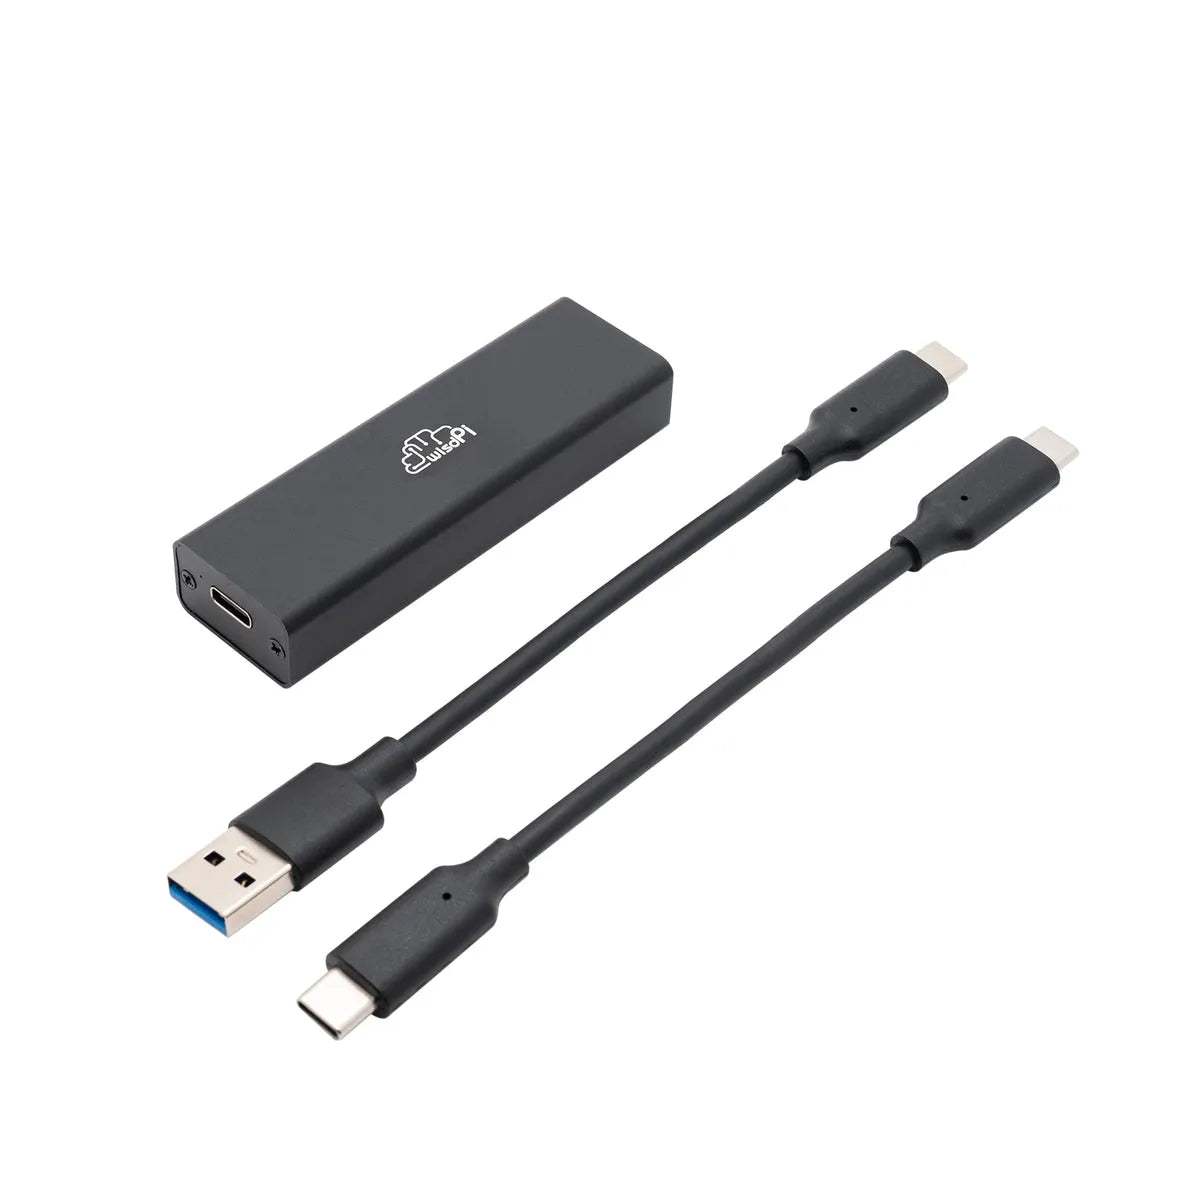
USB cable
Prepare a USB cable for connecting the development board to the computer. Make sure the USB cable is at least four-wire to support data transfer and power supply.
Other hardware (optional)
If using an ESP8266 module (e.g. ESP8266-01 series), a USB to TTL cable is also required for firmware burning and communication.
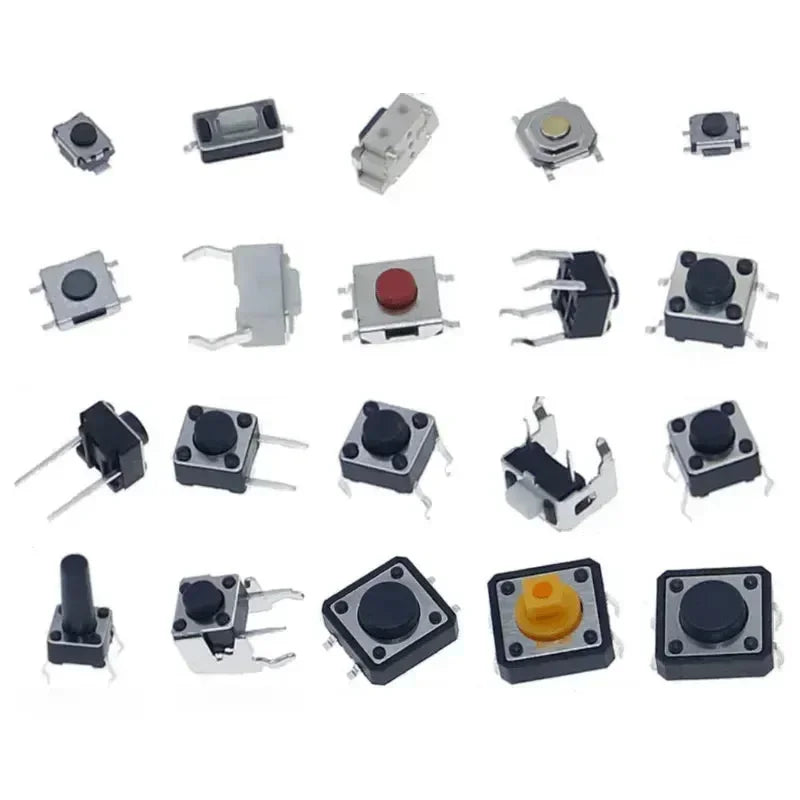
Dip switches (optional) for switching the operating mode of the ESP8266.
Installation of the software development environment
-
Once the download is complete, follow the prompts to install. For Windows users, run the exe file directly and follow the installation wizard.
-
Note: Do not include Chinese characters or special characters in the installation path.
Configuring the Arduino Kernel for the ESP8266
Add Board Manager URL
-
Open Arduino IDE, click “File” -> “Preferences”.

- In the “Additional boards manager URLs” field, add the following URL:
http://arduino.esp8266.com/stable/package_esp8266com_index.json

-
Click OK and restart the Arduino IDE.
Installing the ESP8266 Development Board
-
After reboot, click “Tools” -> “Board” -> “Boards Manager”.

-
In the development board manager, search for the keyword “ESP8266” and select the latest version for installation.

-
Wait for the installation to complete and restart the Arduino IDE.
Install hardware drivers (if required)
For some ESP8266 development boards (e.g. NodeMCU), you may need to install the USB driver to be recognized by the computer.
Connect the development board:
Use the USB cable to connect the ESP8266 development board to the computer.
Install the driver:
-
Windows users: Open Device Manager, find the unrecognized device (may be “CP2102 USB to UART Bridge” or “CH340”, etc.), right-click and select “Update Driver”.
-
Select “Browse my computer for driver software” and then specify the downloaded driver folder for installation.
-
Mac and Linux users usually do not need to install additional drivers as the system comes with support for them.
Test Development Environment
Writing test code
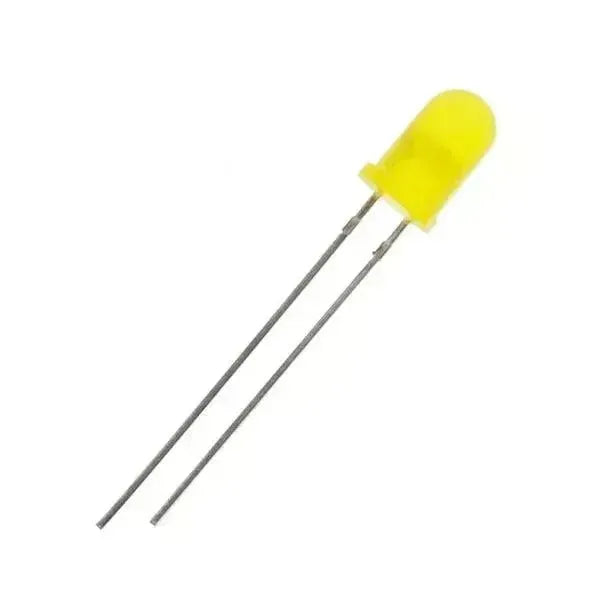
In the Arduino IDE, write a simple sample code to test if the ESP8266 is working properly. For example, a Blink program can be written to make the LEDs on the development board blink.
Upload Code
-
Select the correct port: In “Tools” -> “Ports” of Arduino IDE, select the corresponding port of your ESP8266 board.
-
Upload the code: Click the “Upload” button, wait for the code to compile and upload to ESP8266.
-
Observe the result: If everything is OK, you will see the LEDs on the board start blinking.
With the above steps, you should be able to successfully install the ESP8266 hardware package and configure the development environment. Now, you can start using ESP8266 for various IoT projects. If you encounter any problems, you can refer to the Arduino community or the official documentation of ESP8266 to solve them.
 openelab.de
 openelab.com









































1 comment
onziobe
Merci pour cette étape