Software- und Treiberanforderungen
-
Die CyberGear-Debugging-Software, CyberGear Debugger_20231101.exe, ist speziell auf den CyberGear-Mikromotor zugeschnitten.
-
Der Download-Link für die Software ist hier nicht enthalten, um die Versionskontrolle effektiv zu verwalten. Um die Software herunterzuladen, scannen Sie bitte den QR-Code, der im Handbuch des Produkts zu finden ist. Wenn Sie die Software auf Chinesisch erhalten, können Sie sie herunterladen, beachten Sie jedoch, dass es möglicherweise Kompatibilitätsprobleme mit verschiedenen Versionen gibt.
Treiberinstallation
-
Bevor Sie das Debugging-Tool verwenden, installieren Sie den CH340-Treiber , um die ordnungsgemäße Funktionalität des Geräts sicherzustellen.
-
Standardmäßig arbeitet der Mikromotor im AT-Modus.
CAN-zu-Seriell-Tool
-
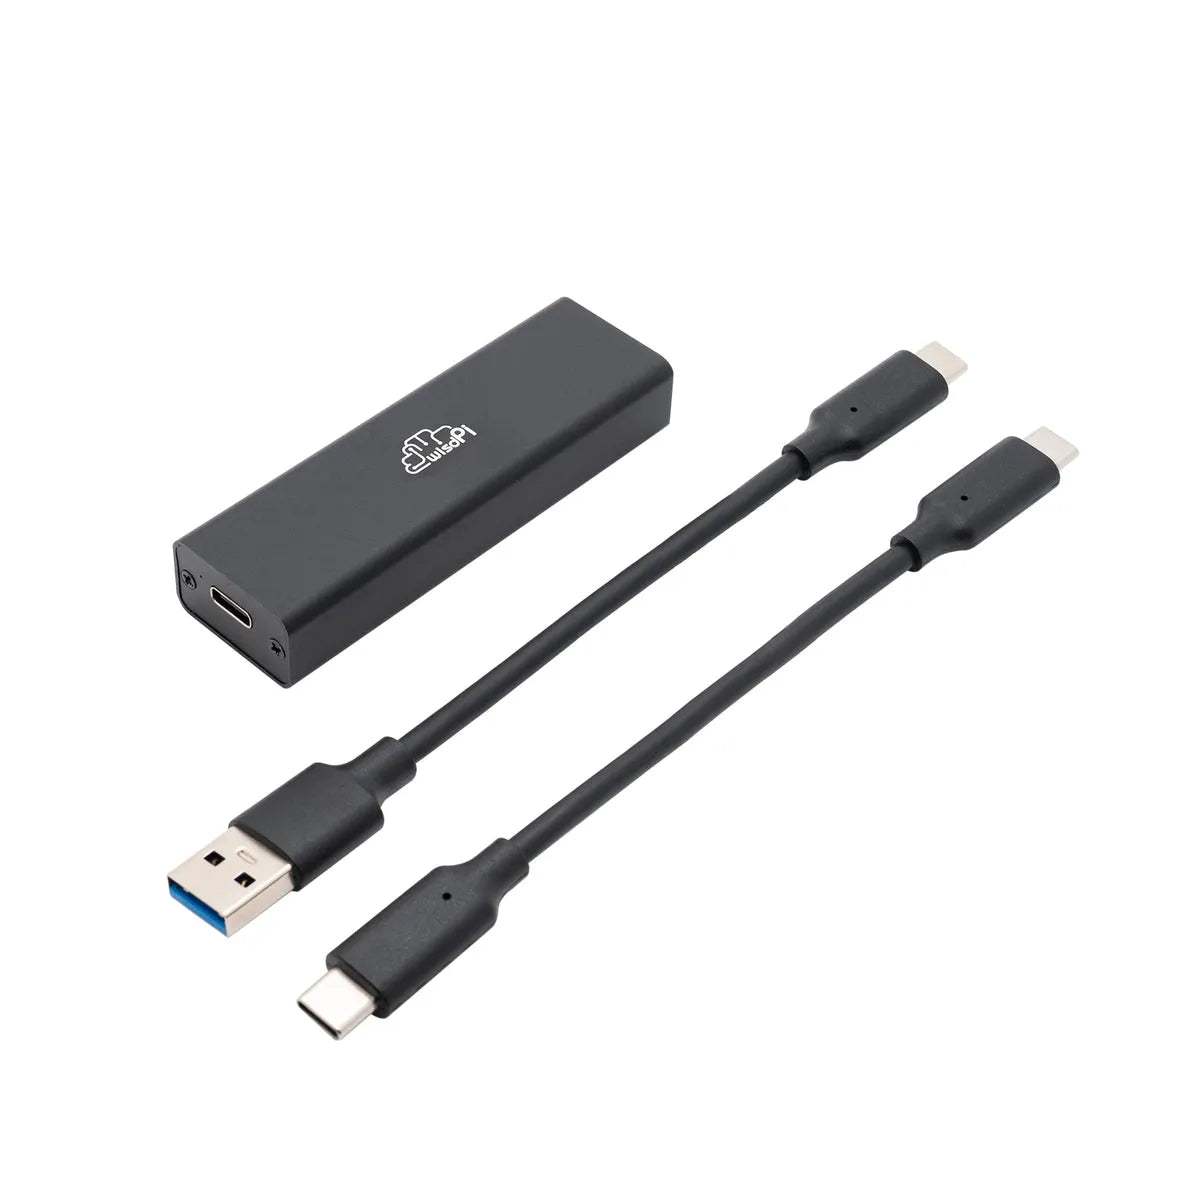
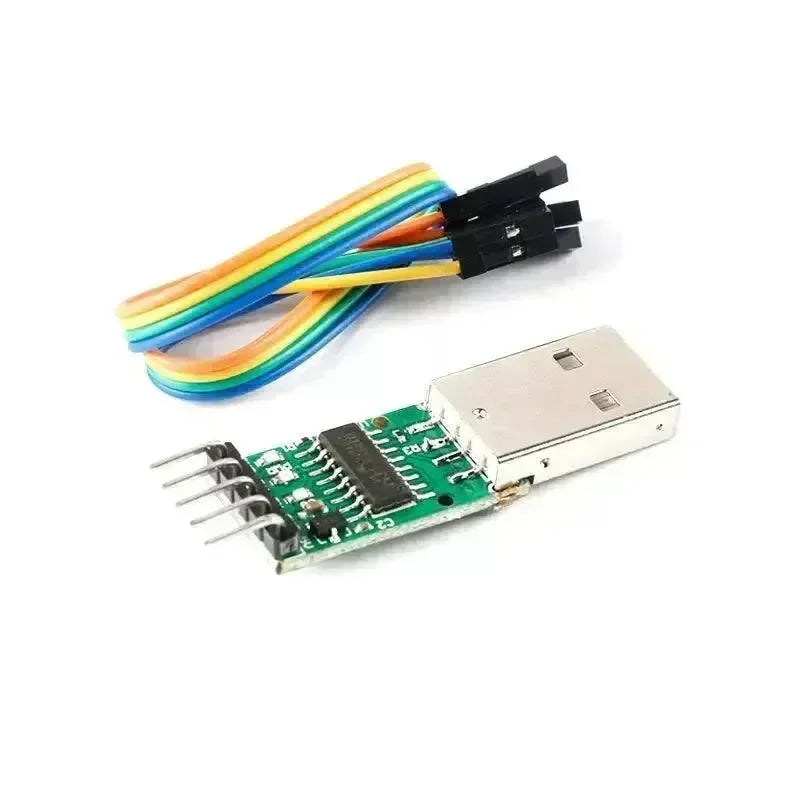
Die Debugging-Software ist mit bestimmten CAN-zu-Seriell-Tools kompatibel. Es wird empfohlen, das USB-CAN-Modul von YourCee für eine nahtlose Kommunikation zu verwenden.
-
Das Werkzeug folgt dem seriellen Protokoll:
-
Frame-Header: 41 54
-
Rahmenende: 0D 0A
-

Debugging-Funktionen
Die CyberGear Host-Computer-Software unterstützt grundlegendes Debugging für Einzelgelenkbewegungen und umfasst:
-
Bewegungsmodi: JOG (Joggen)
-
Oszilloskop-Funktionen: Visuelles Feedback und Analyse
Für Systeme mit mehreren Gelenken (wie Roboter) bietet die Software eingeschränkte Debugging-Funktionen. Benutzer müssen möglicherweise benutzerdefinierte Steuerungen für fortgeschrittenes Debugging und Mehrgelenksysteme entwickeln.
Schritte zur Verwendung des Host-Computers
Schritt 1: Den Debugger finden
-
Finden Sie die ausführbare Datei CyberGear Debugger_20231101.exe auf Ihrem PC.
Schritt 2: Schließen Sie den Mikromotor an
-
Verbinden Sie den Mikromotor mit dem PC über das empfohlene CAN-zu-Seriell-Werkzeug.
-
Stellen Sie sicher, dass der CH340-Treiber installiert ist und der Mikromotor eingeschaltet ist.
Schritt 3: Schnittstellenübersicht
-
Öffnen Sie den CyberGear Debugger, um auf die benutzerfreundliche Oberfläche zuzugreifen. Hier können Sie die Steuerparameter und Bewegungsmodi konfigurieren.
Steuerungsmodi
Die Software bietet mehrere Steuerungsmodi für den präzisen Betrieb des Mikromotors an:
Nullmodus
Der Motor kehrt langsam in seine mechanische Nullposition zurück.
Betriebssteuerungsmodus
-
Parameter: Drehmoment, Position, Geschwindigkeit, Kp und Kd.
-
Der Motor arbeitet basierend auf Zielbefehlen und bietet Echtzeit-Feedback.
Aktueller Modus
-
Setzen Sie den aktuellen Wert (Iq) und den sinusförmigen Betriebsmodus.
-
Der Motor läuft gemäß dem eingestellten Strom, der Amplitude und der Frequenz.
Geschwindigkeitsmodus
-
Stellen Sie die Zielgeschwindigkeit und den sinusförmigen Betriebsmodus ein.
-
Der Motor arbeitet entweder kontinuierlich oder im Punktaktionsmodus, abhängig von den Einstellungen für Geschwindigkeit, Amplitude und Frequenz.
Positionsmodus
-
Setzen Sie die Zielposition und den sinusförmigen Betriebsmodus.
-
Der Motor bewegt sich kontinuierlich oder im Punktaktionsmodus zur gewünschten Position mit einer definierten Amplitude und Frequenz.
Hinweise und Empfehlungen
-
Einzelne gemeinsame Fehlersuche: Vollständig von der Software unterstützt.
-
Mehrgelenksysteme: Die Software bietet eingeschränkte Unterstützung. Benutzer müssen möglicherweise benutzerdefinierte Steuerungen für fortgeschrittenes Debugging entwickeln.
-
Umgebung: Stellen Sie eine stabile PC-Konfiguration sicher und befolgen Sie die empfohlenen Richtlinien für optimale Leistung.
Häufig gestellte Fragen
Wie brenne ich Firmware in einen Motor?
Fehler beim Aktualisieren der Motorparametertabelle?
Im Allgemeinen liegt es an Problemen mit der Firmware-Version. Bitte aktualisieren Sie die Firmware auf die neueste Version.
Der Motor kann sich nicht mit dem Host-Computer verbinden?
Laden Sie die neueste Version des Host-Computers (V0.0.6) und die Originalversion des Host-Computers herunter, um den Motor anzuschließen.
Überprüfen Sie, ob die CANH- und CANL-Leitungen des Motors und der Stromversorgung vertauscht sind, ob die Stromversorgung 24V beträgt und ob der Kontakt der CAN-Leitung gut ist, und messen Sie den Kommunikationsstatus mit einem Multimeter.
Laden Sie UART-CAN herunter, öffnen Sie CanMiniIMU.exe im UART-CAN-Ordner, klicken Sie auf Modul einrichten, konfigurieren Sie die Baudrate auf 921600, die CAN-Baudrate auf 1000000, schalten Sie den Motor erneut ein. Wenn Sie nach dem Einschalten des Motors Befehle empfangen können, bedeutet dies, dass die Kommunikation erfolgreich ist.
Klicken Sie auf das Hilfswerkzeug von CanMiniIMU.exe, klicken Sie auf Firmware-Upgrade und aktualisieren Sie die TTL-CAN_N32_10010_1_5.bin-Datei.
Ausgewählte Artikel
Was ist der Xiaomi CyberGear Mikromotor?
Xiaomi CyberGear Mikromotor kollidiert mit dem M5Stack?
Xiaomi CyberGear Mikromotor Intelligenter Motor: Leitfaden zur Zubehörauswahl
 openelab.de
 openelab.com


