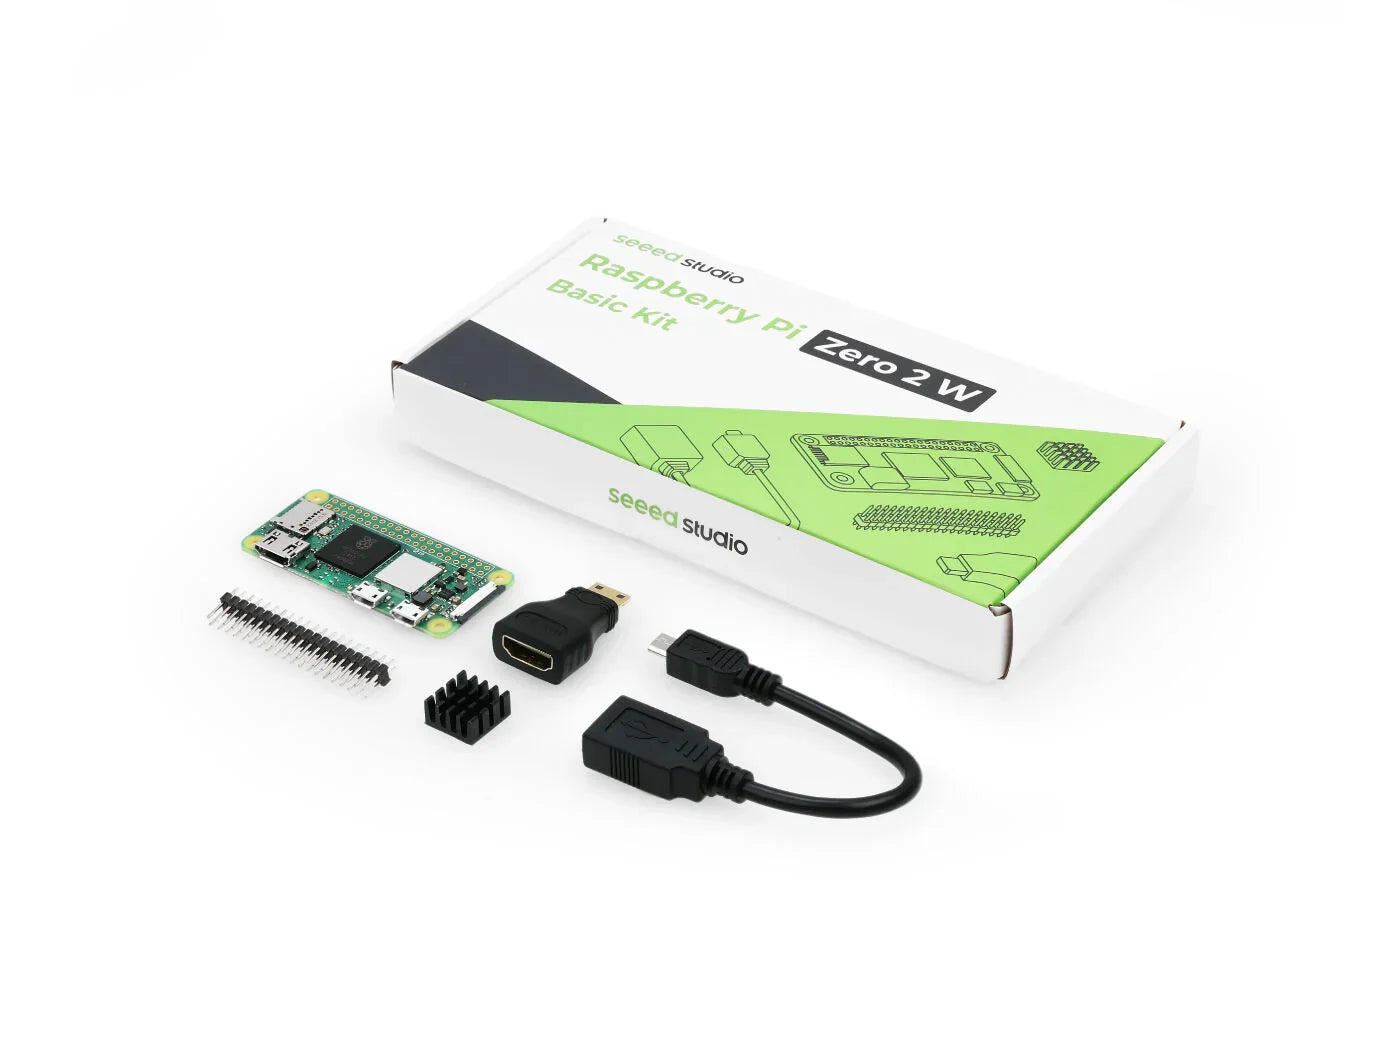
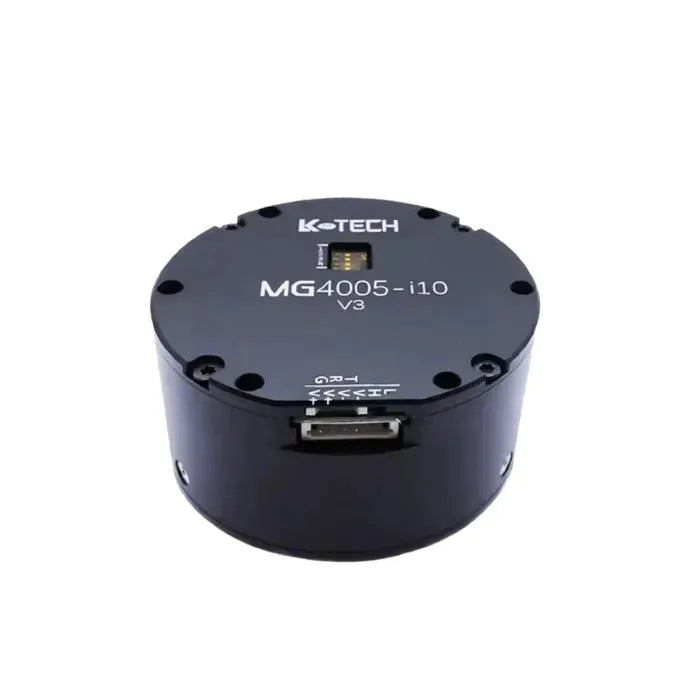
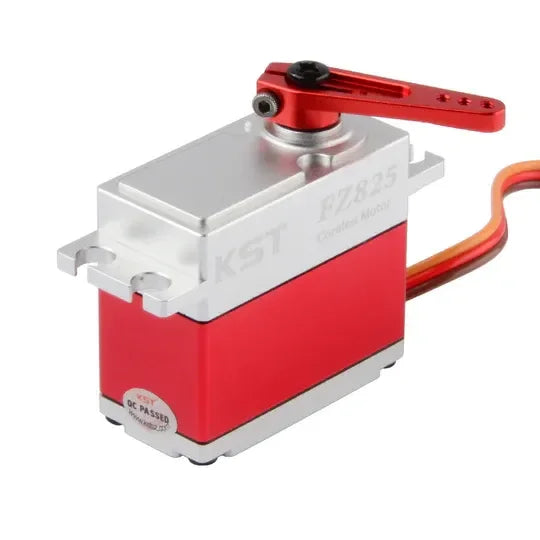
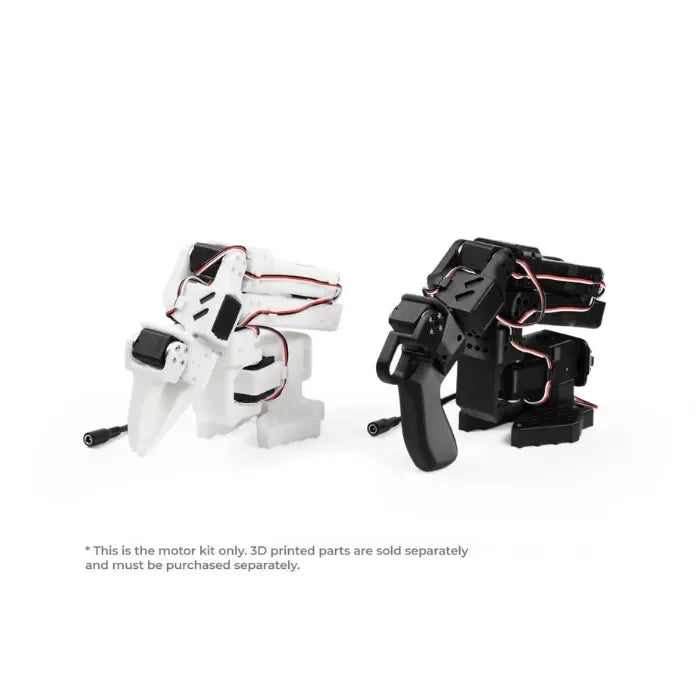
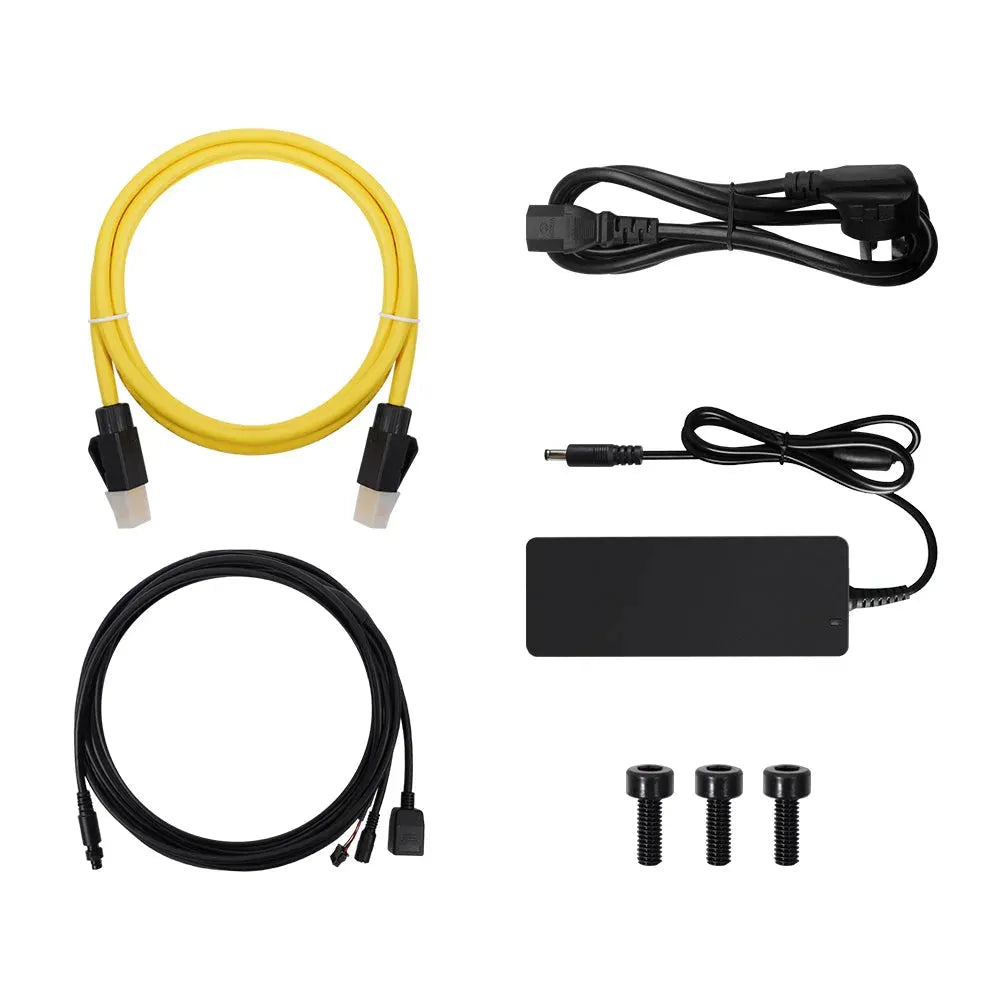
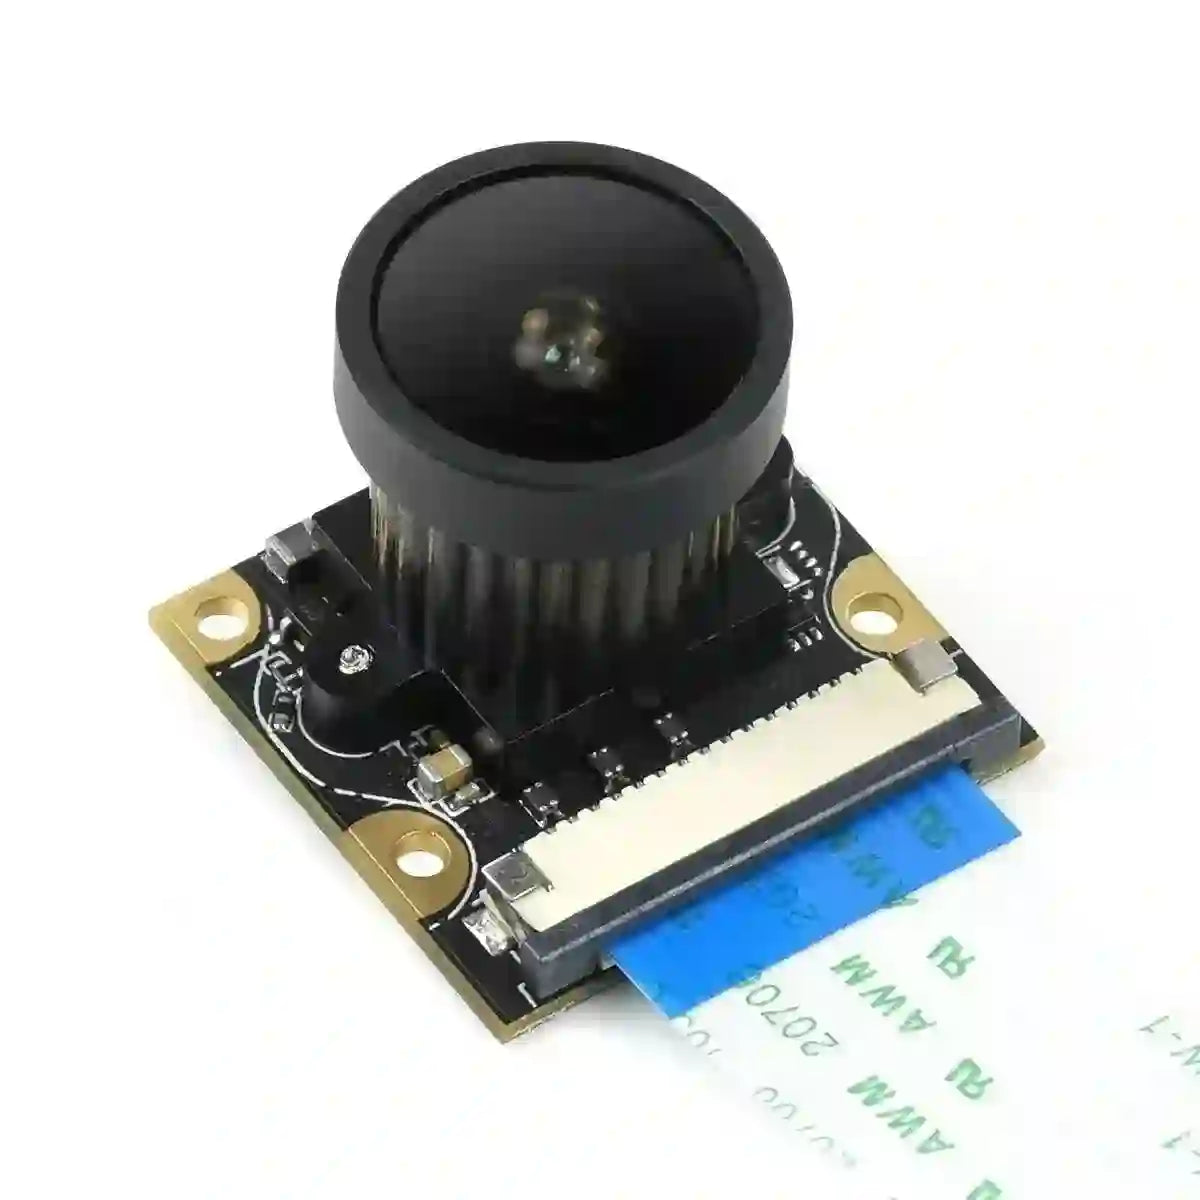
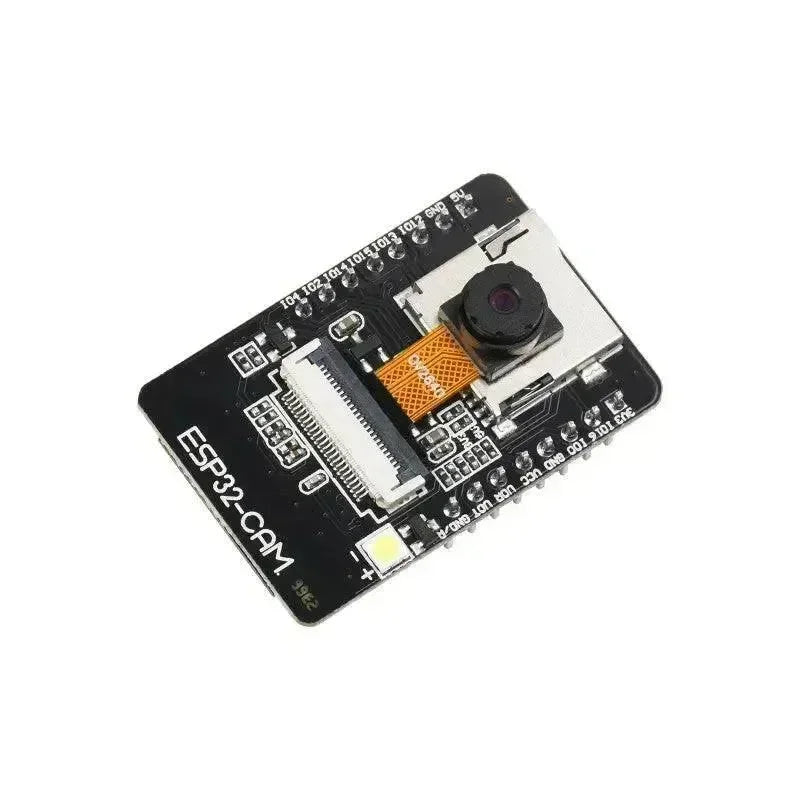
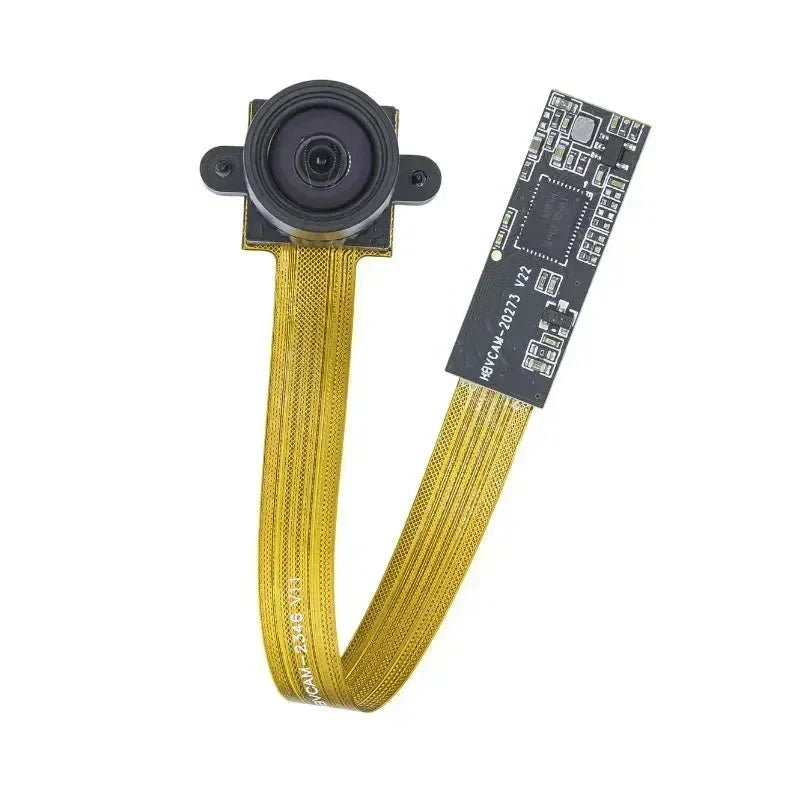
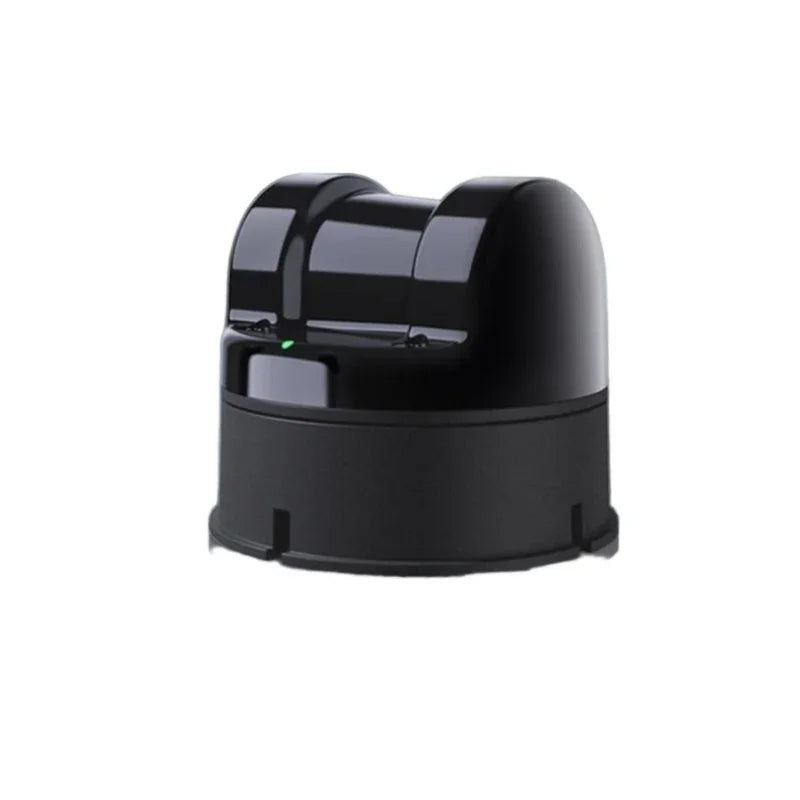
Verkrijg de onderdelen voor de SO-101
Installeer LeRobot
pip install -e "".[feetech].""
|
Stapsgewijze montage-instructies
| Leider-armas | Motor | Overbrengingsverhouding |
| Basis / Schouderpan | 1 | 1 / 191 |
| Schouderheffing | 2 | 1 / 345 |
| Elleboogbuiging | 3 | 1 / 191 |
| Polsbuiging | 4 | 1 / 147 |
| Polsrol | 5 | 1 / 147 |
| Grijper | 6 | 1 / 147 |
Reinig onderdelen van de SO-101
Installeer Gewricht 1
-
Plaats de eerste motor in de basis.
-
Beveilig de motor met vier M2x6mm schroeven (de kleinste schroeven): twee van boven en twee van onderen.
-
Schuif de eerste motorhouder over de motor en zet deze vast met twee M2x6mm schroeven (één aan elke kant).
-
Plaats beide motorhoorns en zet de bovenste hoorn vast met een M3x6mm schroef.
-
Monteer het schouderdeel.
-
Bevestig het schouderdeel met vier M3x6mm schroeven aan de bovenkant en vier M3x6mm schroeven aan de onderkant.
-
Installeer de schoudermotorhouder.
Installeer Gewricht 2
-
Schuif de tweede motor van bovenaf naar beneden op zijn plaats.
-
Beveilig de tweede motor met vier M2x6mm schroeven.
-
Plaats beide motorhoorns op motor 2 en zet de bovenste hoorn vast met een M3x6mm schroef.
-
Bevestig de bovenarm en zet deze vast met vier M3x6mm schroeven aan elke kant.
Installeer Gewricht 3
-
Plaats motor 3 en zet deze vast met vier M2x6mm schroeven.
-
Installeer beide motorhoorns op motor 3, waarbij je er één vastzet met een M3x6mm hoornschroef.
-
Bevestig de onderarm aan motor 3, met vier M3x6mm schroeven aan elke kant.
Installeer Gewricht 4
-
Schuif motorhouder 4 op zijn plaats.
-
Plaats motor 4.
-
Bevestig motor 4 met vier M2x6mm schroeven, monteer vervolgens de motorhoorns en zet er één vast met een M3x6mm hoornschroef.
Installeer Gewricht 5
-
Plaats motor 5 in de polshouder en zet deze vast met twee M2x6mm schroeven aan de voorkant.
-
Monteer een enkele motorhoorn op de polsmotor en zet deze vast met een M3x6mm hoornschroef.
-
Bevestig de pols aan motor 4, zet deze vast met vier M3x6mm schroeven aan elke kant.
Installeer Grijper / Handvat
Volger
-
Monteer de grijper op motor 5 door deze met vier M3x6mm schroeven aan de polsmotorhoorn te bevestigen.
-
Plaats de grijpermotor en zet deze vast met twee M2x6mm schroeven aan elke kant.
-
Monteer de motorhoorns en zet er één vast met een M3x6mm hoornschroef.
-
Installeer de grijperklauw en zet deze vast met vier M3x6mm schroeven aan elke kant.
Leader
-
Monteer de leader houder op de pols en zet deze vast met vier M3x6mm schroeven.
-
Bevestig het handvat aan motor 5 met één M2x6mm schroef.
-
Plaats de grijpermotor en zet deze vast met twee M2x6mm schroeven aan elke kant; monteer een motorhoorn en bevestig deze met een M3x6mm hoornschroef.
-
Bevestig de follower trigger met vier M3x6mm schroeven.
Configureer de motoren van de SO-101
Zoek de USB-poorten die overeenkomen met elke arm
lerobot-find-port
|
Mac
| Alle beschikbare poorten voor de MotorBus worden gezocht.
['/dev/tty.usbmodem575E0032081', '/dev/tty.usbmodem575E0031751']
Verwijder de USB-kabel van je MotorsBus en druk op [Enter] als je klaar bent.
[...Disconnect corresponding leader or follower arm and press Enter...]
De poort van deze MotorsBus is /dev/tty.usbmodem575E0032081
Sluit de USB-kabel opnieuw aan.
|
Linux
|
sudo chmod 666 /dev/ttyACM0 sudo chmod 666 /dev/ttyACM1 |
| Alle beschikbare poorten voor de MotorBus worden gezocht. ['/dev/ttyACM0', '/dev/ttyACM1'] Verwijder de usb-kabel van je MotorsBus en druk op [Enter] als je klaar bent. |
Wijs de motor-ID's toe en stel hun baudrates in
Volger
|
lerobot-setup-motors \ |
| from lerobot.robots.so101_follower import SO101Follower, SO101FollowerConfig config = SO101FollowerConfig( port="/dev/tty.usbmodem585A0076841", id="my_awesome_follower_arm", ) follower = SO101Follower(config) follower.setup_motors() |
Verbind de controllerkaart alleen met de 'gripper' motor en druk op enter.
|
-
Voedingsadapter
-
USB-kabel tussen je computer en de controllerkaart
-
3-pins kabel van de controllerkaart naar de motor
'gripper' motor id ingesteld op 6
|
Verbind de controllerkaart alleen met de 'wrist_roll' motor en druk op enter.
|
Leader
| lerobot-setup-motors \ --teleop.type=so101_leader \ --teleop.port=/dev/tty.usbmodem575E0031751 # <- plak hier de poort die je in de vorige stap hebt gevonden |
| from lerobot.teleoperators.so101_leader import SO101Leader, SO101LeaderConfig config = SO101LeaderConfig( port="/dev/tty.usbmodem585A0076841", id="my_awesome_leader_arm", ) leader = SO101Leader(config) leader.setup_motors() |
Kalibreer je Robot
Volger
| lerobot-calibrate \ --robot.type=so101_follower \ --robot.port=/dev/tty.usbmodem58760431551 \ # <- De poort van je robot --robot.id=my_awesome_follower_arm # <- Geef de robot een unieke naam |
| from lerobot.robots.so101_follower import SO101FollowerConfig, SO101Follower config = SO101FollowerConfig( port="/dev/tty.usbmodem585A0076891", id="my_awesome_follower_arm", ) follower = SO101Follower(config) follower.connect(calibrate=False) follower.calibrate() follower.disconnect() |
Leader
| lerobot-calibrate \ --teleop.type=so101_leader \ --teleop.port=/dev/tty.usbmodem58760431551 \ # <- De poort van je robot --teleop.id=my_awesome_leader_arm # <- Geef de robot een unieke naam |
| from lerobot.teleoperators.so101_leader import SO101LeaderConfig, SO101Leader config = SO101LeaderConfig( port="/dev/tty.usbmodem58760431551", id="my_awesome_leader_arm", ) leader = SO101Leader(config) leader.connect(calibrate=False) leader.calibrate() leader.disconnect() |
 openelab.de
 openelab.com


