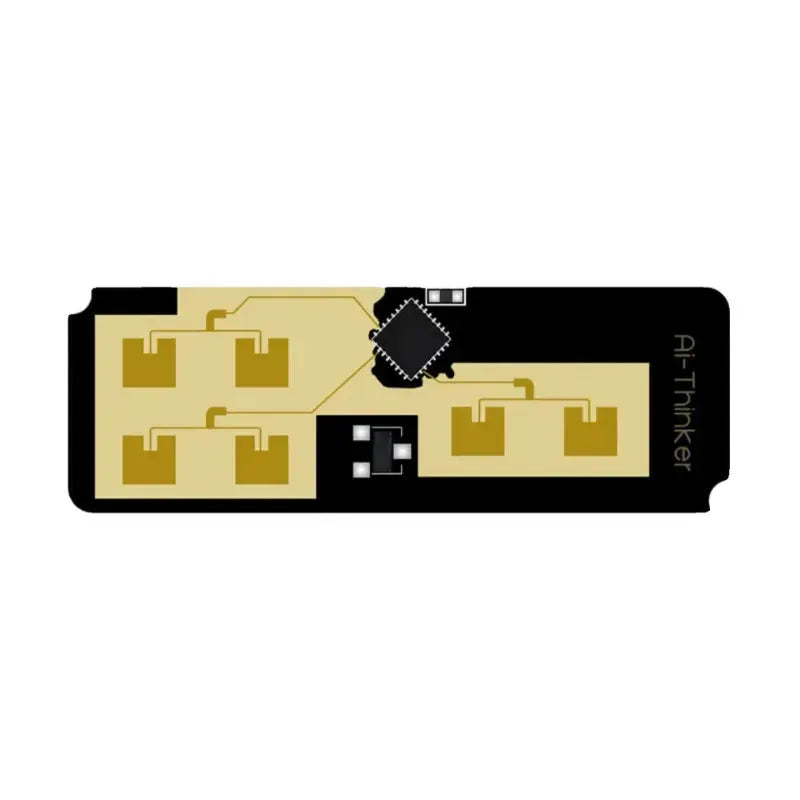
M5StickC Plus2 is een klein ontwikkelbord gebaseerd op een ESP32-chip met veel krachtige functies, waaronder Bluetooth, Wi-Fi, OLED-display, aanraakscherm, en meer. Hiermee kunnen we eenvoudig de afstandsbedieningsfunctie realiseren om andere apparaten of huishoudelijke apparaten te bedienen. Dit artikel laat zien hoe je een eenvoudige afstandsbediening maakt met M5StickC Plus2 en introduceert de structuur en code-implementatie van het project.

LED-functies uitgelegd
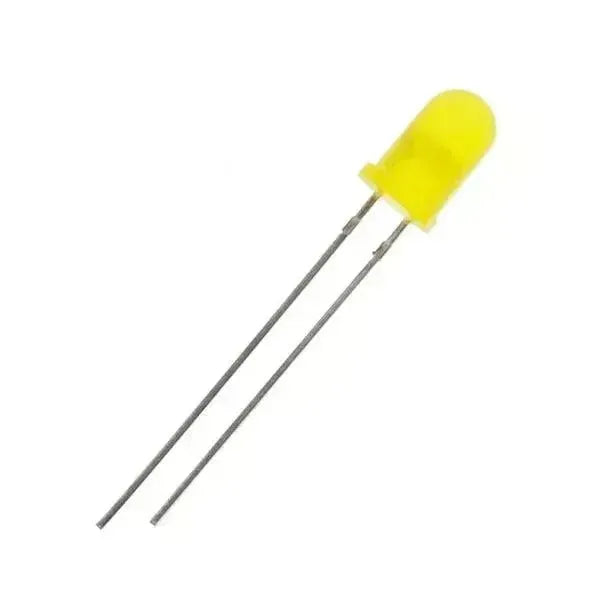
De M5StickC Plus2 is uitgerust met een programmeerbare power-LED die geprogrammeerd kan worden voor eenvoudige aan/uit-besturing of knipperende effecten. De LED kan worden gebruikt om de stroomstatus aan te geven en, in combinatie met andere sensormodules, als indicatie van de apparaatstatus. De programmeerbaarheid van deze LED biedt een breed scala aan toepassingsscenario's voor slimme herinneringen of eenvoudige alarmsystemen.
Voorbeeldanalyse
StickCP2.Power.setLed(1) wordt gebruikt om de power-LED van de M5StickC Plus2 aan te zetten.
Daarom wordt StickCP2.Power.setLed(0) gebruikt om de LED uit te schakelen. Deze functie wordt vaak gebruikt voor statusindicatie, zoals of de voeding aan of uit is, of het apparaat correct functioneert, of om een eenvoudige signaalindicatie te maken.

        lege setup() {
            // Retrieves device configuration.
            auto cfg = M5.config();
            // Initializes the M5StickC Plus2.
            StickCP2.begin(cfg);
            // Rotates the display
            StickCP2.Display.setRotation(1);
            // sets text color to green
            StickCP2.Display.setTextColor(GROEN);
            // centers the text
            StickCP2.Display.setTextDatum(middle_center);
            // uses the "Orbitron_Light_24" font
            StickCP2.Display.setTextFont(&fonts::Orbitron_Light_24);
            StickCP2.Display.setTextSize(1);
            // Displays the message "Power LED" at the screen’s center.
            StickCP2.Display.drawString("Power LED", StickCP2.Display.width() / 2,
                                        StickCP2.Display.height() / 2);
        }

        lege lus() {
            // inside power red led control
            //Turns on the power LED.
            StickCP2.Power.setLed(1);
            // Waits 1 second.
            vertraging(1000);
            // Turns off the LED.
            StickCP2.Power.setLed(0);
            //Waits 1 second.
            vertraging(1000);
        }
✔ Gekopieerd!
Voor een uitleg van de infraroodfunctie zie: M5Stack Beginnersgids: PLUS2 Infraroodmogelijkheden
Realisatie van afstandsbedieningsfunctie
Stap 1: Infraroodsignaalherkenning van de afstandsbediening
In deze methode fungeert de M5Stack Plus2 als een afstandsbediening, die infraroodsignalen naar andere apparaten (bijv. tv's, airconditioners, enz.) verzendt via een infrarood emitterende module (IR LED).
-
Benodigde hardware:
-
Hardwareverbindingen:
| Arduino UNO | ---> | IR-ontvanger |
| 5V | ---> | VCC |
| GPIO 11 | ---> | IN |
| GND | ---> | GND |

-
Installeren de bibliotheek
-
Je kunt doorgaan en de IRremote-bibliotheek installeren in de Arduino IDE. Deze bibliotheek helpt je bij het genereren van standaardconforme IR-signalen.
-
Open Arduino IDE, selecteer Hulpmiddelen -> Bibliotheekbeheer, zoek naar IRremote en installeer het.
-
Schrijf ontvang infraroodcode
        // Defines the pins to which the IR receiver sensor is connected
        const int RECV_PIN = 11;
        //Creating IR Receiving Objects
        IRrecv irrecv(RECV_PIN);
        // Create the decoding result object
        decode_results results;

        void setup() {
          // Initialize serial communications
          Serial.begin(115200);
          // Start IR reception
          irrecv.enableIRIn();
          Serial.println("IR Receiver Ready");
        }

        void loop() {
          if (irrecv.decode(&results)) {
            // IR signal detected
            Serial.print("IR Code Received: ");
            // Print the received IR signal
            Serial.println(results.value, HEX);
            // Receive the next signal
            irrecv.resume();
          }
          delay(100);
        }
✔ Gekopieerd!
-
Klik op Hulpmiddelen -> Poort om te branden.


-
Klik op Hulpmiddelen -> Seriële Monitor om het IR-signaal te monitoren.


Stap 2: Uitleg LED-besturingsproject
Na het begrijpen van de codefuncties en het volgen van de knophandleiding, kunnen we nu knopbedieningen combineren met LED-besturing. De logica is eenvoudig:
-
Druk op knop A (StickCP2.BtnA.wasPressed()): Zet de LED aan met
StickCP2.Power.setLed(1);. -
Druk op knop B (StickCP2.BtnB.wasPressed()): Zet de LED uit met
StickCP2.Power.setLed(0);.
We implementeren dit met behulp van
if voorwaarden om te detecteren wanneer Knop A of Knop B wordt ingedrukt. Dit biedt een responsieve manier om de LED te schakelen met eenvoudige knopinteracties, waardoor het een gemakkelijk project is om mee te beginnen.M5Stack Plus2 implementeert functies voor afstandsbediening
De voorbeeldcode zendt een infraroodsignaal uit via de IR-LED wanneer de knop van de M5Stack Plus2 wordt ingedrukt, waarmee de werking van een afstandsbediening wordt gesimuleerd. Je kunt het signaalnummer wijzigen in
IrSender.sendNEC() om verschillende apparaten naar behoefte te bedienen.
        #define CODE_UITSCHAKELEN_VOOR_ONTVANGER
        #define VERSTUUR_PWM_VIA_TIMER
        #define IR_TX_PIN 19
        #include "M5StickCPlus2.h"
        #include

        lege setup() {

            auto cfg = M5.config();

            //To understand the underlying logic of the initialization with begin(), you can refer to the Dependent Library.
            StickCP2.begin(cfg);

              //Display rotation directions
            StickCP2.Display.setRotation(1);

            //  The color of the text displayed on the screen.
            StickCP2.Display.setTextColor(GROEN);

            //Text alignment middle_center means aligning the center of the text to the specified coordinate position.
            StickCP2.Display.setTextDatum(middle_center);

            //Font Styles
            StickCP2.Display.setTextFont(&fonts::Orbitron_Light_24);

            //Font size
            StickCP2.Display.setTextSize(1);

            IrSender.begin(DISABLE_LED_FEEDBACK);  // Start met IR_SEND_PIN als zendpin
            IrSender.setSendPin(IR_TX_PIN);//Instellingen voor infrarood signaal zendpin
        }

        lege lus() {

          als (StickCP2.BtnA.wasPressed()) {
            // Send IR code for power button
             IrSender.sendNEC(0x25AE7EE3, 32);  // Voorbeeld NEC-code voor TV (moet worden vervangen door de werkelijke code)
             StickCP2.Display.clear();
             StickCP2.Display.drawString("Vermogenssignaal Verzonden", StickCP2.Display.width() / 2,
                                        StickCP2.Display.height() / 2 - 40);
             delay(5000);  // Verzonden elke 5 seconden
          }

          als (StickCP2.BtnB.wasPressed()) {
            // Send IR code for volume up button
            //IrSender.sendNEC(25AE7EE3, 32);  // Send volume up signal
            StickCP2.Display.clear();
            StickCP2.Display.drawString("Volume omhoog verzonden", StickCP2.Display.width() / 2,
                                        StickCP2.Display.height() / 2 - 40);
            delay(5000);  // Verzonden elke 5 seconden
          }

          StickCP2.update();  // Status van de knop bijwerken

        }
✔ Gekopieerd!
 openelab.de
 openelab.com


