M5StickC Plus2 es una pequeña placa de desarrollo basada en un chip ESP32 con muchas funciones potentes, incluyendo Bluetooth, Wi-Fi, pantalla OLED, pantalla táctil, y más. A través de ella, podemos realizar fácilmente la función de control remoto para controlar otros dispositivos o electrodomésticos. Este artículo te mostrará cómo hacer un control remoto simple usando M5StickC Plus2 e introducirá la estructura y la implementación del código del proyecto.

Funciones LED Explicadas
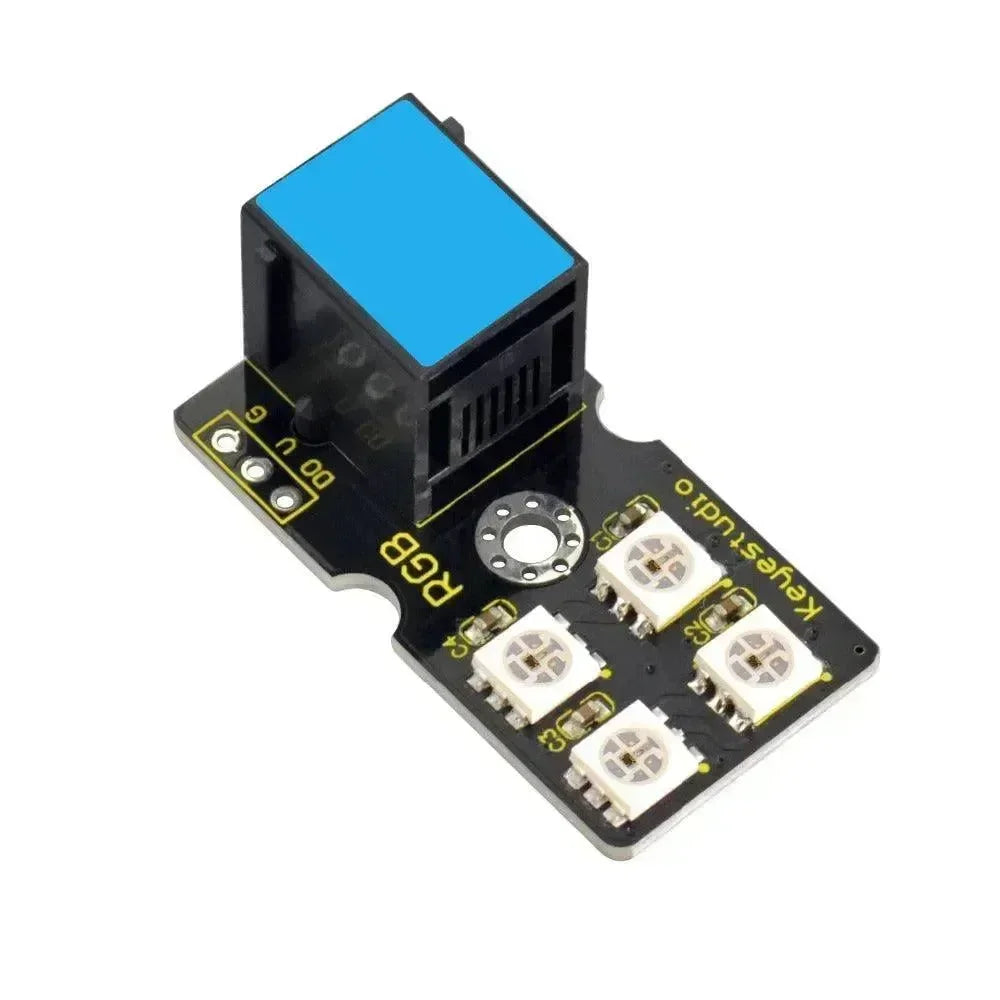
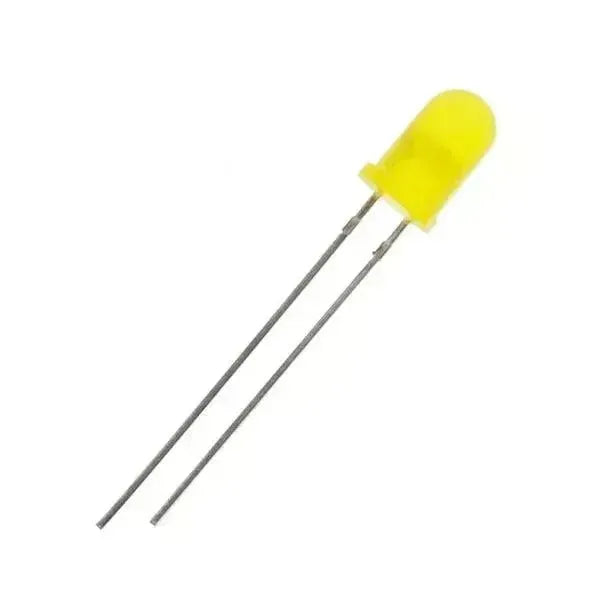
El M5StickC Plus2 está equipado con un LED de alimentación programable que puede ser codificado para un control simple de encendido/apagado o efectos de parpadeo. El LED puede usarse para indicar el estado de la alimentación y, junto con otros módulos de sensores, como una indicación del estado del dispositivo. La programabilidad de este LED ofrece una amplia gama de escenarios de aplicación para recordatorios inteligentes o sistemas de alarma simples.
Análisis de ejemplo
StickCP2.Power.setLed(1) se utiliza para encender el LED de encendido del M5StickC Plus2.
Por lo tanto, StickCP2.Power.setLed(0) se utiliza para apagar el LED. Esta función se usa a menudo para la indicación de estado, como si la fuente de alimentación está encendida o apagada, si el dispositivo está funcionando correctamente, o para hacer una indicación de señalización simple.

        configuración vacía() {
            // Retrieves device configuration.
            auto cfg = M5.config();
            // Initializes the M5StickC Plus2.
            StickCP2.begin(cfg);
            // Rotates the display
            StickCP2.Display.setRotation(1);
            // sets text color to green
            StickCP2.Display.setTextColor(VERDE);
            // centers the text
            StickCP2.Display.setTextDatum(middle_center);
            // uses the "Orbitron_Light_24" font
            StickCP2.Display.setTextFont(&fonts::Orbitron_Light_24);
            StickCP2.Display.setTextSize(1);
            // Displays the message "Power LED" at the screen’s center.
            StickCP2.Display.drawString("LED de encendido", StickCP2.Display.width() / 2,
                                        StickCP2.Display.height() / 2);
        }

        bucle vacío() {
            // inside power red led control
            //Turns on the power LED.
            StickCP2.Power.setLed(1);
            // Waits 1 second.
            retraso(1000);
            // Turns off the LED.
            StickCP2.Power.setLed(0);
            //Waits 1 second.
            retraso(1000);
        }
✔ ¡Copiado!
Para una explicación de la función de infrarrojos, vea: Guía para principiantes de M5Stack: Capacidades infrarrojas PLUS2
Realización de la función de control remoto
Paso 1: Reconocimiento de señal infrarroja del control remoto
En este método, el M5Stack Plus2 actúa como un control remoto, enviando señales infrarrojas a otros dispositivos (por ejemplo, televisores, aires acondicionados, etc.) a través de un módulo emisor de infrarrojos (LED IR).
-
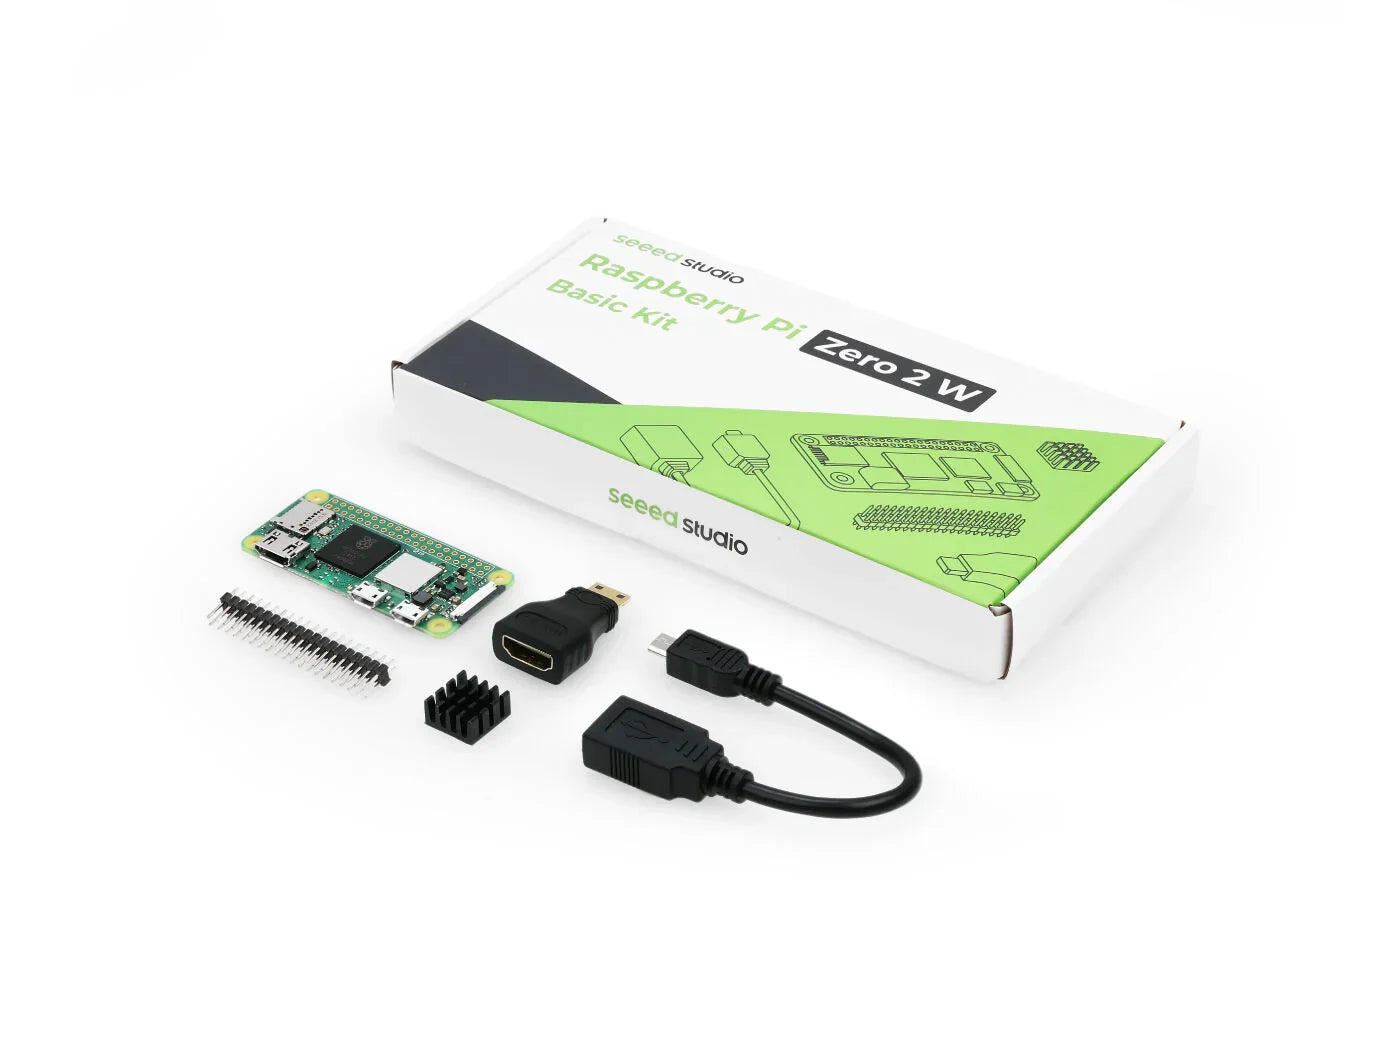
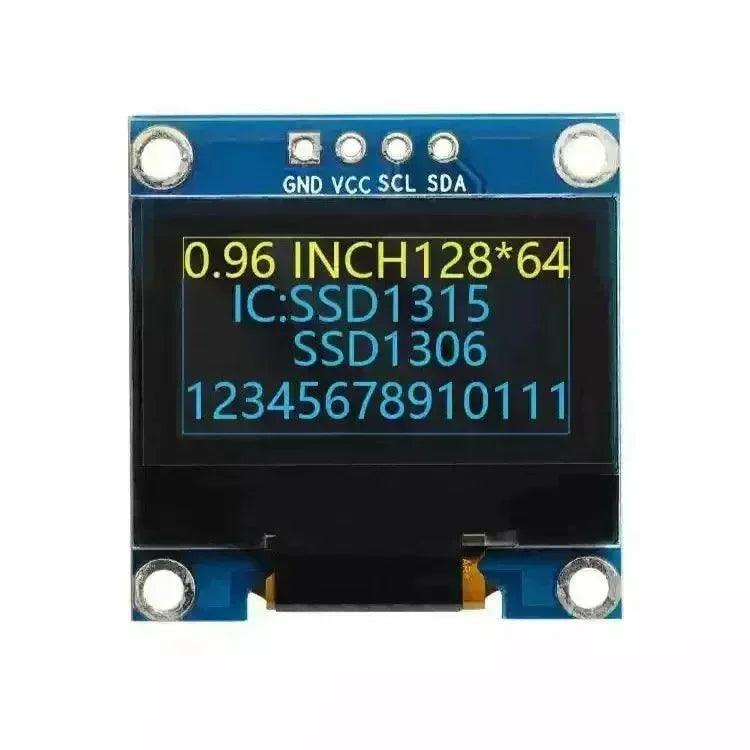
Hardware necesario:
-
Conexiones de hardware:
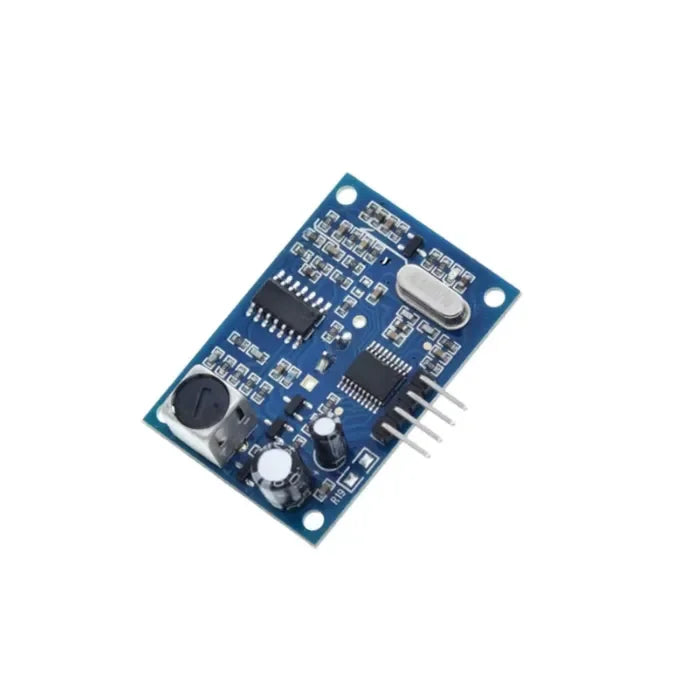
| Arduino UNO | ---> | Receptor de infrarrojos |
| 5V | ---> | VCC |
| GPIO 11 | ---> | EN |
| Tierra | ---> | Tierra |

-
Instalar la biblioteca
-
Puedes proceder e instalar la biblioteca IRremote en el IDE de Arduino. Esta biblioteca te ayudará a generar señales IR compatibles con el estándar.
-
Abre Arduino IDE, selecciona Herramientas -> Administrador de bibliotecas, busca IRremote e instálalo.
-
Escribir código de recepción infrarroja
        // Defines the pins to which the IR receiver sensor is connected
        const int RECV_PIN = 11;
        //Creating IR Receiving Objects
        IRrecv irrecv(RECV_PIN);
        // Create the decoding result object
        decode_results results;

        void setup() {
          // Initialize serial communications
          Serial.begin(115200);
          // Start IR reception
          irrecv.enableIRIn();
          Serial.println("IR Receiver Ready");
        }

        void loop() {
          if (irrecv.decode(&results)) {
            // IR signal detected
            Serial.print("IR Code Received: ");
            // Print the received IR signal
            Serial.println(results.value, HEX);
            // Receive the next signal
            irrecv.resume();
          }
          delay(100);
        }
✔ ¡Copiado!
-
Haga clic en Herramientas -> Puerto para grabar.


-
Haga clic en Herramientas -> Monitor Serial para monitorear la señal IR.


Paso 2: Explicación del Proyecto de Control de LED
Después de entender las funciones del código y seguir el tutorial del botón, ahora podemos combinar operaciones de botón con control de LED. La lógica es sencilla:
-
Presione el Botón A (StickCP2.BtnA.wasPressed()): Encienda el LED usando
StickCP2.Power.setLed(1);. -
Presione el Botón B (StickCP2.BtnB.wasPressed()): Apague el LED usando
StickCP2.Power.setLed(0);.
Implementamos esto usando
if condiciones para detectar cuándo se presiona el Botón A o el Botón B. Esto proporciona una forma receptiva de alternar el LED usando interacciones simples con botones, haciendo que sea un proyecto fácil para comenzar.M5Stack Plus2 implementa funciones de control remoto
El código de ejemplo emite una señal infrarroja a través del LED IR cuando se presiona el botón del M5Stack Plus2, simulando el funcionamiento de un control remoto. Puedes cambiar el número de señal en
IrSender.sendNEC() para controlar diferentes dispositivos según sea necesario.
        #define DESACTIVAR_CÓDIGO_PARA_RECEPTOR
        #define ENVIAR_PWM_POR_TIMER
        #define IR_TX_PIN 19
        #include "M5StickCPlus2.h"
        #include

        configuración vacía() {

            auto cfg = M5.config();

            //To understand the underlying logic of the initialization with begin(), you can refer to the Dependent Library.
            StickCP2.begin(cfg);

              //Display rotation directions
            StickCP2.Display.setRotation(1);

            //  The color of the text displayed on the screen.
            StickCP2.Display.setTextColor(VERDE);

            //Text alignment middle_center means aligning the center of the text to the specified coordinate position.
            StickCP2.Display.setTextDatum(middle_center);

            //Font Styles
            StickCP2.Display.setTextFont(&fonts::Orbitron_Light_24);

            //Font size
            StickCP2.Display.setTextSize(1);

            IrSender.begin(DISABLE_LED_FEEDBACK);  // Comenzar con IR_SEND_PIN como pin de envío
            IrSender.setSendPin(IR_TX_PIN);//Configuración del pin de transmisión de señal infrarroja
        }

        bucle vacío() {

          si (StickCP2.BtnA.fuePresionado()) {
            // Send IR code for power button
             IrSender.sendNEC(0x25AE7EE3, 32);  // Código NEC de ejemplo para TV (necesita ser reemplazado con el código real)
             StickCP2.Display.clear();
             StickCP2.Display.drawString("Señal de energía enviada", StickCP2.Display.width() / 2,
                                        StickCP2.Display.height() / 2 - 40);
             delay(5000);  // Enviado cada 5 segundos
          }

          if (StickCP2.BtnB.wasPressed()) {
            // Send IR code for volume up button
            //IrSender.sendNEC(25AE7EE3, 32);  // Send volume up signal
            StickCP2.Display.clear();
            StickCP2.Display.drawString("Volumen Subido Enviado", StickCP2.Display.width() / 2,
                                        StickCP2.Display.height() / 2 - 40);
            delay(5000);  // Enviado cada 5 segundos
          }

          StickCP2.update();  // Actualizar el estado del botón

        }
✔ ¡Copiado!
 openelab.de
 openelab.com


