Características del producto M5StickC Plus2
Compacto y portátil
-
Dimensiones: 48mm × 24mm × 14mm
-
Ligero, ideal para proyectos portátiles.
Capacidad de Procesamiento Poderosa
-
Está equipado con un chip ESP32, compatible con Wi-Fi y Bluetooth para una fácil conexión a la nube o comunicación entre dispositivos.
Pantalla de visualización
-
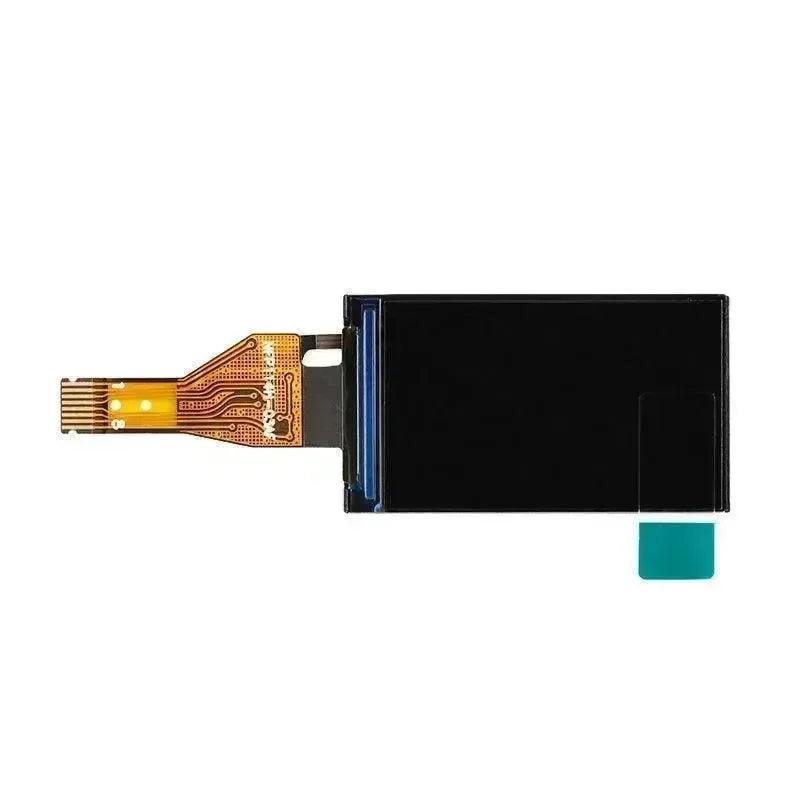
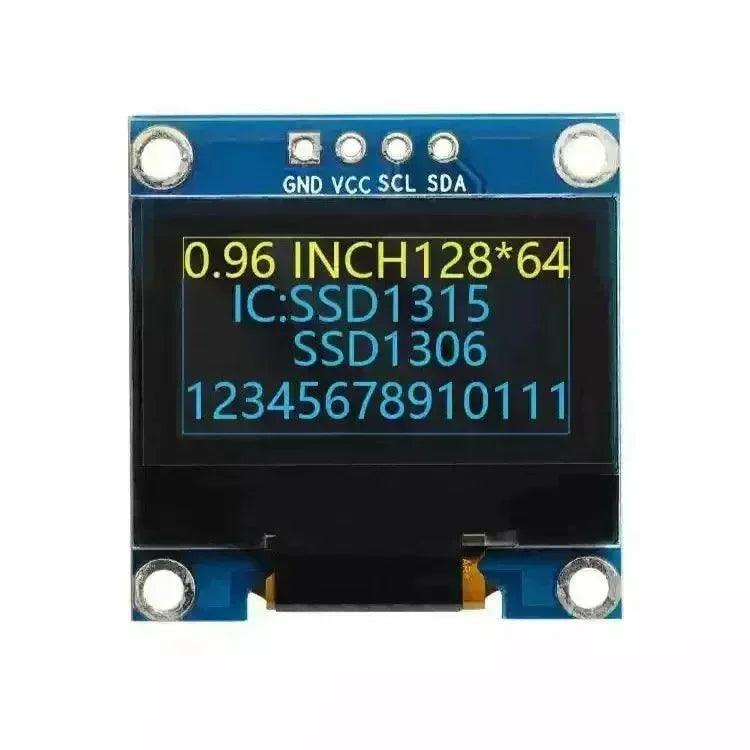
Viene con una pantalla TFT a color de 0,96 pulgadas para una visualización intuitiva del estado, datos o información.
Batería incorporada
-
Cuenta con una batería de litio de 80 mAh, es recargable y adecuada para un funcionamiento independiente a corto plazo.
Múltiples sensores
-
Incluye un giroscopio de seis ejes (MPU6886) y un transmisor de infrarrojos, que admite detección de movimiento y control remoto.
Interfaces Versátiles
-
Admite la expansión del puerto Grove, lo que facilita la conexión de más sensores y módulos.
Fácil de programar
-
Compatible con entornos Arduino, MicroPython y UIFlow, adecuado tanto para principiantes como para desarrolladores profesionales.
Proceso de Grabación del Firmware M5Burner
Paso 1: Descarga de M5burner:m5-docs (m5stack.com)
Paso 2: Proceso de Grabación de Firmware
-
Prepare el dispositivo
-
Conecte su dispositivo M5 (como M5StickC Plus2) a su computadora usando un cable de datos USB.
-
Asegúrese de que estén instalados los controladores USB necesarios (por ejemplo, CP210x o CH340).
-
Abrir M5Burner
-
Lanza el software M5Burner.
-
En la esquina superior izquierda, seleccione el puerto del dispositivo conectado en el menú desplegable.
-
Seleccionar Firmware
-
Navegue por la lista de firmware y seleccione el firmware apropiado para su dispositivo.
-
Si el firmware aún no se ha descargado, haga clic en “Descargar” para recuperarlo.
-
Establecer Parámetros de Quema
-
En la sección de grabación de firmware, configure ajustes adicionales como el SSID y la contraseña de Wi-Fi (si corresponde).
-
También puede habilitar la opción “Borrar todo Flash” para borrar los datos existentes.

-
Empieza a quemar
-
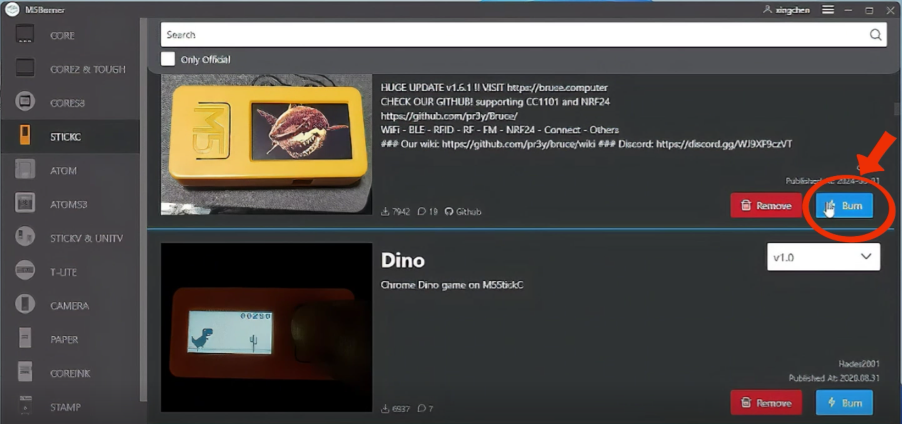
Después de confirmar todas las configuraciones, haga clic en el botón “Grabar”.
-
Espere a que se complete el proceso de grabación, que puede tardar unos minutos. El progreso se mostrará en el software.
-
elige continuar

-
Seleccionar puerto COM5


-
Mostrar esto indica una grabación exitosa.


Consejos: Si la grabación falla, mantenga presionado el botón de encendido (RES) durante dos segundos para forzar la grabación.

 openelab.de
 openelab.com


